Timer Tracking With Google Analytics 4
Using Google Tag Manager
Start typing to search...
Google Tag Manager (GTM) allows us to track events in Google Analytics 4 (GA4) using a timer and timed intervals. Event-driven timer triggers send your events to GTM on a delay after a specific action. This is a built-in trigger in GTM that can be customized to fit around your specific tracking specifications. This trigger can measure the amount of time a user may spend on a page to complete a task, read an article, fill out a form, or complete a purchase.
Timer triggers fire after a certain amount of time has passed on a web page. Essentially, a visitor will land on your site and a timer trigger in GTM will activate after X seconds and an event is triggered and tracked in GA4 or other analytics tools.
There are many common uses for the timer trigger, but we will cover the following scenario in this blog:
Sending an event to GA4 after a user spends long then 20 seconds on a blog page.
One limitation of this trigger is that it deploys on a page view, so we can’t control when the timer starts. This blog scenario will focus on implementing a timer trigger based on a specific duration after a page view.
Ensure your GTM container is setup and you have access to edit the account and your GA4 account is connected. If you need help configuring your GA4 property, check out our blog here.
For this example we will create a timer trigger that fires once after a user spends 20 seconds on a blog page of the website. In order to ensure both conditions are met, we are going to create a trigger group with two separate triggers: one blog page view and the other a 20-second timer.
To configure a new timer trigger, let’s look at the following setup.
1. Click on Triggers and then select New
2. Select Trigger Configuration and click the Timer trigger type
3. Use the default value of the Event name as gtm.timer*
4. Indicate the time Interval in milliseconds, in this case 20 seconds = 20,000 milliseconds
5. Indicate a Limit value to specify the number of times it will fire, in this case we only want it to fire once
6. Specify a variable, operator, and value under the Enable this trigger when all of these conditions are true section. We want this timer to work on every page, so we will indicate Page path contains /
7. Name the trigger and click Save
| 20-Sec Timer Trigger Configuration | |
|---|---|
| Trigger Name | Timer - 20 secs |
| Event Name | gtm.timer |
| Interval | 20000 milliseconds |
| Limit | 1 |
| Enable this trigger when all of these conditions are true: | Page path contains / |
| This trigger fires on: | All Timers |
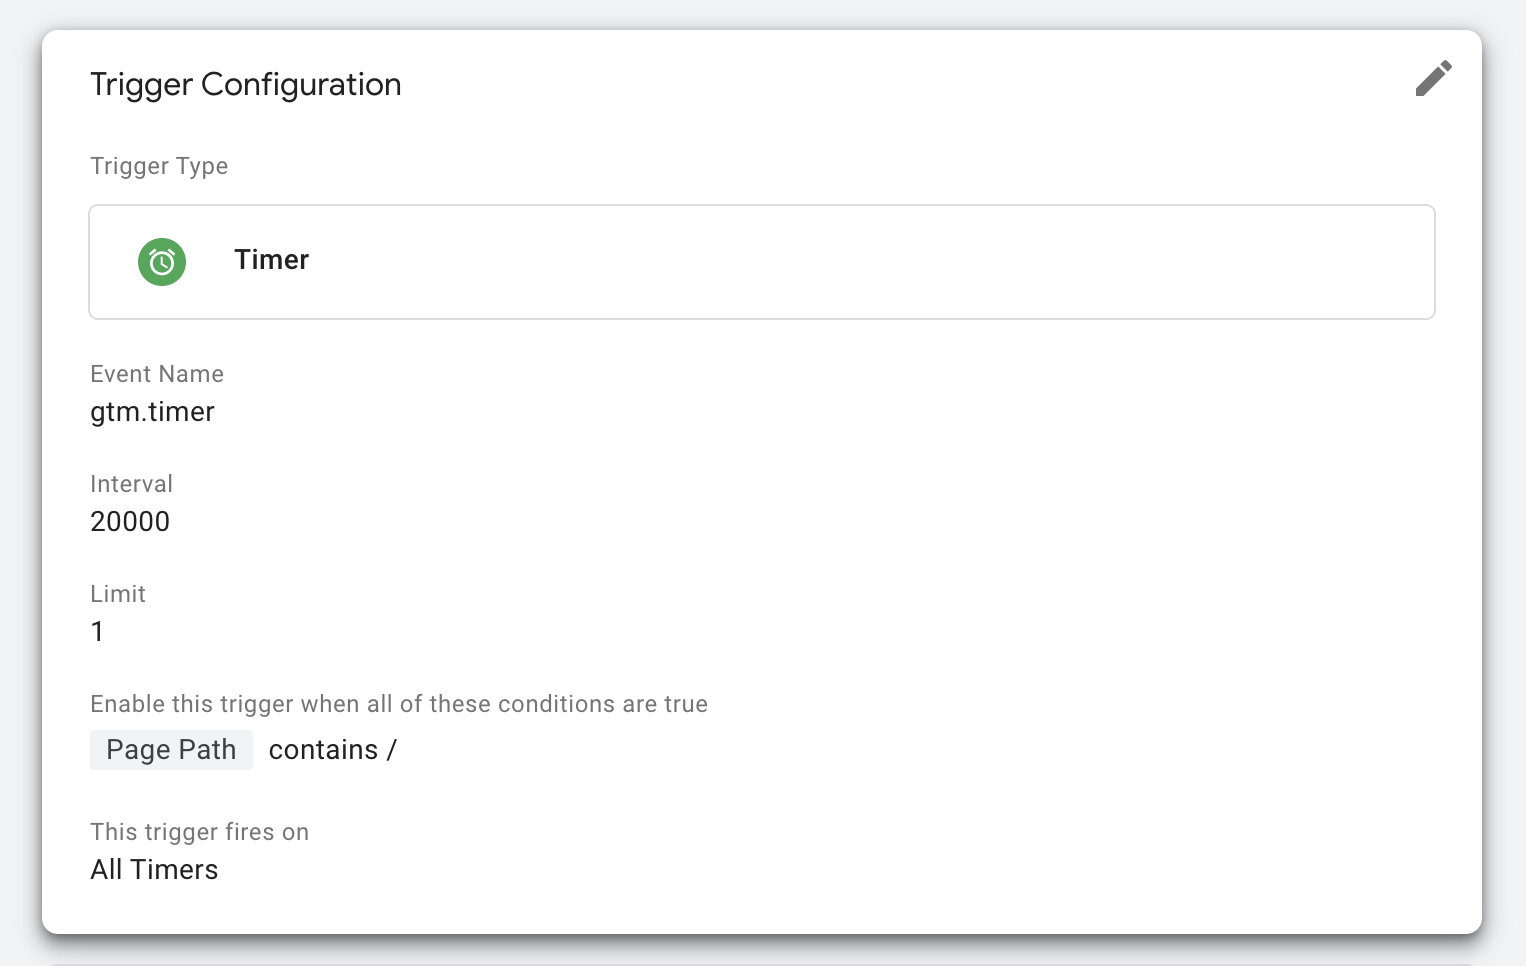
To specify the blog page view portion of this trigger group, we want to configure the following trigger setup:
1. Click on Triggers and then select New
2. Select Trigger Configuration and click the Page View trigger type
3. Indicate that pages that this trigger will fire on, in this case we only want Some Page Views
4. Fire this trigger when an Event occurs and all of they conditions are true: Page URL contains /blog/ (note we don’t want to include /blog so we included a “/” at the end.
5. Name the trigger and click Save
| Blog Page Trigger Configuration | |
|---|---|
| Trigger Name | Blog Pages |
| Trigger Type | Page View |
| This trigger fires on: | Some Page Views |
| Fire this trigger when an Event occurs and all of these conditions are true: | Page URL contains /blog/ |
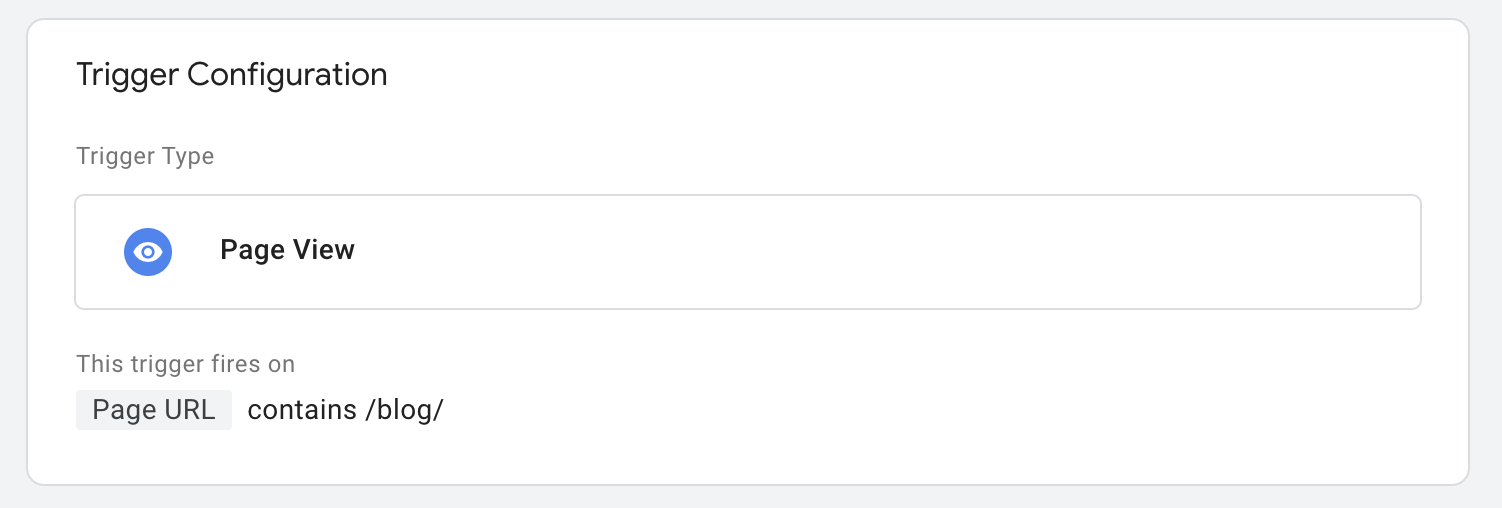
Once our 20-second timer and blog page trigger are configured, we need to combine them in a Trigger Group to ensure that both conditions are true for our event to fire. Setting up a Trigger Group is very simple:
1. Click on Triggers and then select New
2. Select Trigger Configuration and click the Trigger Group trigger type
3. Select both triggers we just configured:
4. Indicate that this trigger fires on: All Conditions
5. Name the trigger and click Save
| Blog Timer Trigger Configuration | |
|---|---|
| Trigger Name | Blog Timer |
| Trigger Type | Trigger Group |
| This trigger fires on: | All Conditions |
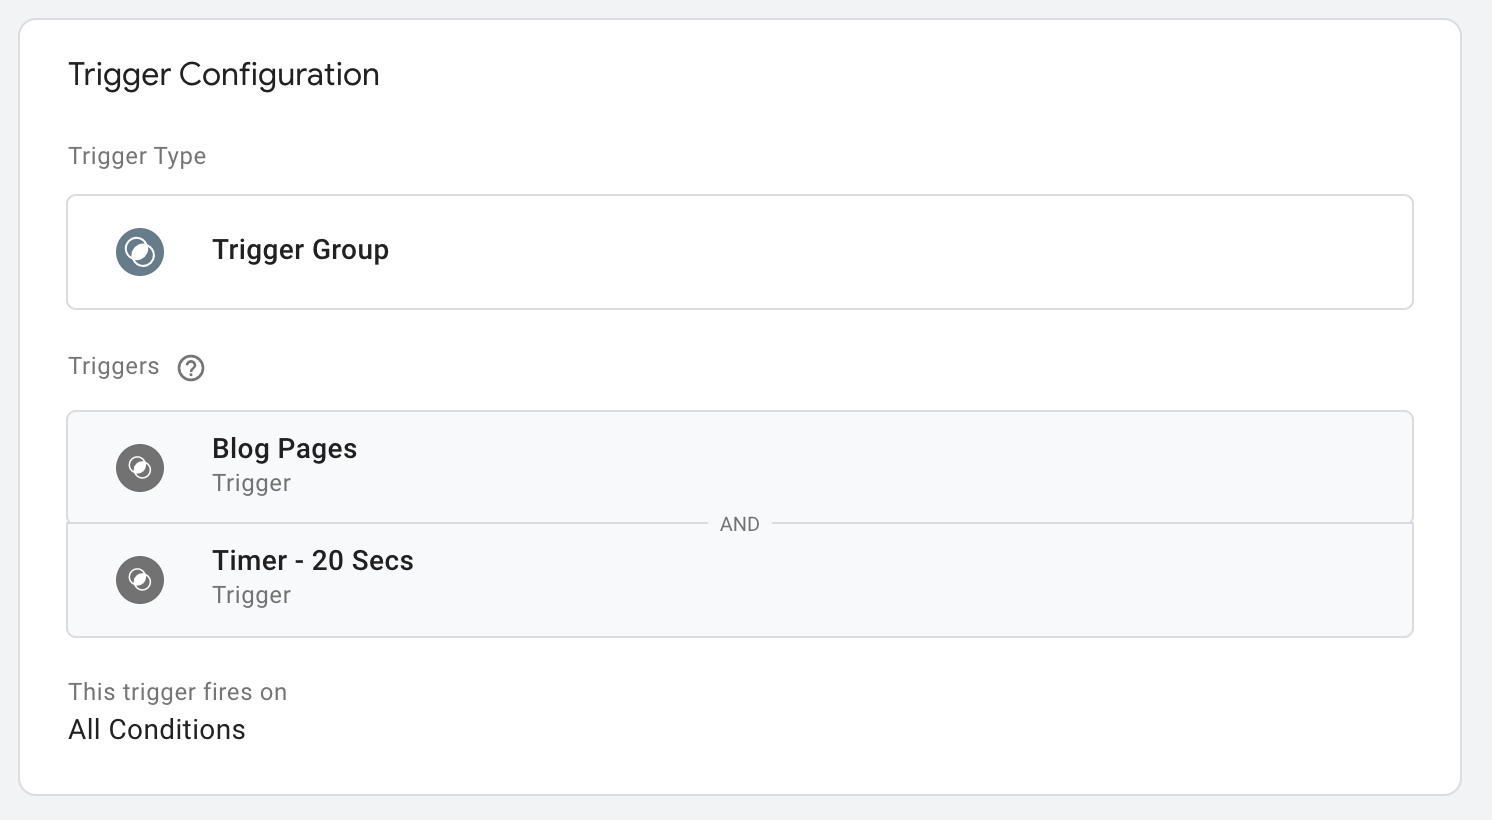
To set up our Blog Timer Tag, we will reference our Trigger Group. This tag won't fire unless both conditions in our timer and blog page triggers are true. Here’s how we set it up:
1. Click on Tags and then select New
2. Select Tag Configuration and click the Google Analytics: GA4 Event tag type
3. Select your GA4 configuration tag
4. Name your tag
5. Select our Blog Timer Trigger and click Save
| Blog Timer Tag Configuration | |
|---|---|
| Tag Name | GA4 Event - Blog Timer |
| Tag Type | Google Analytics: GA4 Event |
| Configuration Tag: | GA4 Configuration |
| Event Name: | blog_engagement |
| Triggering | Blog Timer |
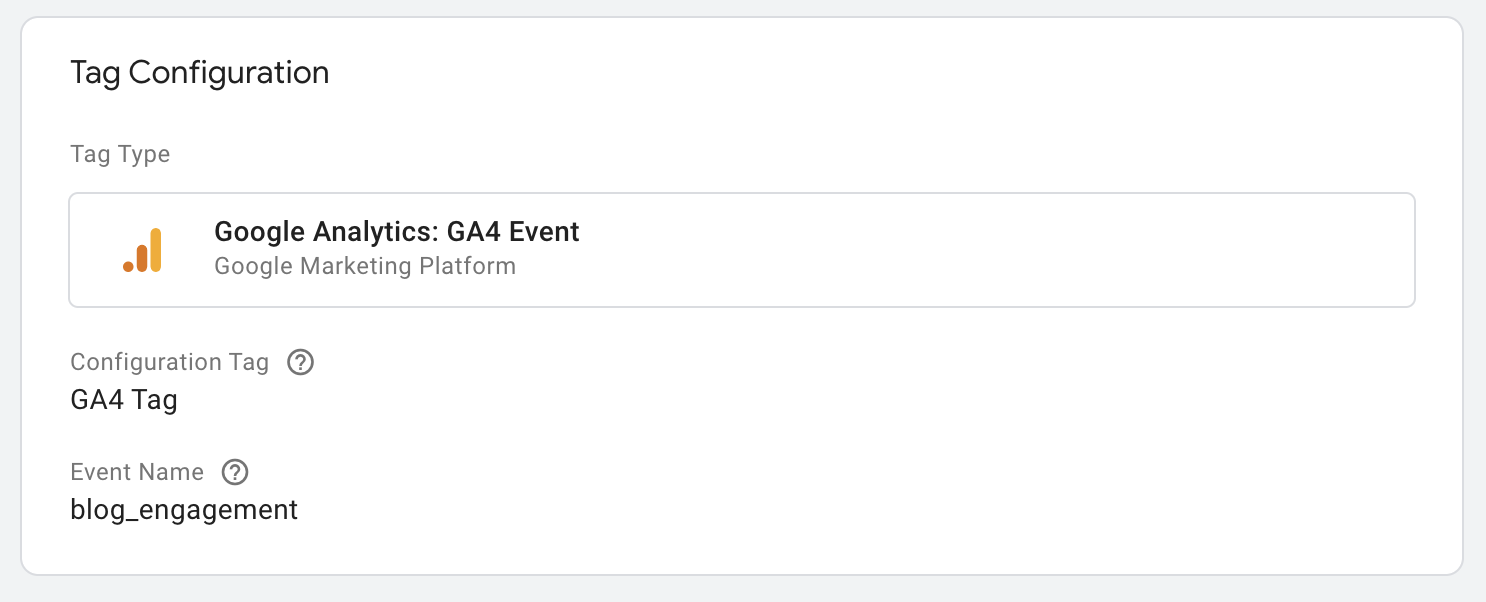
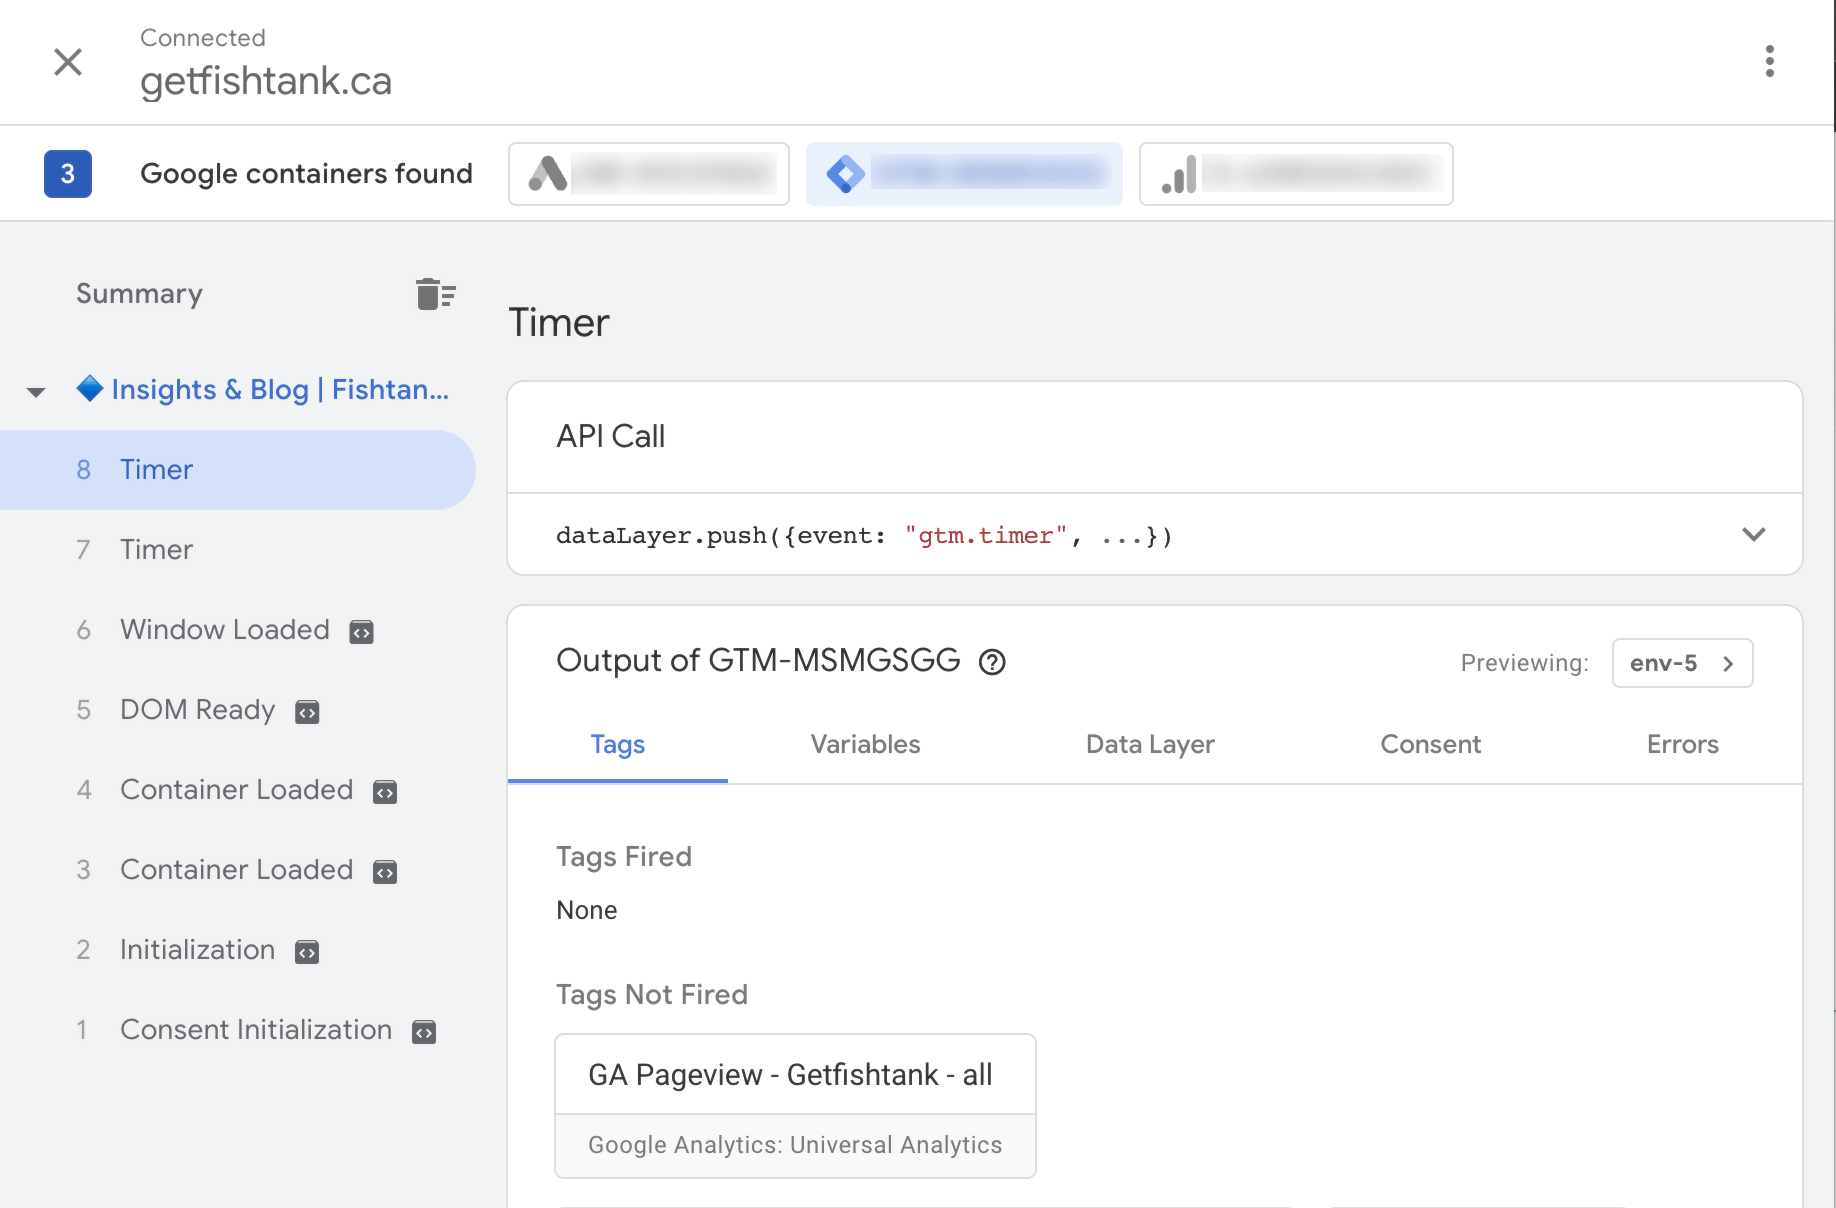
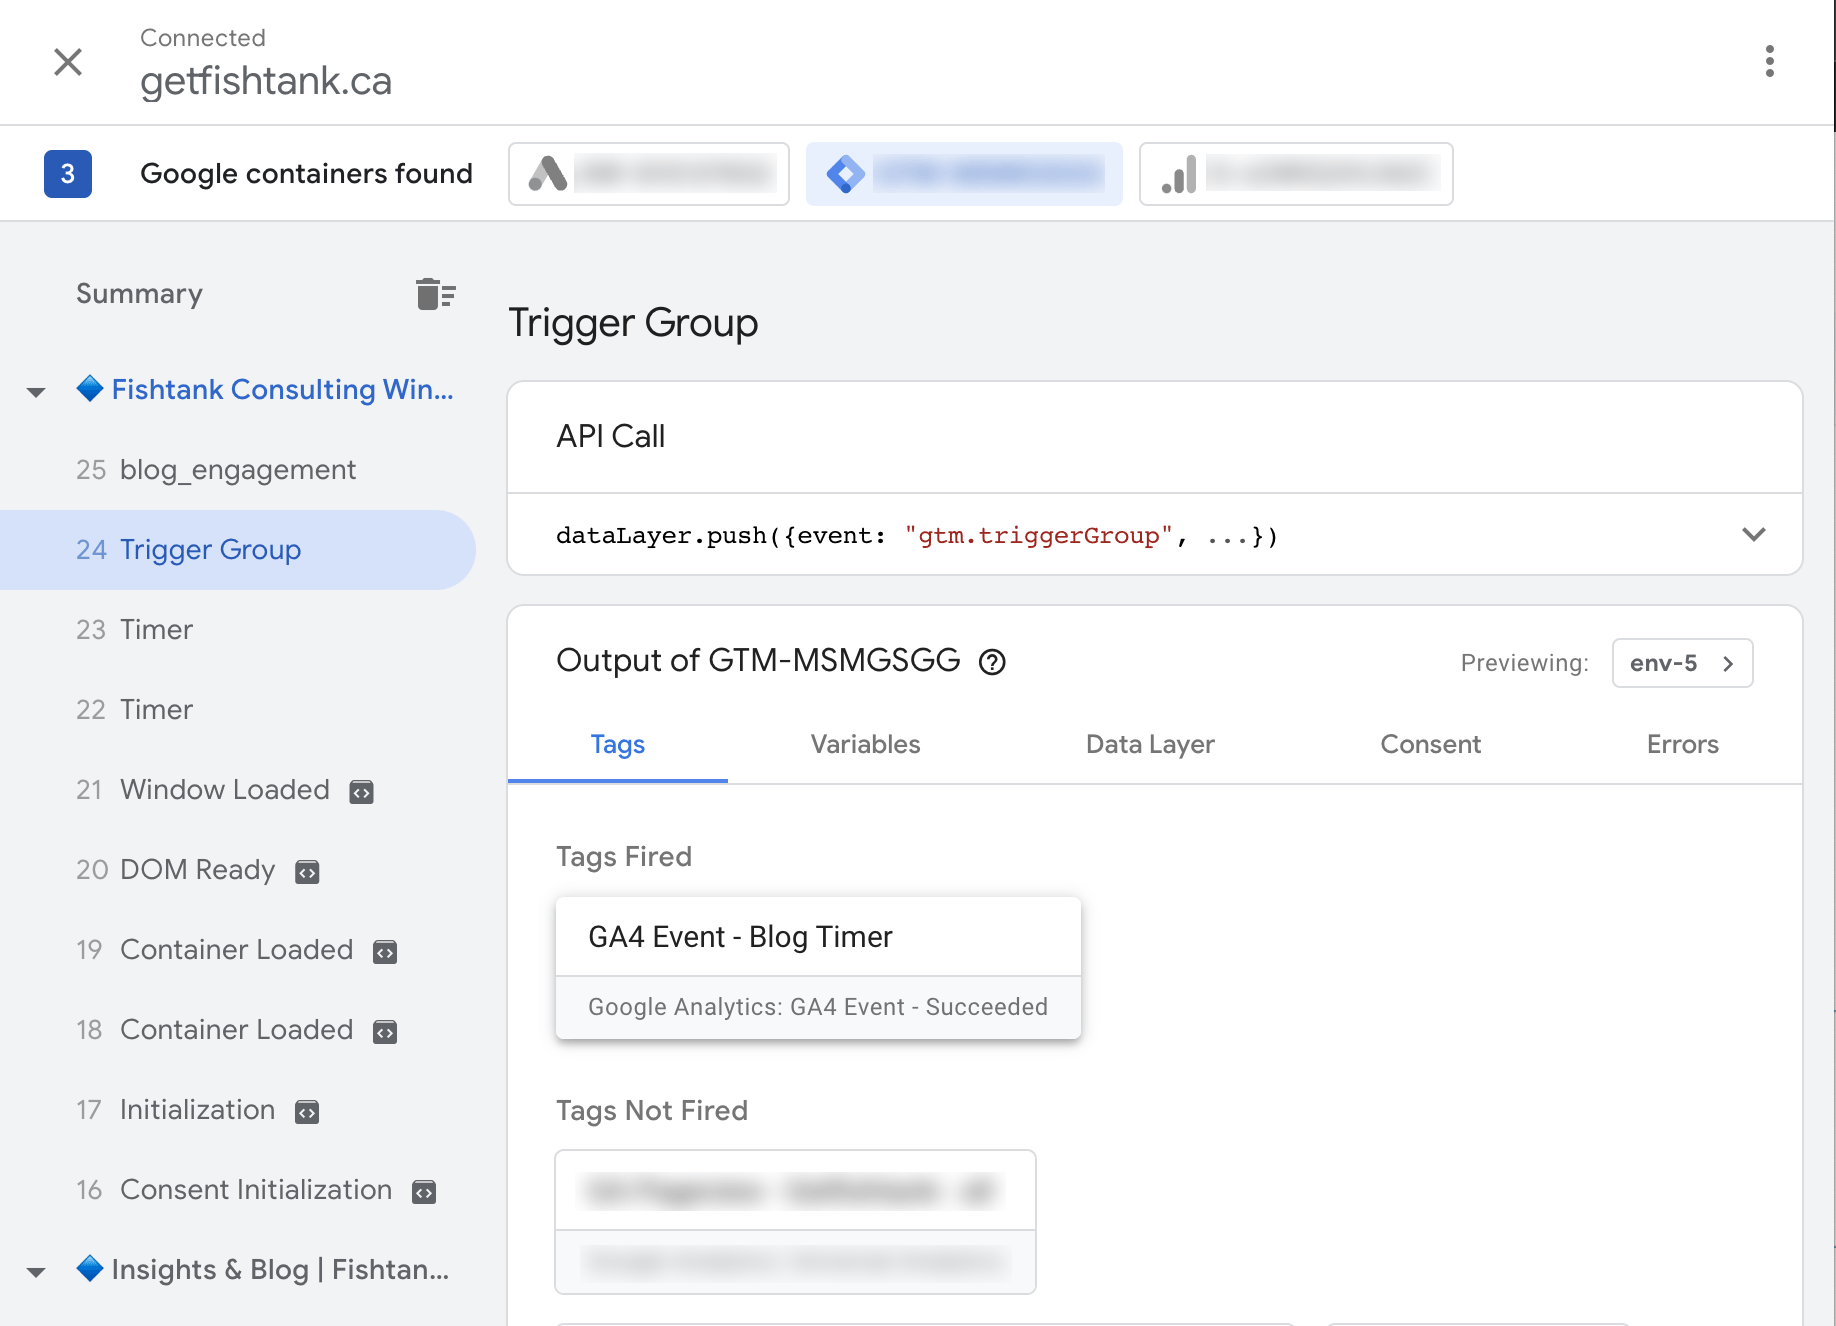
Now it's time to test our tags. Not only will we test our tag on a blog article page, but we also want to make sure it doesn’t fire on our main /blog landing page.
If you found this blog helpful and are ready to get the most out of your event tracking, check out our other GTM blogs. If you have any questions regarding a complex tracking setup or need help with a nagging configuration, reach out to our friendly team at [email protected]. We are always here to help!
Happy tracking!