Reading time: 12 min read
How to create and manage custom sort options in Sitecore CEC
A complete walkthrough for defining global sorting criteria and updating widget variations to refine the user search experience.
Start typing to search...
Sitecore's Customer Engagement Console (CEC) gives content teams direct control over how search results are ordered — without touching code. By configuring custom sort options in the CEC, you define the sorting strategies available to end users (e.g., "Most Recent", "Price: Low to High", or "Product Name: A to Z"), assign them to specific widgets, and control the order in which they appear in the UI.
This guide walks through the full lifecycle: from creating sort options in the CEC, to assigning them to widgets, to understanding how they surface in your front-end codebase.
Default relevance-based sorting works well for general queries, but real-world search scenarios demand more tailored precision:
Custom sort options bridge the gap between what the search engine thinks is relevant and what the user actually needs. By tailoring sort choices per widget, you ensure each search experience matches its context — a product catalog shouldn't offer "Alphabetical by Last Name," and a people directory doesn't need "Price: Low to High."
This phase creates reusable sorting options in your CEC domain. Think of it as building a library of sort strategies that can later be assigned to any widget.
1. Log in to the CEC and navigate to Administration > Domain Settings.
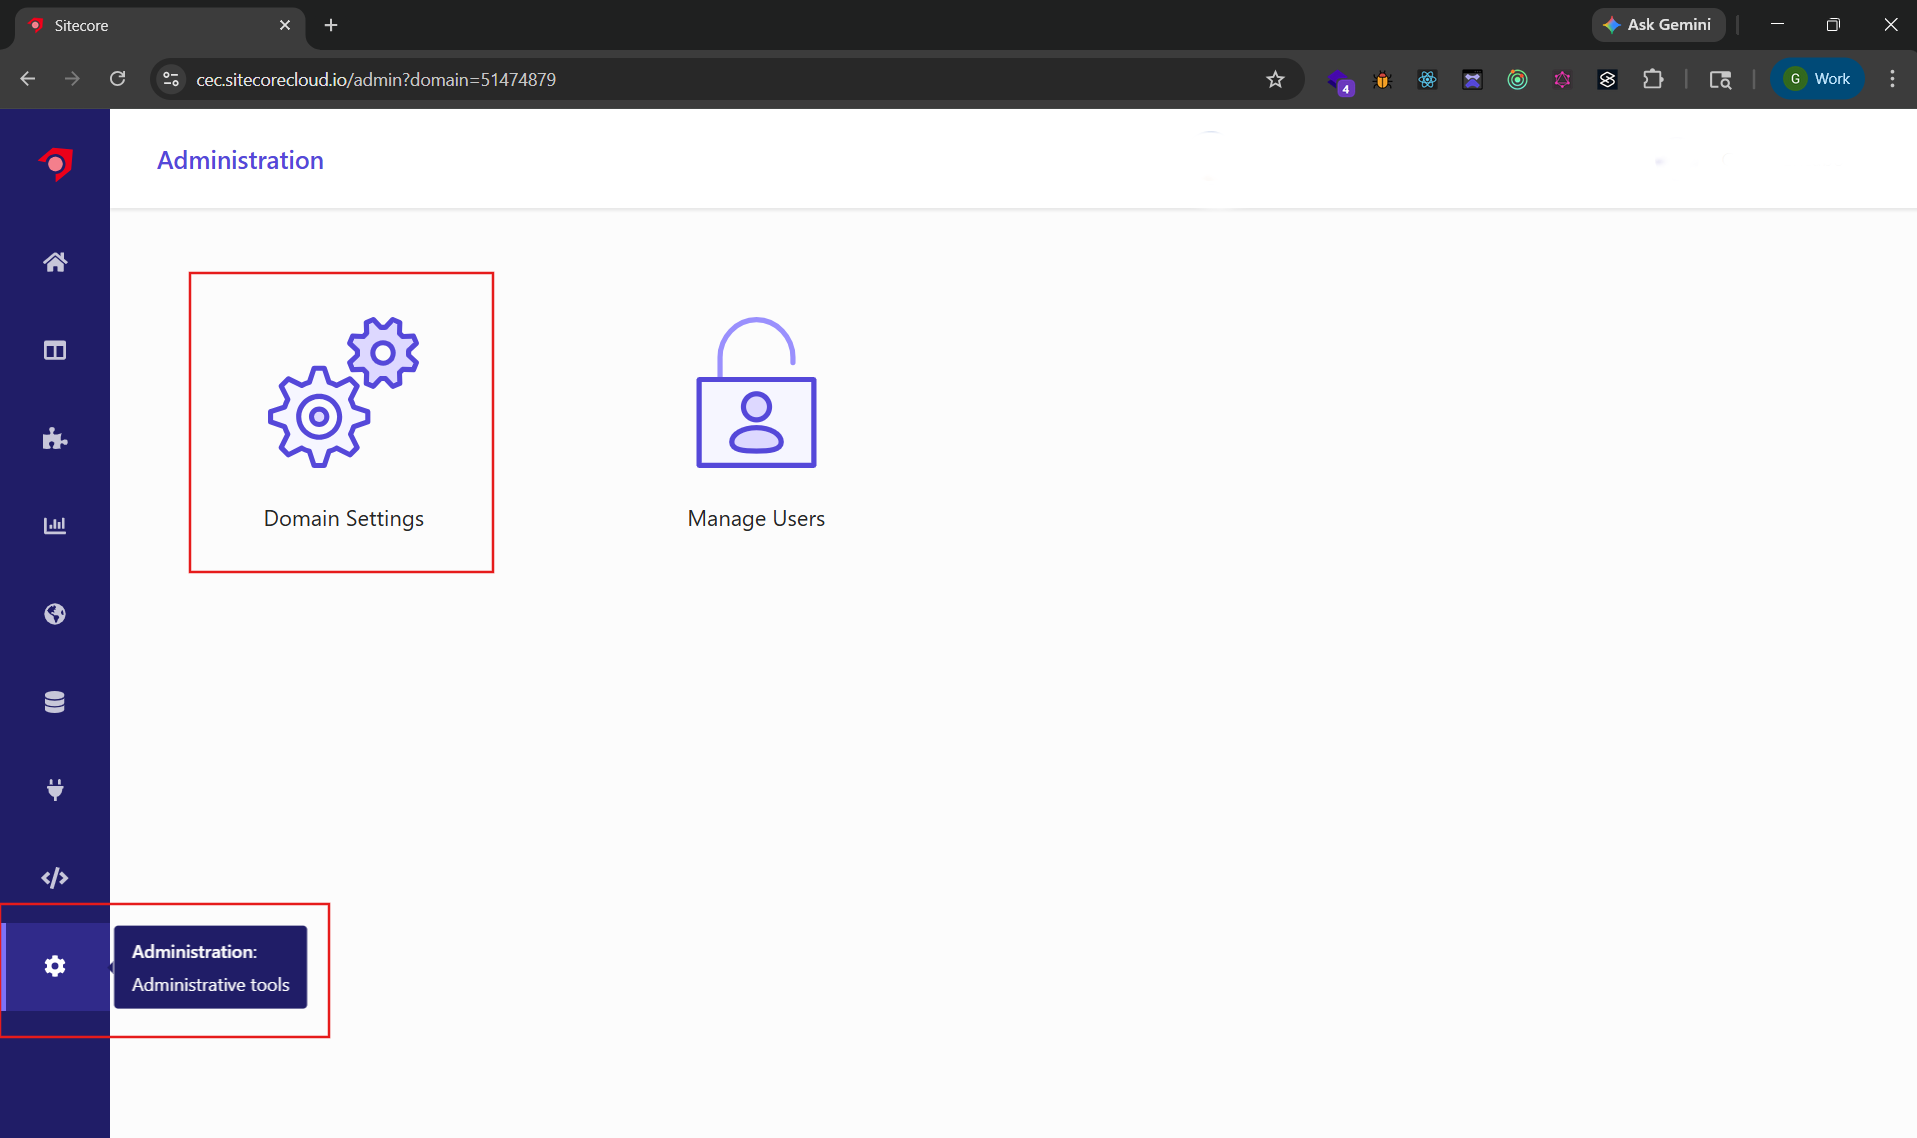
2. Under Feature Configuration, locate Sorting Options in the feature list and click the Edit icon to open its configuration screen.
.png)
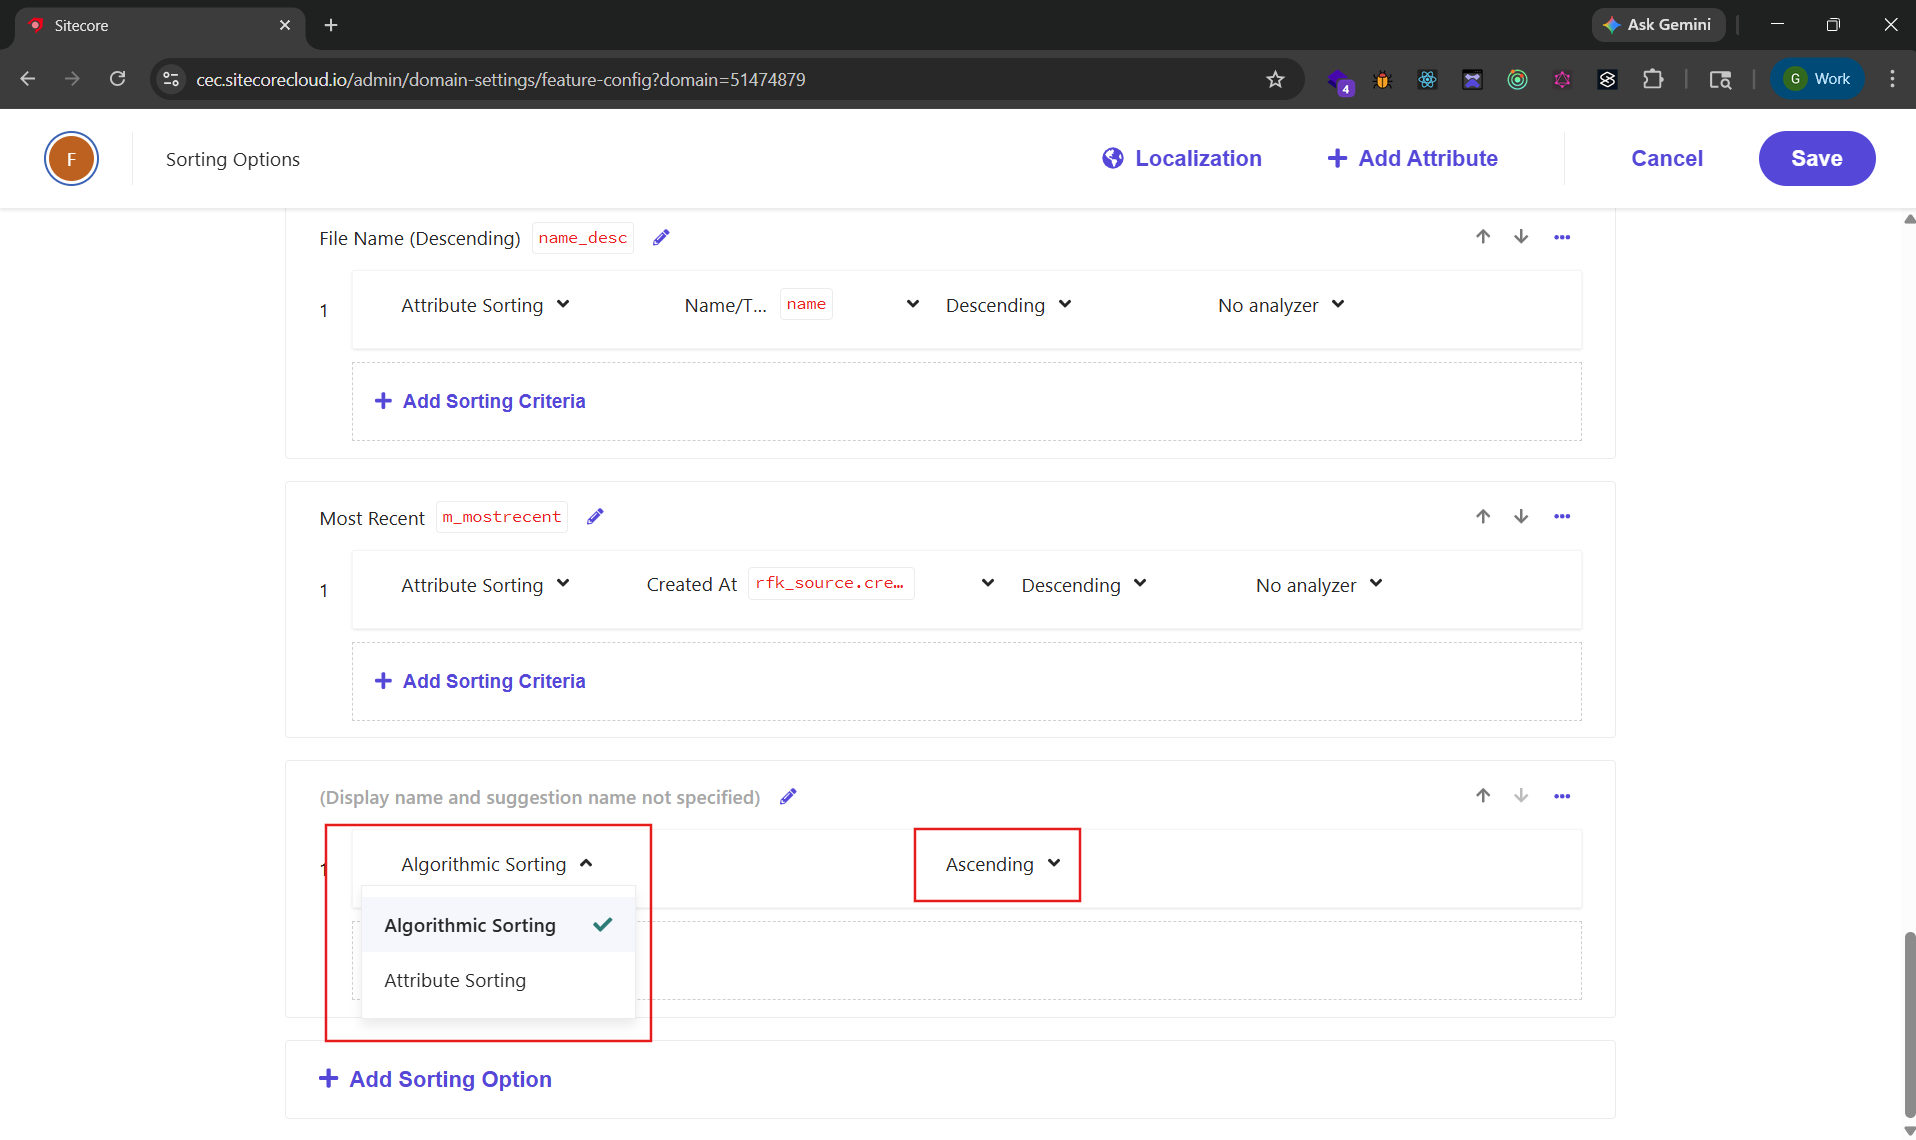
3. Click + Add Sorting Option and fill in the following:
m_mostrecent, name_desc). This value must match the defaultSortType used in your widget components..png)
4. Select a Sorting Type from the dropdown (Algorithm Sorting is selected by default). Each type has different configuration fields:
price, created_date).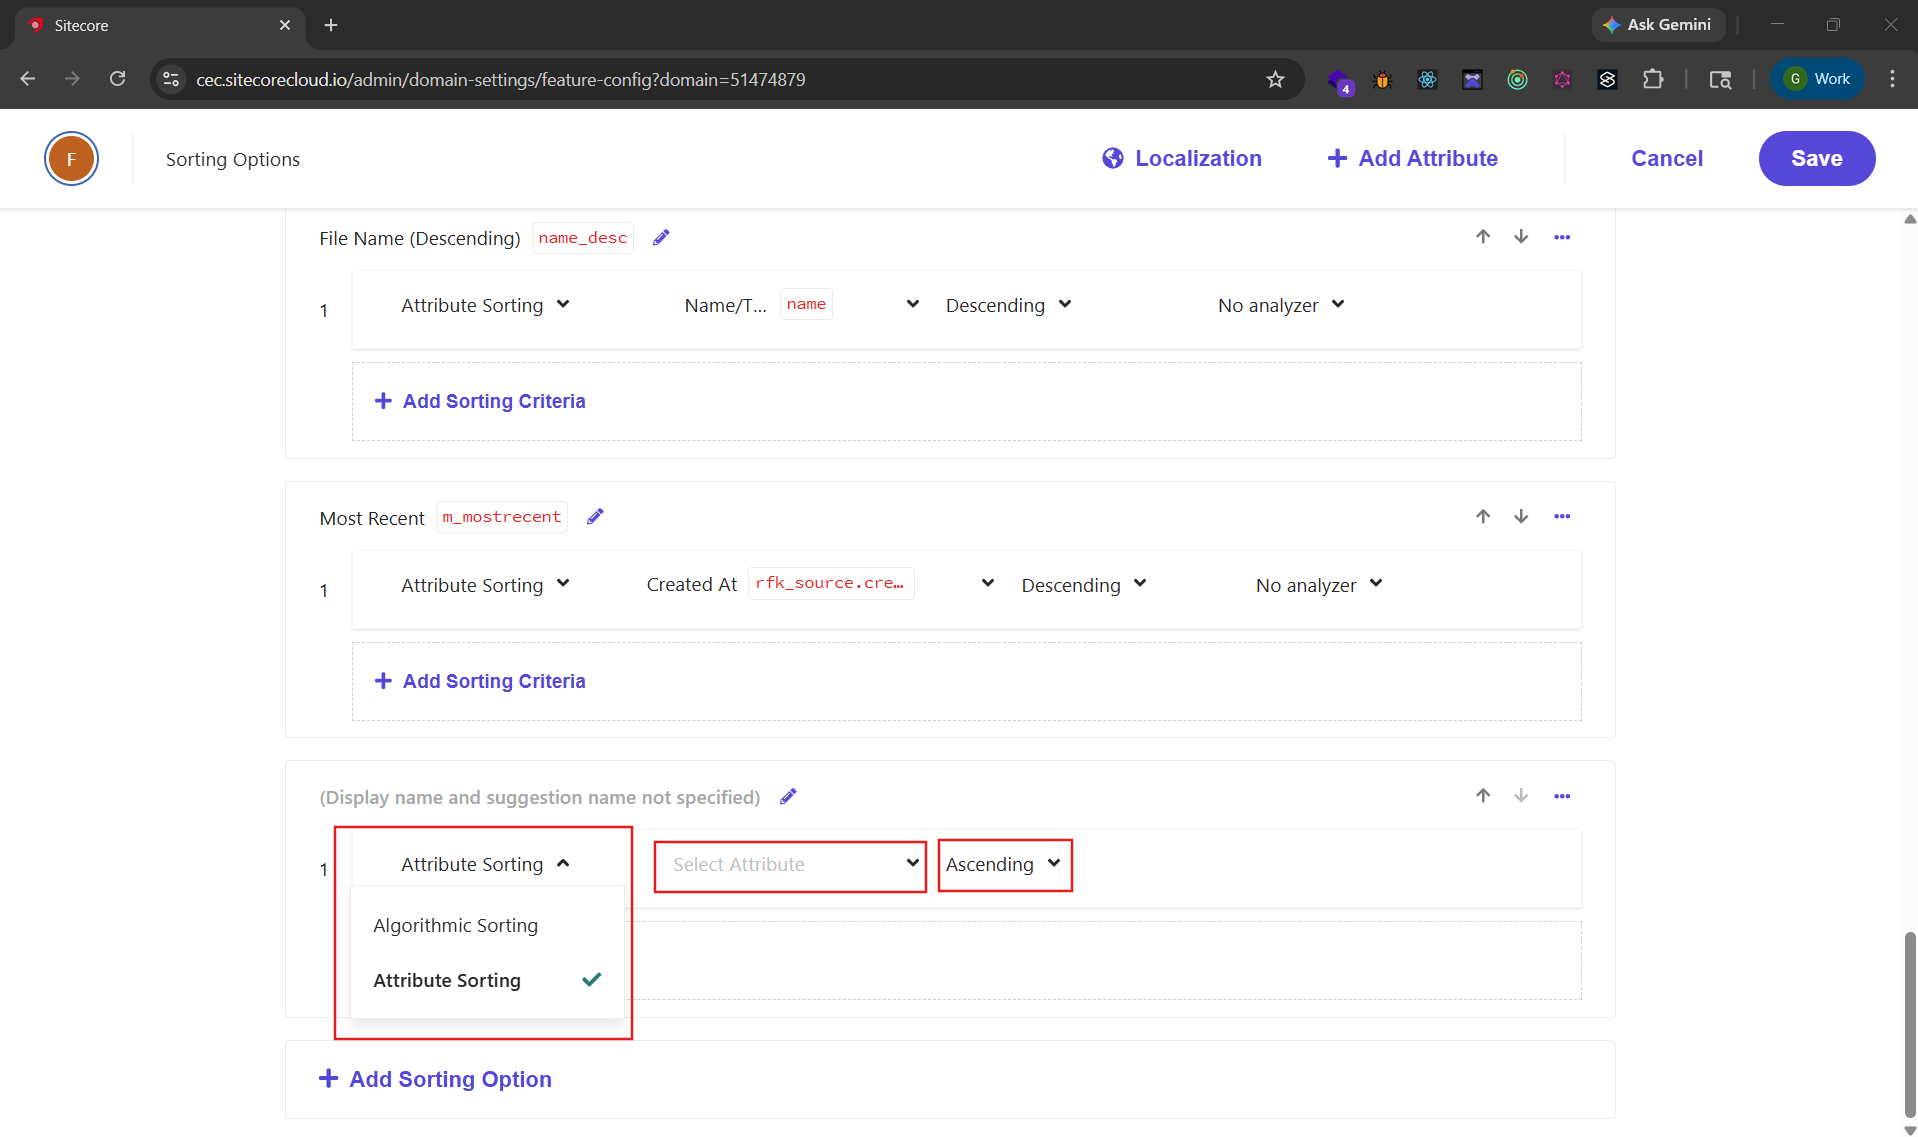
5. (Optional) To create a compound sort, click + Add Sorting Criteria to add additional criteria within the same sorting option. Results will be sorted by the first criterion, then by the second for ties, and so on.
.png)
6. Click Save to add the sorting option to your global library.
Tip: Repeat steps 3 - 6 to add additional sorting options. Use the up/down arrows to re-order options in your global library. These options will be available for assignment to individual search widgets in Phase 2.
Understanding the difference between the two sorting types is critical for choosing the right strategy:
| Algorithm Sorting | Attribute Sorting | |
|---|---|---|
| How it works | Uses Sitecore Search's built-in ranking algorithm to score and rank results based on query context | Sorts results by a specific indexed attribute value |
| CEC fields | Direction only | Attribute, Direction, Analyzer |
| Best for | General search where relevance to the query matters most | Structured data where users expect a predictable order |
| Examples | "Most Relevant," "Featured" | "Price: Low to High," "Most Recent," "File Name A - Z" |
| Direction | Ascending / Descending (controls ranking interpretation) | Ascending / Descending (literal field value ordering) |
| Requires | No additional configuration — available by default | An indexed attribute in your search schema (e.g., m_publisheddate, name) |
| Analyzer | Not applicable | Optional — defaults to No analyzer |
Rule of thumb: Use algorithm sorting for open-ended search where query relevance should drive ranking; use attribute sorting when users need a fixed, predictable order (and ensure the attribute is indexed and populated). Compound criteria within one option are supported for tie-breaking.
This phase connects the global sorting options (from Phase 1) to a specific widget, controlling which options appear in the UI and in what order.
1. Navigate to Widgets from the main CEC menu, then select the widget you want to configure (e.g., Product Search, Search Results or Category Page).
.png)
2. Under Widget Variations, select the variation you wish to update, then locate and click the Edit icon on the variation.
.png)
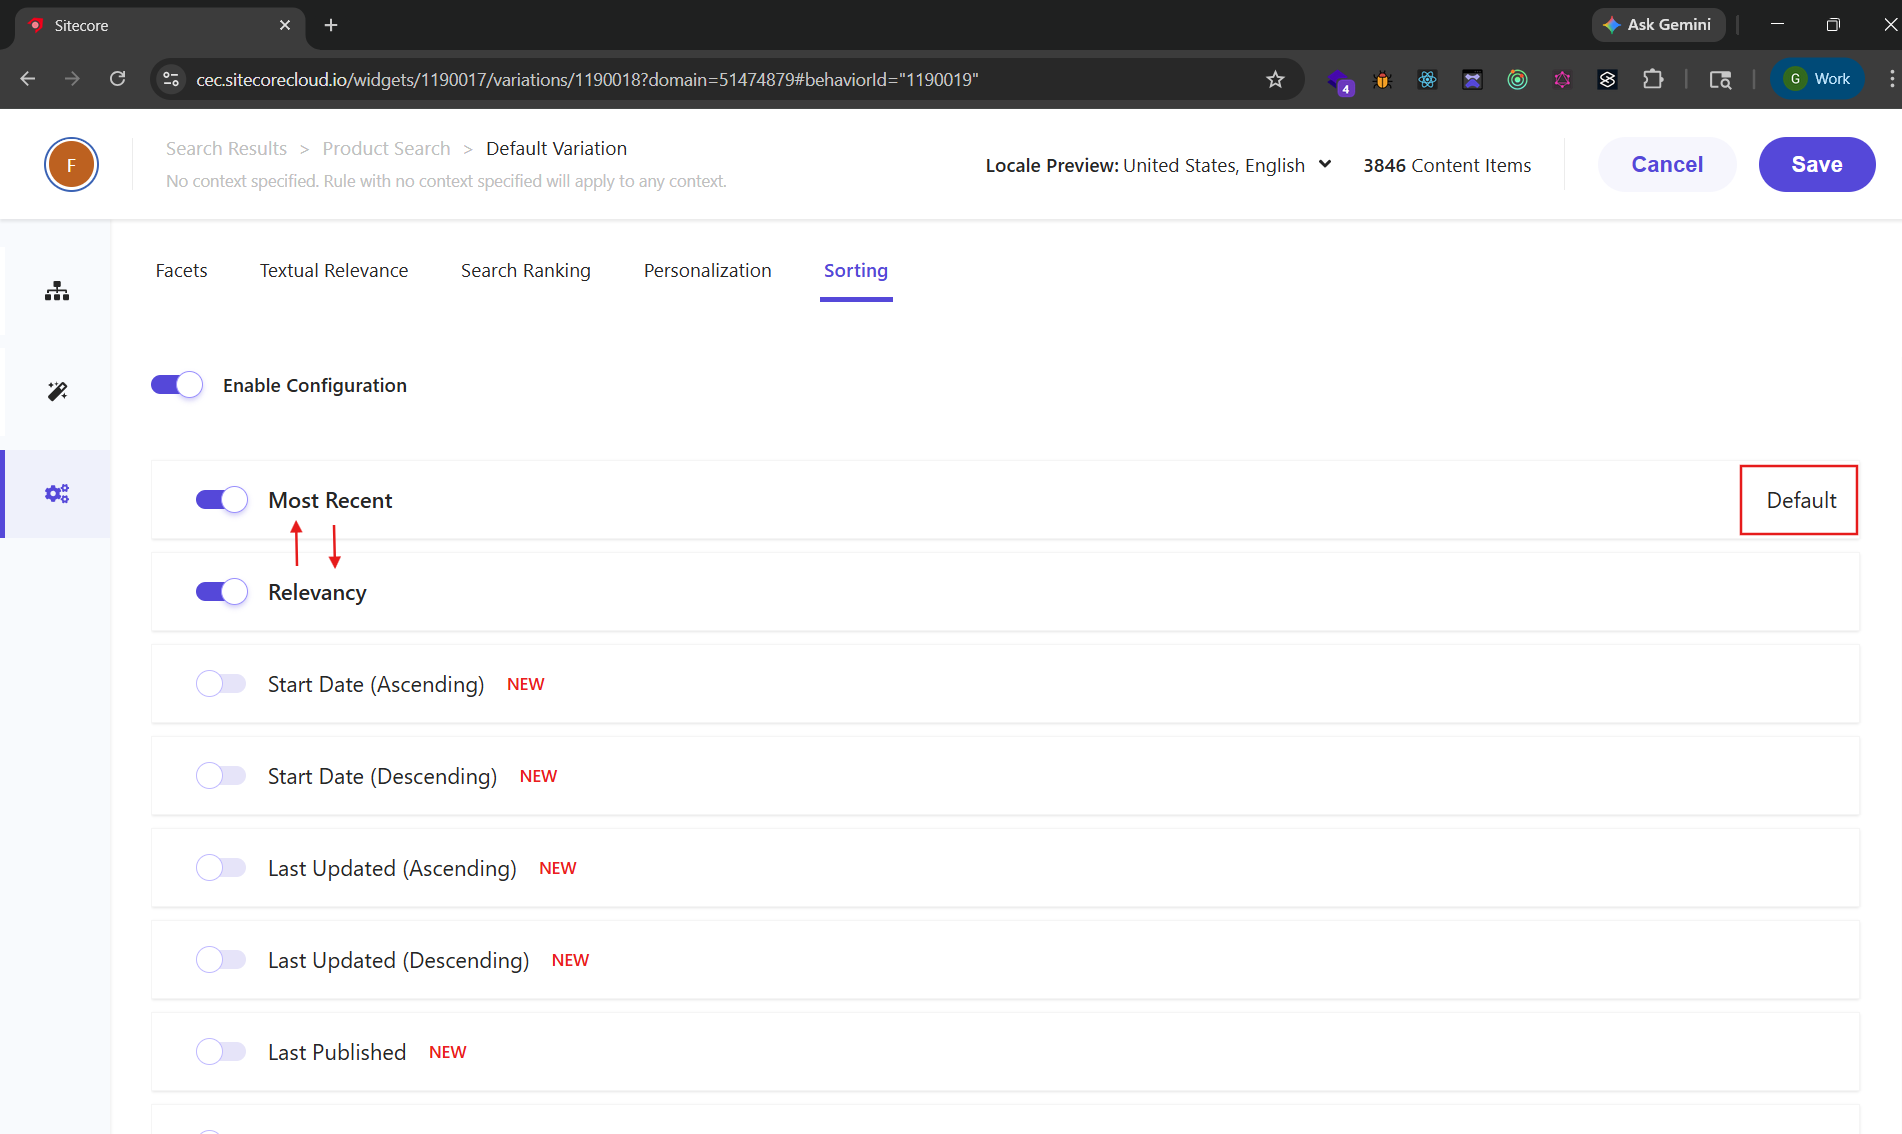
3. Select the rule you wish to update and click the Edit icon. In the rule editor, go to Settings > Sorting and configure the available options:

4. Arrange the enabled sorting options in the order they should appear in the UI. The first enabled option will be the default sort.
5. Click Save to apply the changes to the variation.
6. Click Publish to push the configuration to the live search environment.
Before publishing: Review the enabled SORTING options list to confirm the selection and display order match your intended design. Publishing takes effect immediately on the live environment.
.png)
Not every widget needs every sort option. Disabling irrelevant options reduces clutter and improves the user experience. Here are common scenarios:
| Scenario | Action | Reason |
|---|---|---|
| Product catalog widget | Disable "File Name (Descending)" | File name sorting is not meaningful for product discovery |
| People directory widget | Disable "Most Recent" | Users expect alphabetical order, not recency |
| Event listing widget | Put a chronological sort first in the list (or disable Relevance) | Users expect date order for events |
| Knowledge base widget | Disable sorting options that depend on unpopulated attributes | Prevents confusing results where all items appear in an arbitrary order |
| Single-purpose landing page | Disable all but one option | If there's only one meaningful sort, hide the dropdown entirely |
Remember: when all sorting options are disabled for a widget, the sort dropdown will not render in the UI. The front-end code handles this automatically:
// widgets/SearchResults/components/SearchResultsToolbar/index.tsx
{totalItems > 0 && sortChoices.length > 0 && (
  <SortOptions options={sortChoices} selected={sortType} />
)}Once sorting options are configured in the CEC, they flow into your front-end automatically through the Sitecore Search SDK. The following sections show how the API exposes enabled choices (name / label), how the sort control renders them, and how selection can persist in the URL.
Here's what the end result looks like on a live product search page — the sort dropdown displays the Display Names configured in Phase 1, in the order set in Phase 2:
.png)
Now let's look at the code that makes this work.
When the search widget loads, the useSearchResults hook fetches data from the Sitecore Search API. The response includes sort.choices — an array of the sorting options you enabled in Phase 2:
// widgets/SearchResults/ProductSearch/index.tsx
const {
  state: { sortType, page, itemsPerPage },
  queryResult: {
    data: {
      sort: { choices: sortChoices = [] } = {},
      content: productItems = [],
    } = {},
  },
} = useSearchResults<ProductModel, InitialState>({
  state: {
    sortType: defaultSortType,  // API Name from CEC (e.g., 'm_relevancy')
    page: defaultPage,
    itemsPerPage: defaultItemsPerPage,
    keyphrase: defaultKeyphrase,
    selectedFacets: [],
  },
});
The snippet above is simplified for readability. The full ProductSearch widget also passes a query callback (filters, sources, highlighting, and so on) and reads additional fields from the response.
Each item in sortChoices has two properties that map directly to CEC:
The SortOrder component (default export from SortOrder/index.tsx) renders the sort dropdown that the end user interacts with. The toolbar typically imports that default export under a local name such as SortOptions (import SortOptions from '../SortOrder'). It uses @sitecore-search/ui primitives and calls onSortChange when the user selects a different option:
// widgets/SearchResults/components/SortOrder/index.tsx
import { useSearchResultsActions } from '@sitecore-search/react';
import { SortSelect } from '@sitecore-search/ui';
import { SortSelectStyled } from './styled';
const SortOrder = ({ options, selected }: SortOrderProps) => {
  const selectedSortIndex = options.findIndex((s) => s.name === selected);
  const { onSortChange } = useSearchResultsActions();
  return (
    <SortSelect.Root
      value={options[selectedSortIndex]?.name}
      onValueChange={onSortChange}
    >
      {/* Trigger button showing the selected option's Display Name */}
      <SortSelectStyled.Trigger>
        <SortSelectStyled.SelectValue>
          {selectedSortIndex > -1 ? options[selectedSortIndex].label : ''}
        </SortSelectStyled.SelectValue>
        <SortSelectStyled.Icon />
      </SortSelectStyled.Trigger>
      {/* Dropdown menu listing all enabled options from CEC */}
      <SortSelectStyled.Content>
        <SortSelectStyled.Viewport>
          {options.map((option) => (
            <SortSelectStyled.Option value={option} key={option.name}>
              <SortSelectStyled.OptionText>
                {option.label}
              </SortSelectStyled.OptionText>
            </SortSelectStyled.Option>
          ))}
        </SortSelectStyled.Viewport>
      </SortSelectStyled.Content>
    </SortSelect.Root>
  );
};The SearchResultsToolbar conditionally renders the sort dropdown only when there are results and sort choices available. If you disable all sort options in the CEC for a widget, the dropdown disappears:
// widgets/SearchResults/components/SearchResultsToolbar/index.tsx
import SortOptions from '../SortOrder';
export const SearchResultsToolbar = ({ sortChoices, sortType, totalItems }) => {
  return (
    <div>
      {totalItems > 0 && sortChoices.length > 0 && (
        <SortOptions options={sortChoices} selected={sortType} />
      )}
    </div>
  );
};
The real toolbar also renders facets, result summaries, and responsive layout; only the sort conditional is shown here.
The selected sort type is persisted in the URL hash, allowing users to share and bookmark sorted results. In this starter, the hash query parameter is sort (the CEC API Name); useSearchUrlState exposes it as sortType in your React code.
// lib/hooks/search/useSearchUrlState.ts
const { sortType, page, itemsPerPage } = useSearchUrlState({
  defaultSortType: 'm_relevancy',  // Fallback to API Name from CEC
  defaultPage: 1,
  defaultItemsPerPage: 10,
});
| File | Purpose |
|---|---|
widgets/SearchResults/components/SortOrder/index.tsx |
Sort dropdown component |
widgets/SearchResults/components/SortOrder/styled.ts |
Sort dropdown styling |
widgets/SearchResults/components/SearchResultsToolbar/index.tsx |
Toolbar that conditionally renders the sort dropdown |
widgets/SearchResults/ProductSearch/index.tsx |
Example widget consuming sort choices |
lib/hooks/search/useSearchUrlState.ts |
URL state persistence for sort selection |
lib/const/search-const.ts |
Shared search configuration and related constants (env, facets, some sort-related API names) |
After publishing, verify that your sorting configuration works as expected.
| Symptom | Likely Cause | Fix |
|---|---|---|
| Sort dropdown doesn't appear | No sort options enabled for this widget | Enable at least one option in the CEC widget rule |
| Sort option appears but doesn't change results | API Name mismatch between CEC and code | Verify the defaultSortType in your widget matches the API Name in CEC |
| All results appear in the same order regardless of sort | The sorted attribute is empty or unpopulated for most items | Ensure the target attribute is indexed and populated in your content |
| New sort option not showing after publish | Browser or CDN cache | Clear browser cache or wait for CDN invalidation |
Managing sort options is an ongoing process, not a one-time setup. Here's how to think about the full lifecycle:
m_relevancy, m_mostrecent, m_created_date_desc. This makes it easier for developers to reference them in code.Custom sorting in Sitecore CEC is more than a configuration task — it's a continuous cycle of creating, assigning, validating, and iterating that directly shapes how users discover your content. This guide walked through that full lifecycle:
sort.choices in the API response to the SortOrder dropdown in the UI.