Reading time: 6 min read
Set Up a Development Environment for Sitecore XM Cloud 10
With Containers and ASP.NET Core Rendering SDK
Start typing to search...
With Containers and ASP.NET Core Rendering SDK
There are multiple steps to set up a development environment related to Sitecore XM-Cloud 10.3. This guide will cover the process up to getting to the launch pad, including:
Download PowerShell.
If you are using Windows 10 Anniversary Update or Windows Server 2016, you should already have Windows PowerShell 5.1.
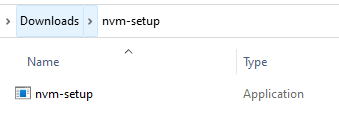
First, install Node Version Manager. You will use this to install any version of Node for your projects.
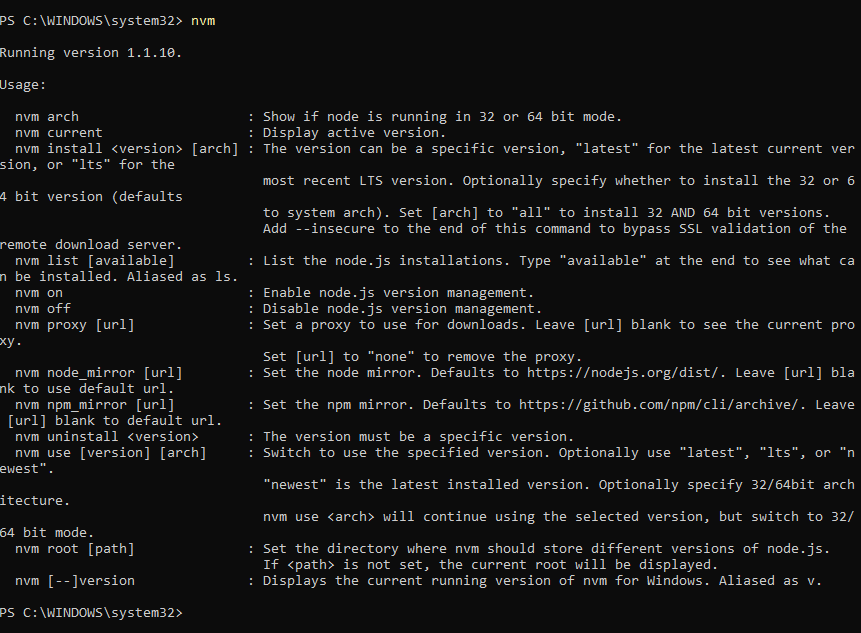
Now, run NVM install @
Command:
nvm install @18.13.0
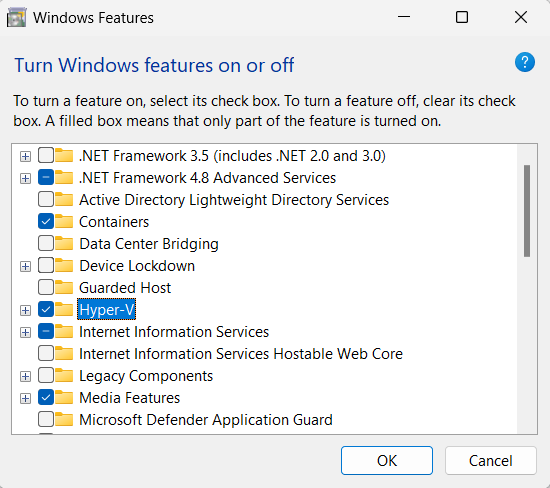
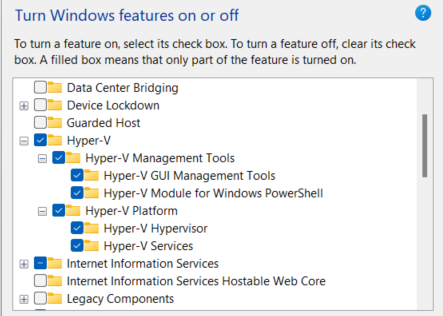
Navigate to the control panel from your windows bar menu and search for “Turn Windows features on or off.” By default, the Hyper-V should be unchecked. Check it and click ok.
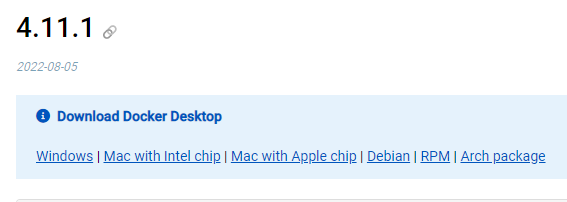
On the download page, select your system OS and follow the instructions.
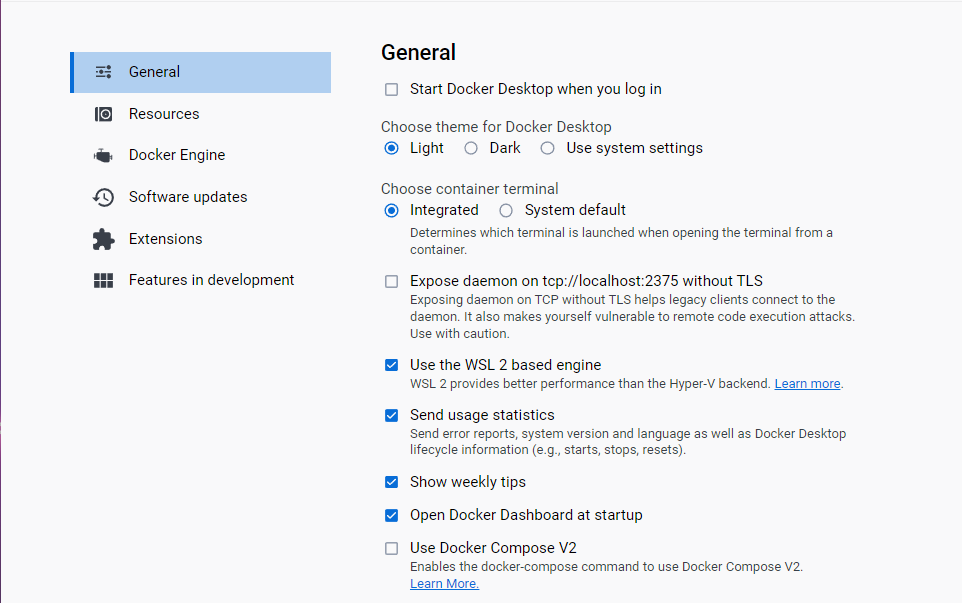
Once you have docker 4.11.1 installed, launch it and uncheck Use Docker Compose V2 and check Use the WSL 2 based engine.
Ensure that you have Docker Desktop installed (see image below) and that Windows containers are enabled. If the docker tray icon reads, Switch to Windows Container..., select the option and wait for Docker to switch to Windows containers from Linux. Any previously running Linux containers will stop and cannot be started while Windows containers are enabled.
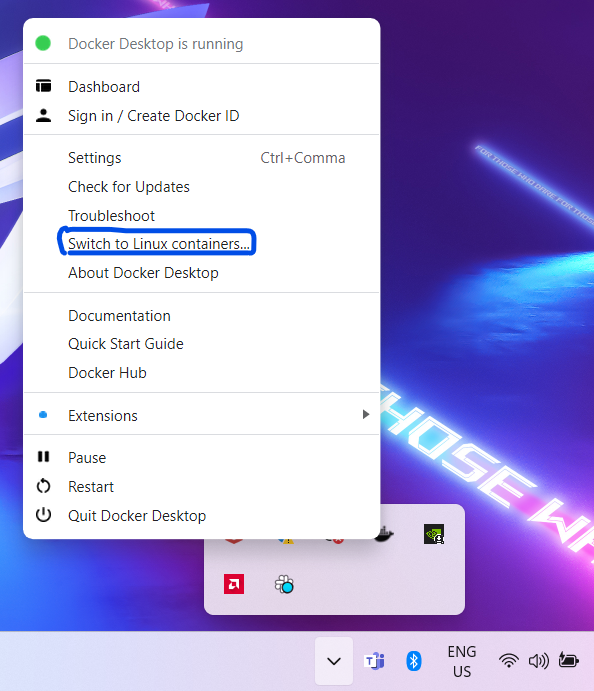
If the right-click menu for the docker tray icon reads Switch to Linux containers..., you have Windows containers enabled and are good to go.
Once you have your project from either the official GitHub repository or Sitecore Cloud Portal, in your PowerShell terminal, cd into the project directory: In my case, I have:

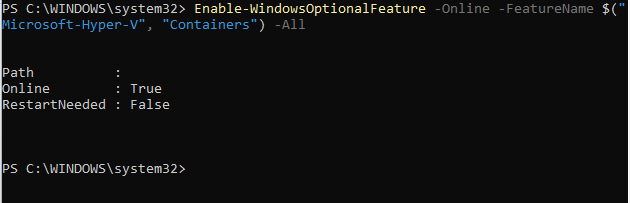
Enable-WindowsOptionalFeature -Online -FeatureName $("Microsoft-Hyper-V", "Containers") -All command.

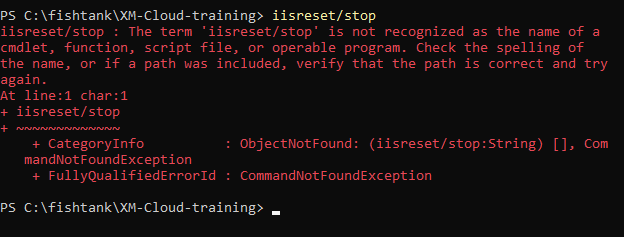
iisreset /stop
There is a likelihood of running into this error. Two things could cause this error.
How you write iisreset /stop command. There is a space between the keyword iisreset and /.
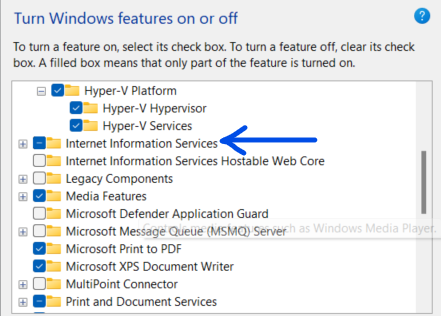
Internet Information Services in Turn Windows features on or off are not checked.

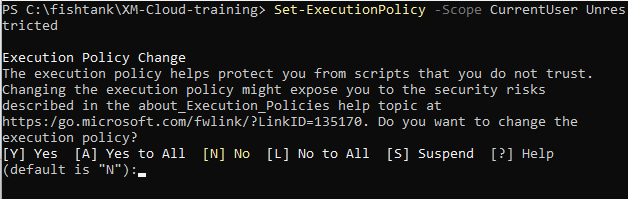
Set-ExecutionPolicy -Scope CurrentUser Unrestricted
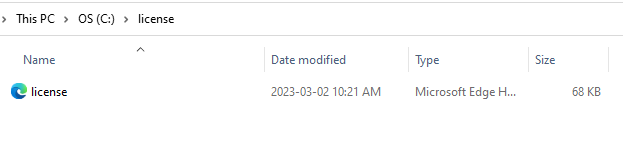
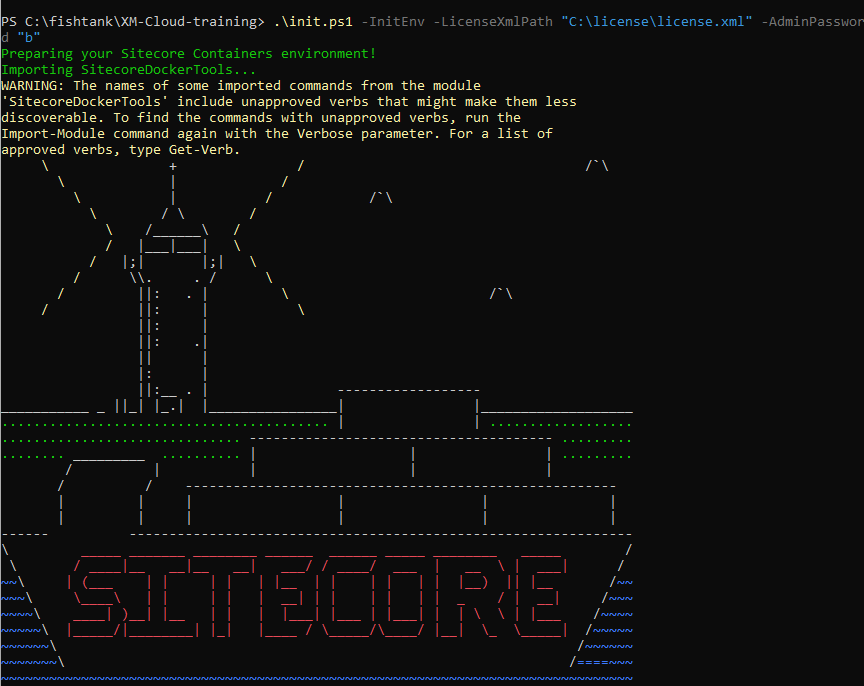
Change the values in the angle brackets “<>” AdminPassword = “b” and the path is license.
You need to create a folder in the same directory you have in your project file and call it license. Save the license.xml file inside.
.\init.ps1 -InitEnv -LicenseXmlPath "C:\license\license.xml" -AdminPassword "b"
Run and say yes “Y” to all.
If all has been done correctly, the screen below should appear. All appropriate certificates should be installed.
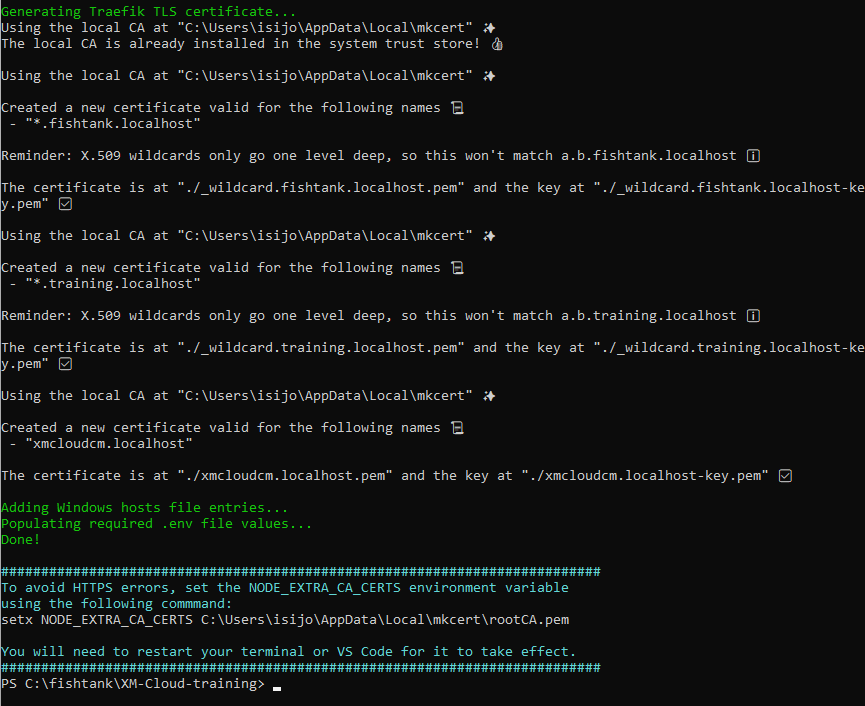
Note the bottom message in turquoise green text. You must set this variable if you haven’t done so already.

If you reach this stage, you have completed the initialization process, and the up command can be executed.
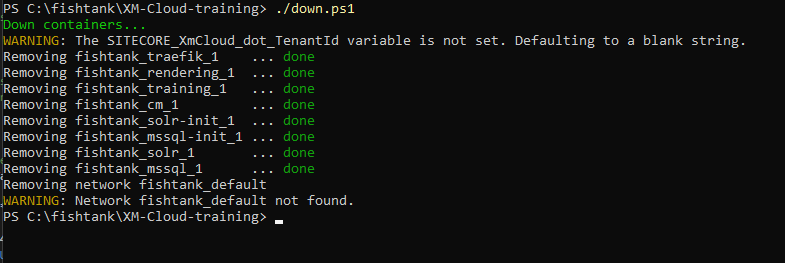
Important: If you get an error running the up command, run the down command to stop/remove all the containers supporting the Sitecore environment.
./down.ps1
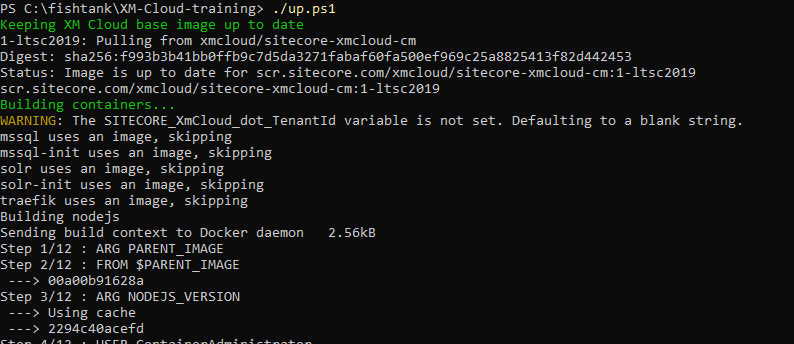
The up script is designed to build and start the containers for the environment. It also checks if the device is authorized through the identity server and de-serializes the Sitecore items.
The up command creates the containers and de-serializes the sample items into the Sitecore instance using the new Sitecore content serialization CLI.
./up.ps1
At this point, wait for the up command to run through.
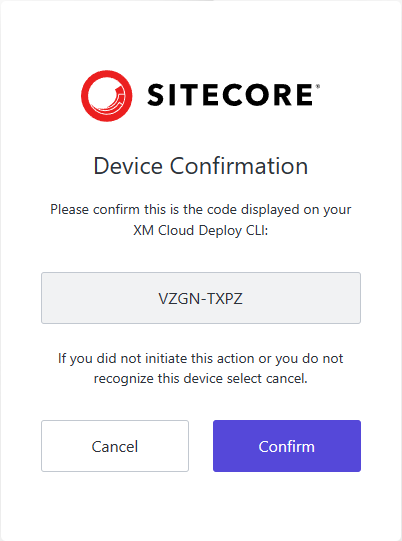
You will be prompted to do a device confirmation, click the confirm button.
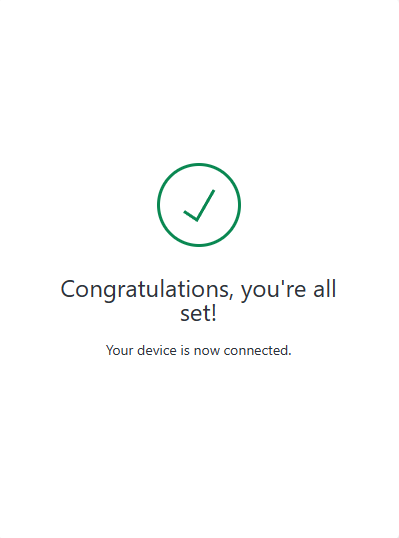
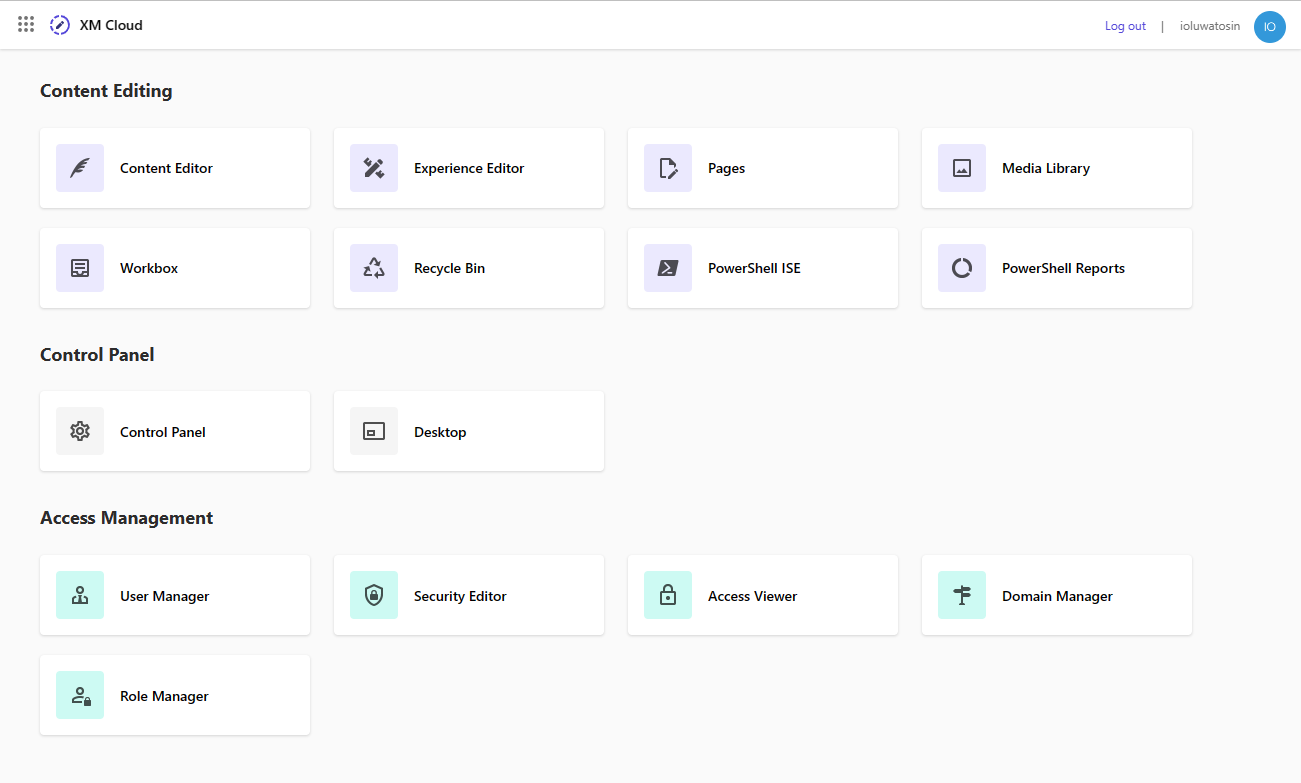
If you finally got here. Congratulations, all connected!
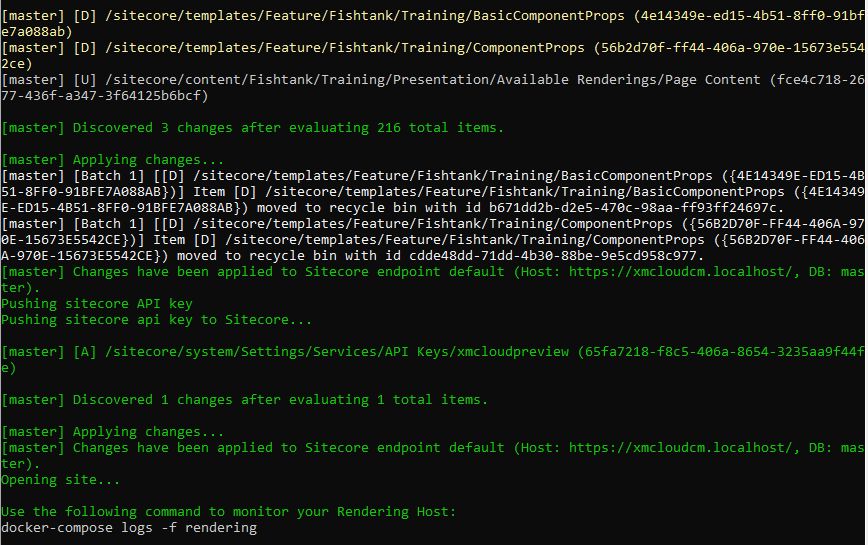
And your project should be connected to the Sitecore page XM Cloud. Your browser should pop up and display the Sitecore launch pad: