Upgrading The Sitecore XM Cloud Next.js Front-End
Sitecore XM Cloud is an enterprise SaaS-based CMS. No upgrading required. When you look at the front-end of your application, it’s a good idea to do some maintenance. Your front-end is a headless, independent but Sitecore is always improving the libraries you likely use to build your front-end. By upgrading you can get:
- Improved developer tooling
- Latest version of Headless Services libraries
- Access to new XM Cloud-specific features
- Updated development environments
- Enhanced functionality in the XM Cloud starter kit (e.g. 404 handling, multisite resolution)
Overview of The Upgrade
There is no secret sauce, but the lift isn’t too heavy. Here are the steps I’ll go through:
- Check out the latest XM Cloud Starter Kit
- Use a tool like Beyond Compare find the the differences between the starter kit project and my project
- Intelligently apply / merge the updates where necessary to configs & code
To be clear, you many find some other ingenious ways (especially in the future) to accomplish this, but this an overview of how I did it. 🙂 I wanted to ensure that any filename changes and modifications to those files would be captured.
Step-by-Step Upgrade Process
For reference, I downloaded this XM Cloud Starter Kit towards the end of April and am updating to the latest as of end of December. This is an April → December update.
Download The Latest Starter Kit
Go to https://github.com/sitecorelabs/xmcloud-foundation-head and download as a zip or clone the latest version of the starter kit into an empty folder on your machine.
I would recommend downloading Beyond Compare from Scooter Software. I have used this tool forever on both Windows and Mac.
Compare The Folders
Let’s get started using Beyond Compare by doing a Folder Compare.
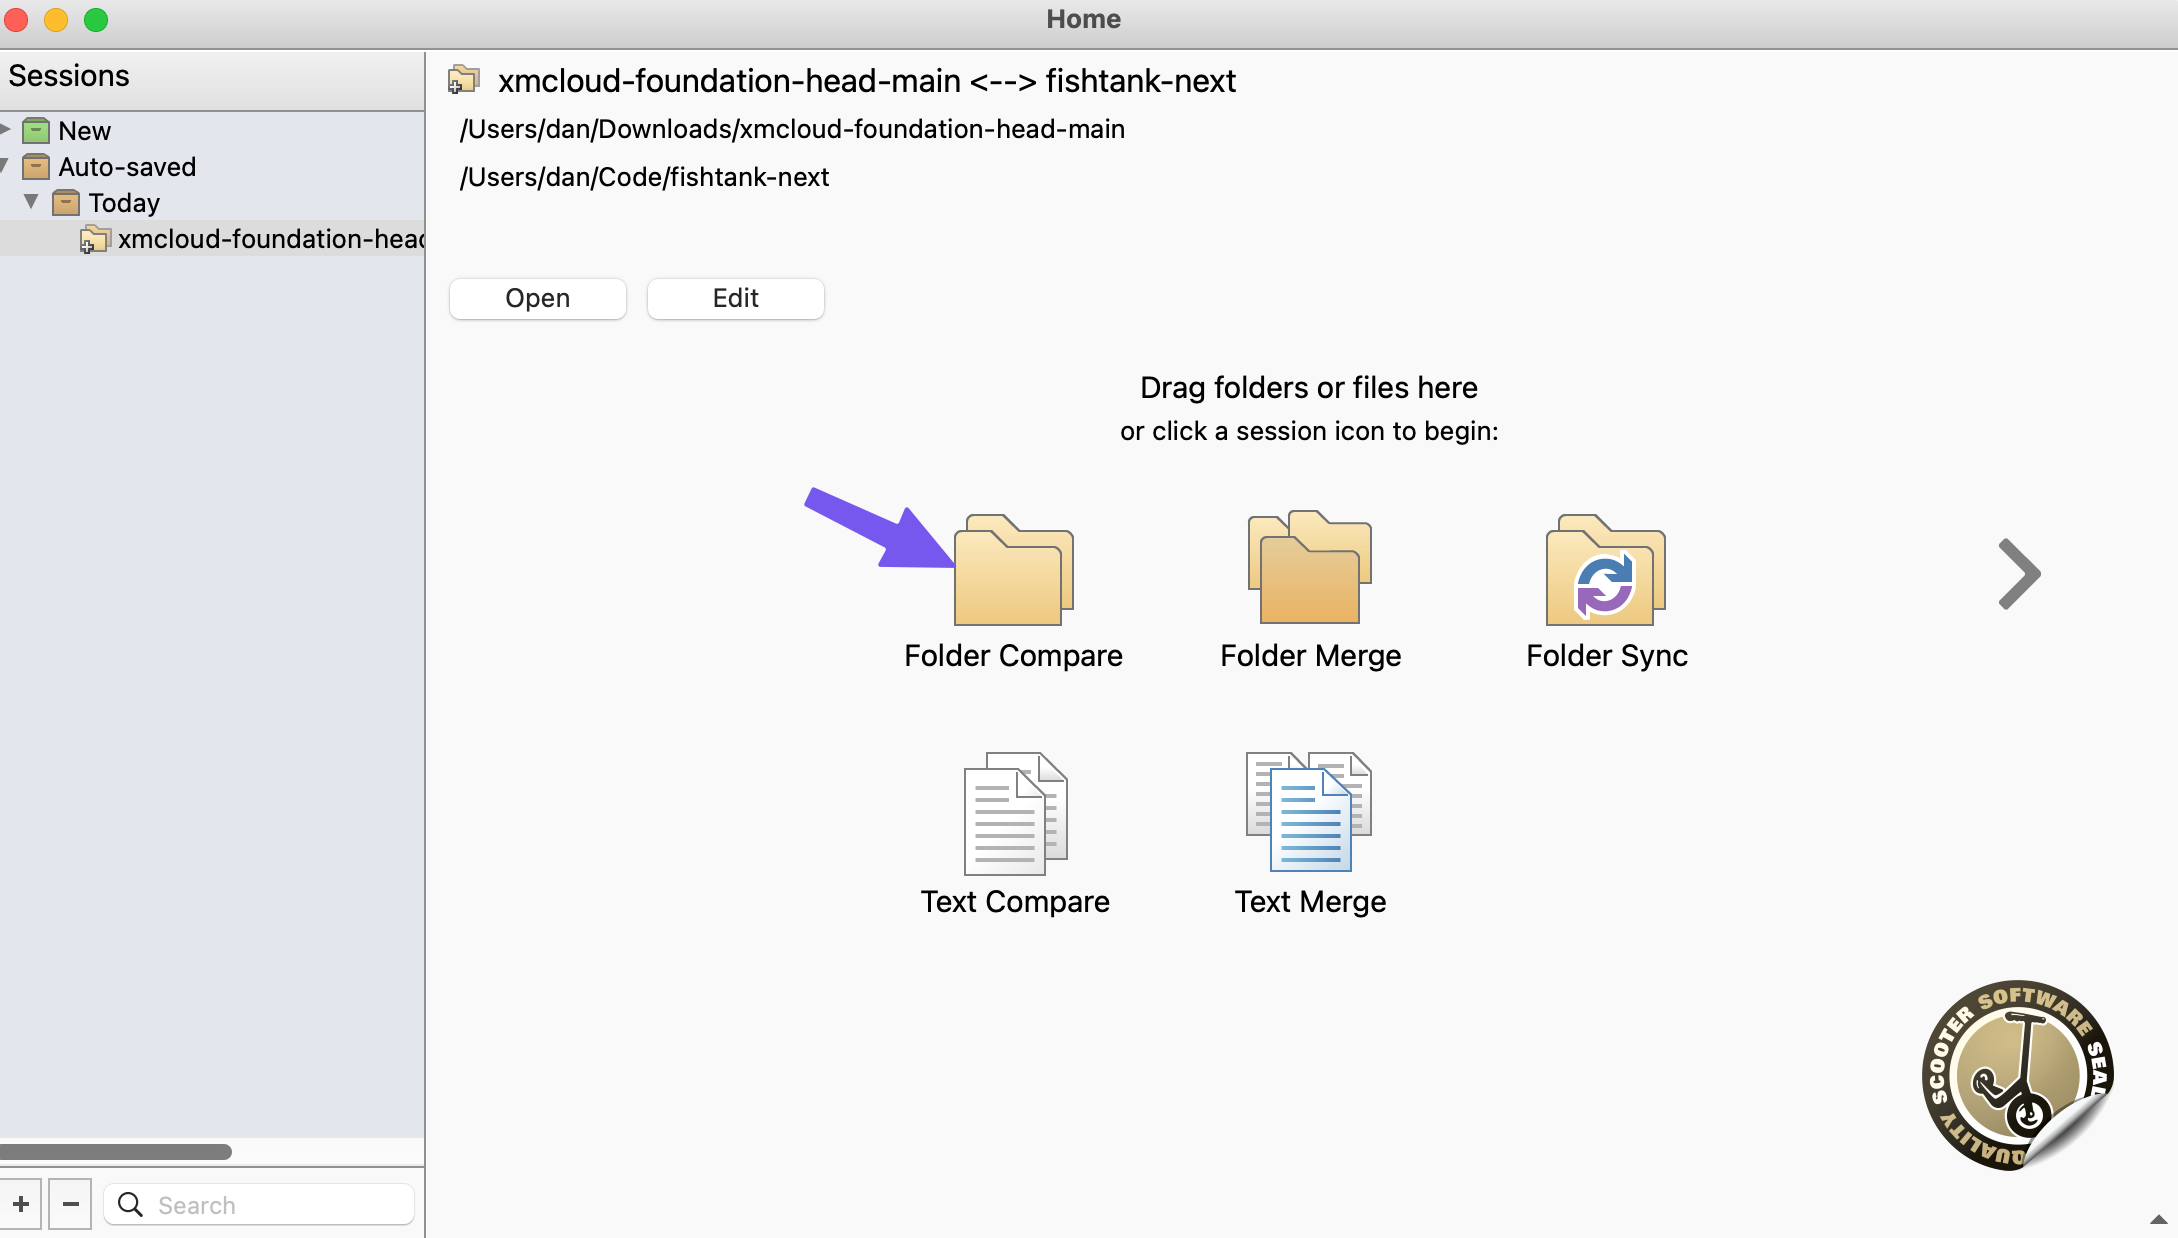
I’m using a Mac. Don’t be alarmed.
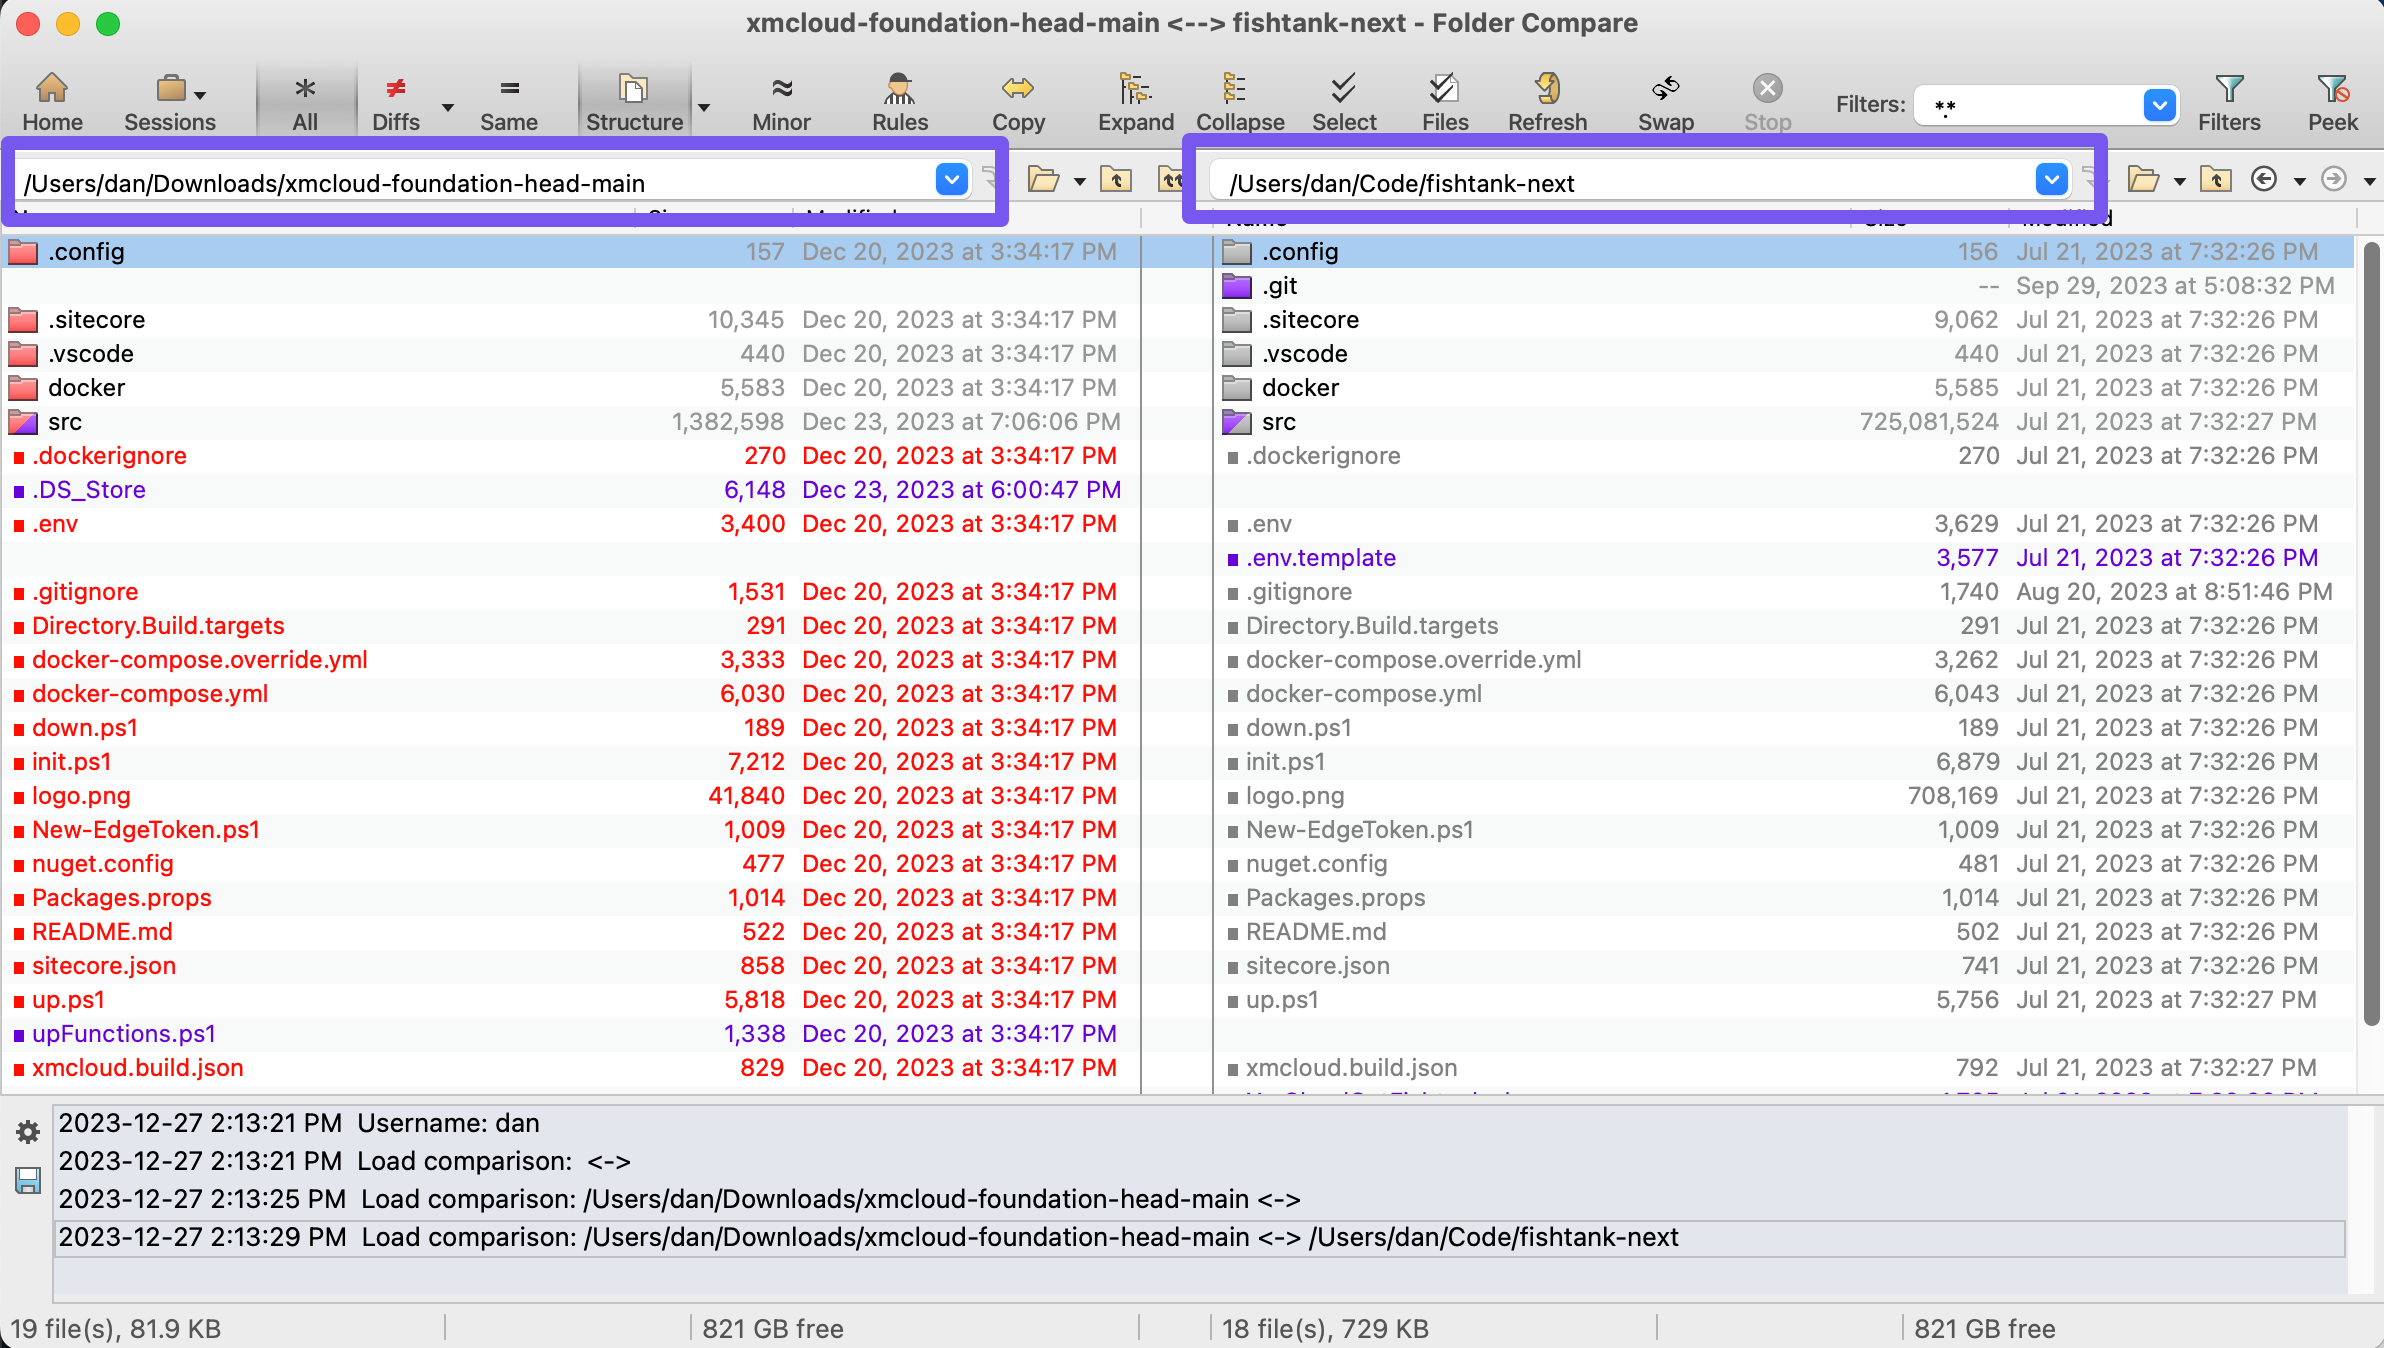
The folder with the latest version of the XM Cloud starter kit on the left. My project with the older version project on the right.
- Red = difference found, even if the date modified
- Purple = new file / orphan file between the two folders
- Always look at the difference in bytes to see how complicated the change may be
- Know your project. Sometimes things have been renamed and there is no material difference to track
Upgrading: Base Project Settings
I’ll do a quick a recap of changes I found and include some screenshots to help show what they look like. This process is very quick and easy to follow what you get the hand of it.
.config\dotnet-tools.json Updated Sitecore CLI to verison 5.2.113
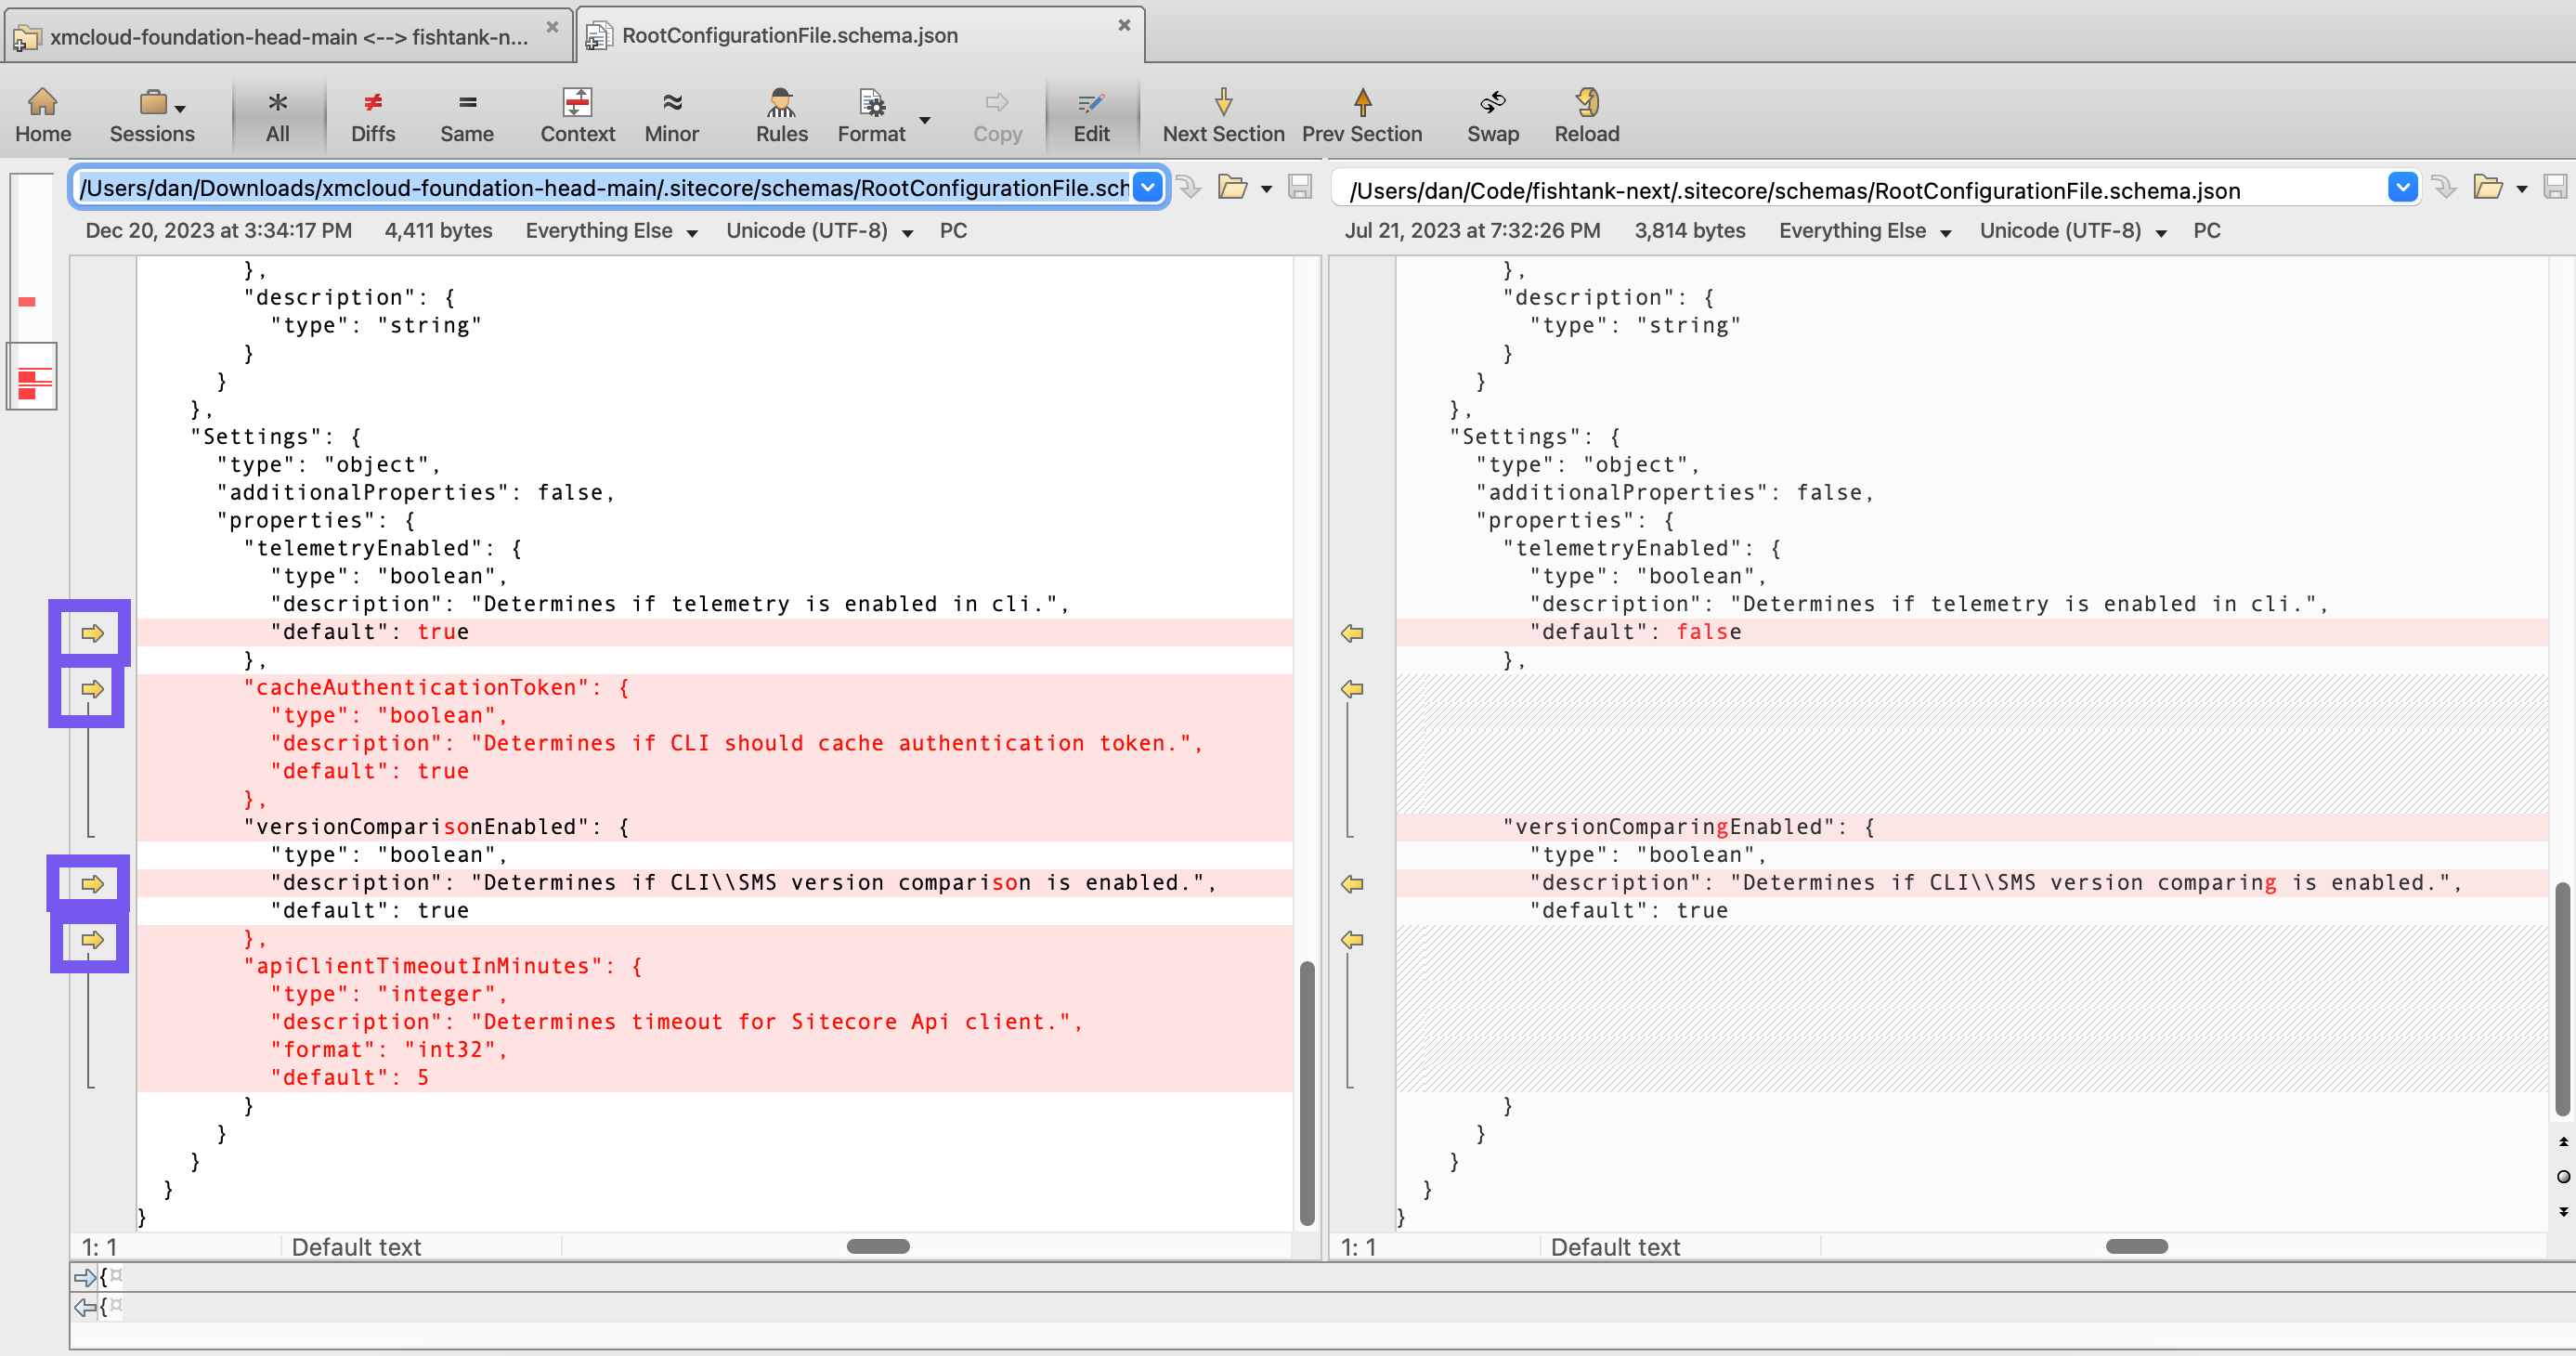
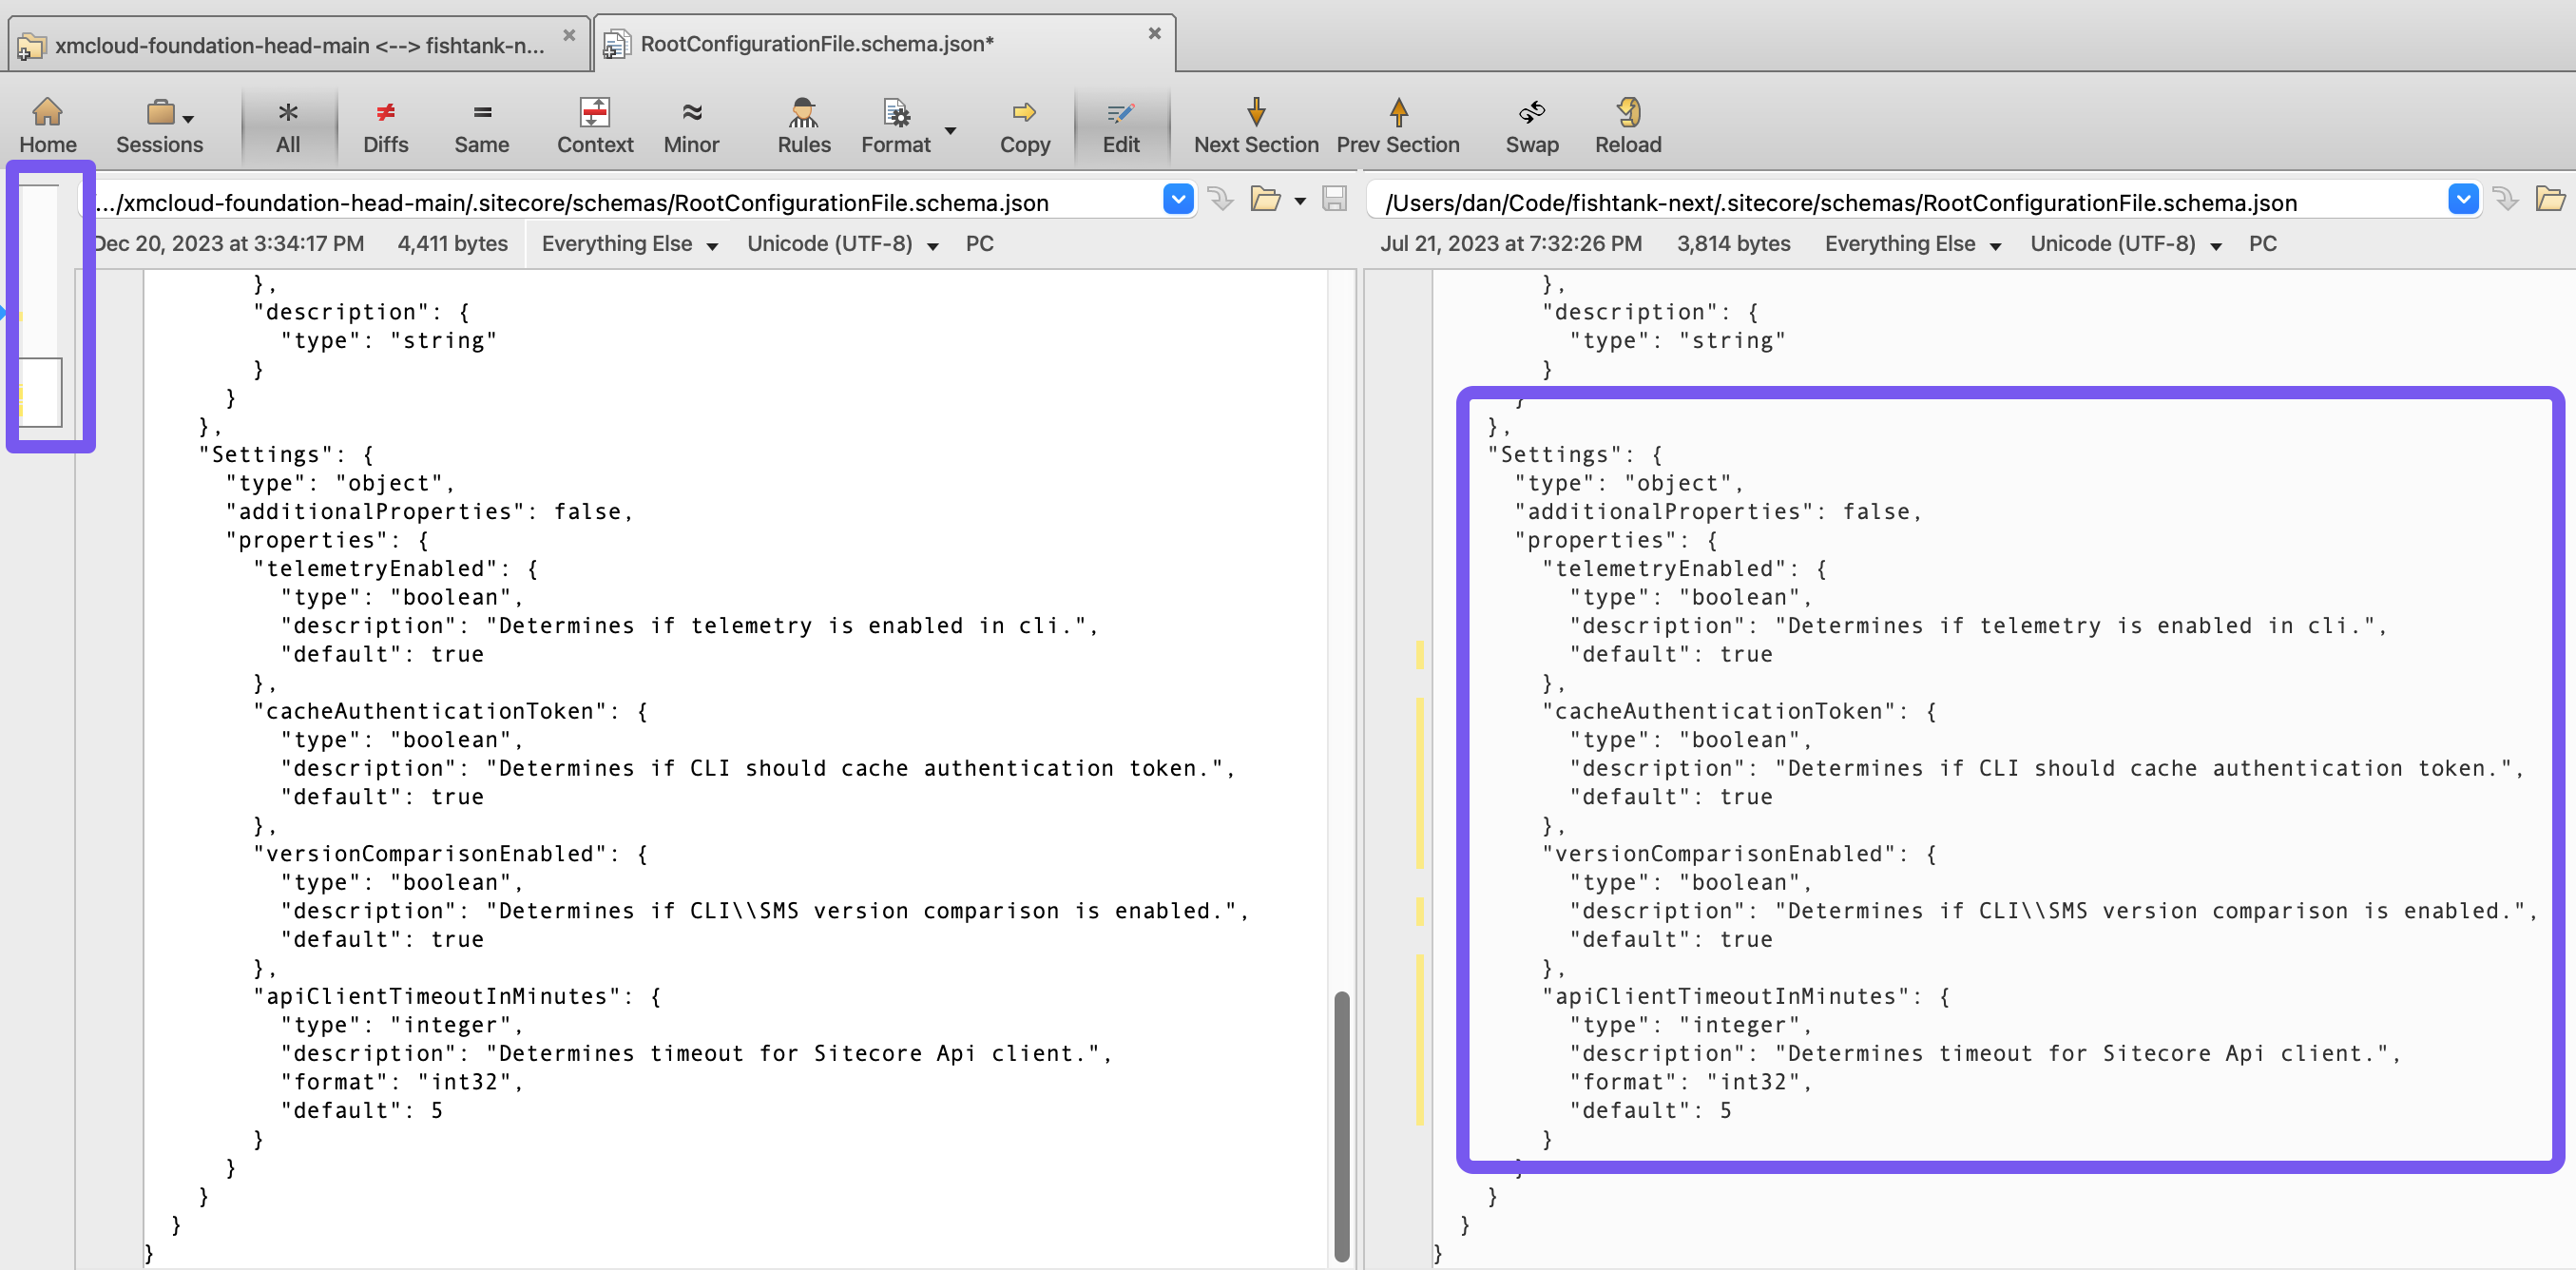
.sitecore/schemas/RootConfigurationFile.schema.json 3 new options have been added. I click the arrow highlighted to moved the changes into my file. You can see the changes have been moved across./.sitecore/schemas/UserConfiguration.schema.json 2 new settings to merge across.env a new setting was added for SITECORE_GRAPHQL_CORS=*.sitecorecloud.io. Everything else was settings values.docker-compose.yml Upgraded Solr container to version 8.11.2docker-compose.override.yml Replaced deprecated scale: 0 setting in the Node.js base image with deploy: replicas: 0 and added an environment variable to CM via SITECORE_GraphQL_CORS: ${SITECORE_GRAPHQL_CORS}init.ps1 Settings were added to verify the Windows versions being used and update the nuget repository addresses using during init.nuget.config Updated nuget repository addresses.sitecore.json Updated dotnet plugin versions (i.e Sitecore CLI) and introduced settings added in the previous schema-json update mentioned above.up.ps1 Introduces a function to validate the Sitecore license, updates the default serialization to only push the RenderingHost module by default. It’s always changed the the syntax from docker-compose up to docker compose up.xmcloud.build.json updated to Node version 20.10.0 and added default commands for build and run to the rendering host.upFunctions.ps1 File did not exist in my older project so it was added.XMCloudSXAStart.sln is unchanged, but shows as a new file because its name is different in my project
Upgrading: ‘Docker’ Folder
The changes above would take less than five minutes to copy across. We’re even luckier looking at the docker folder.
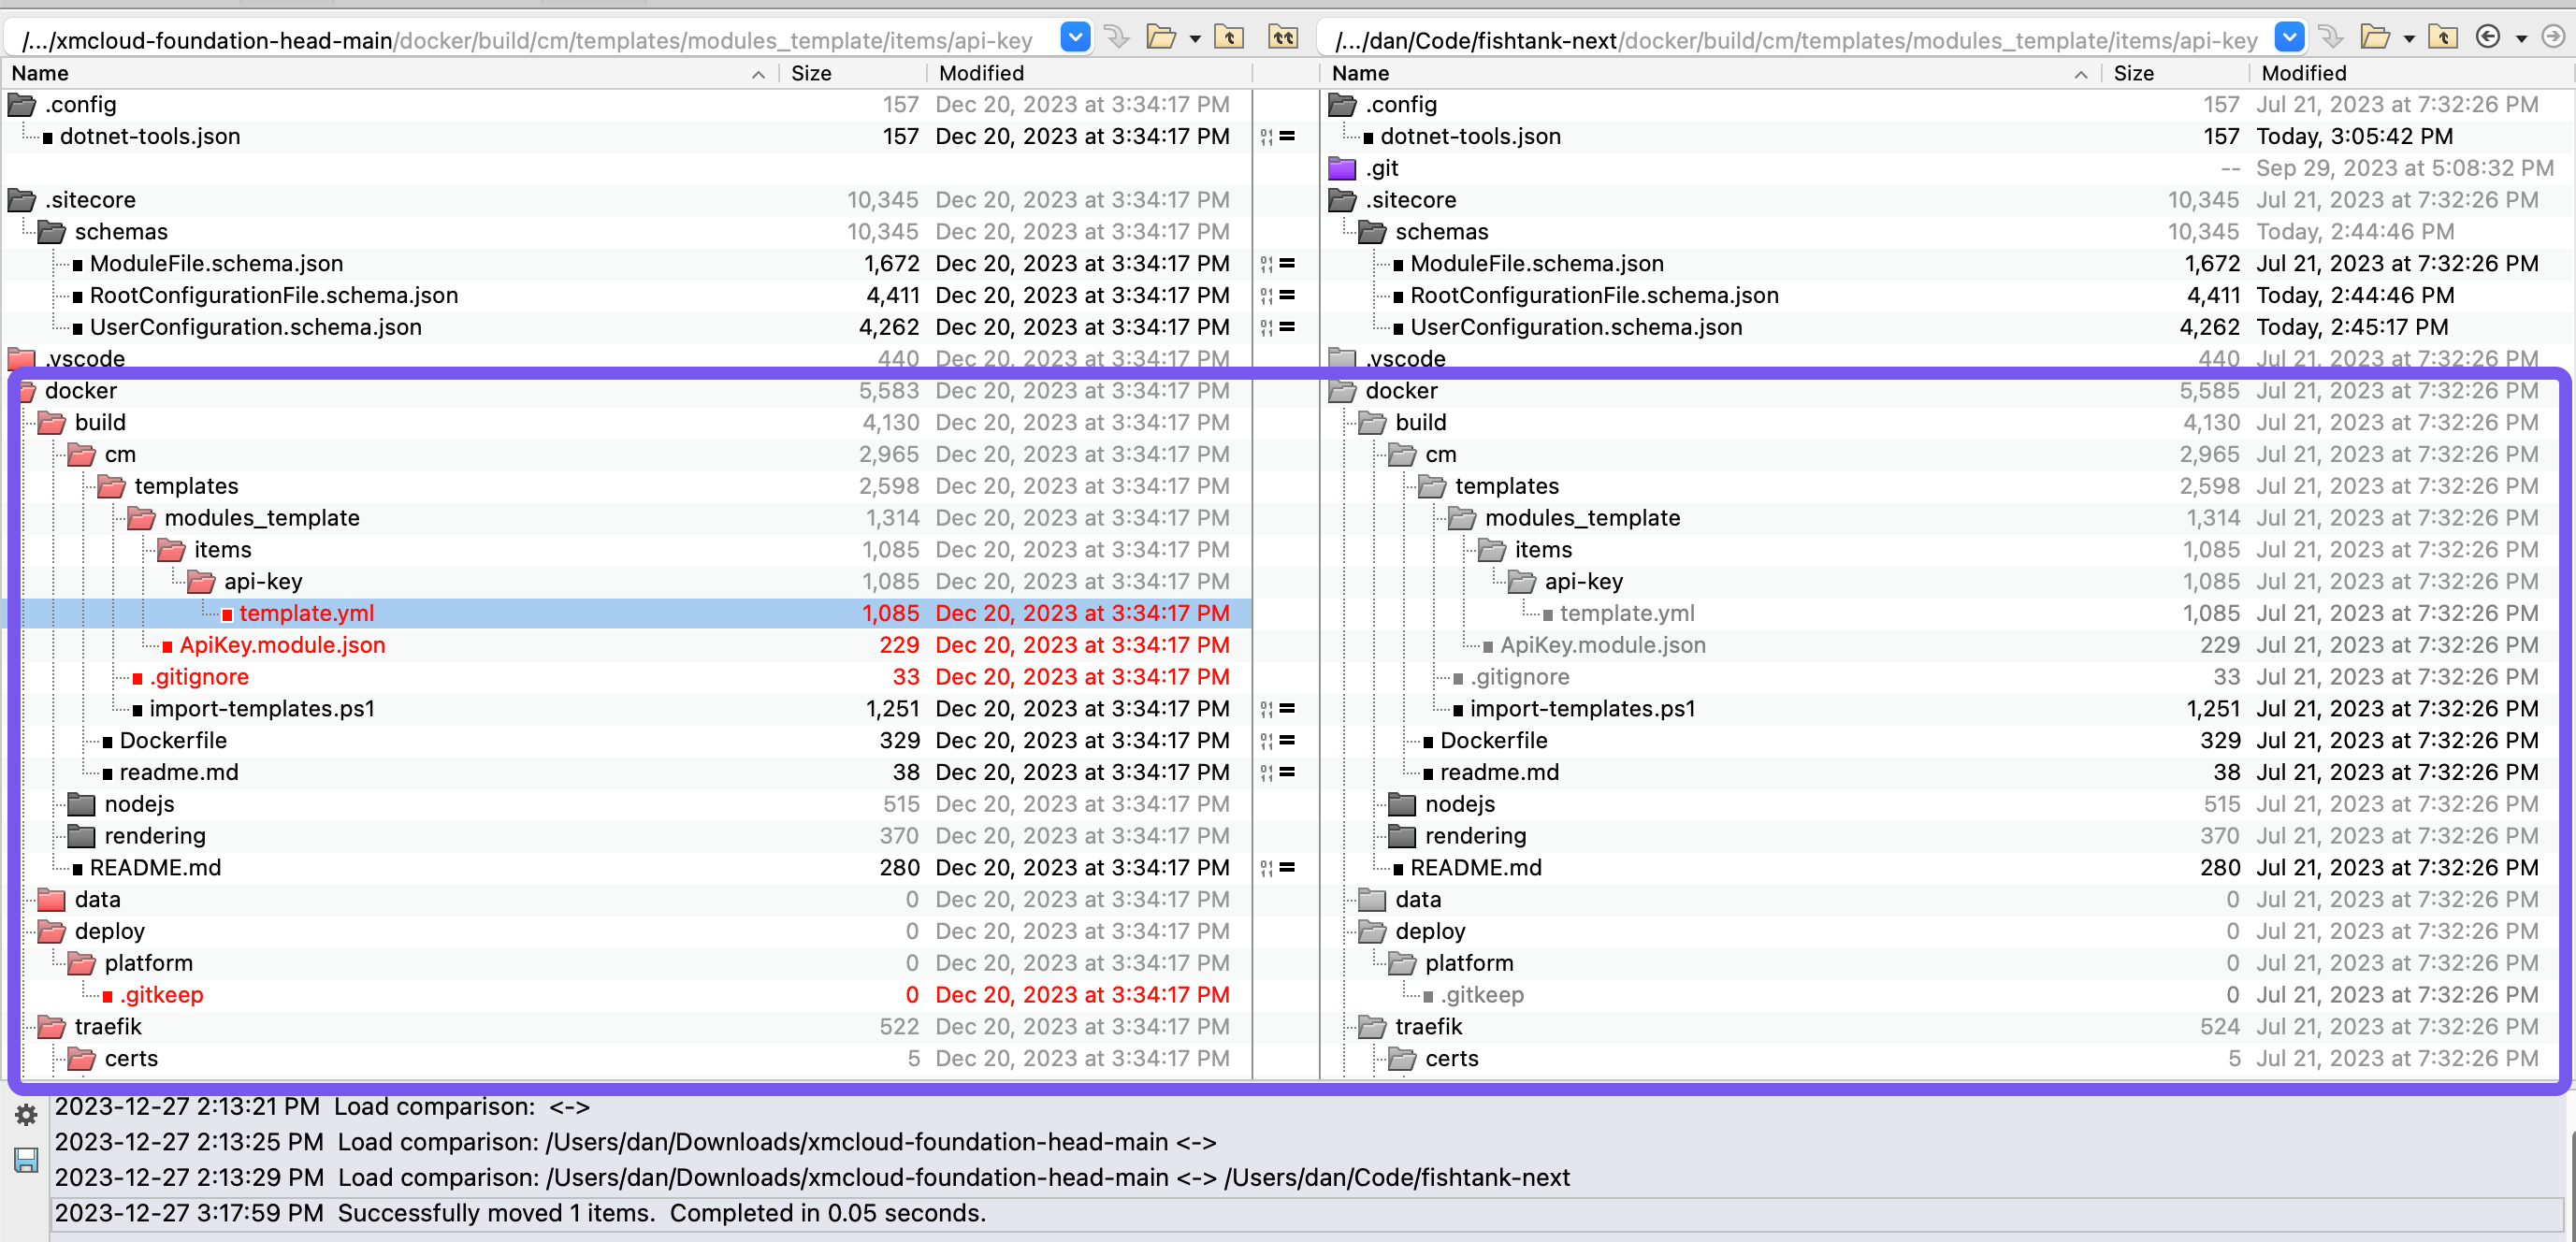
docker\build No changes.docker\data No changes.docker\deploy No changes.docker\traefik No changes.
The only differences found were related to hostnames and certificates which can be ignored.
Upgrading: Source Code Folder
To have Beyond Compare work more efficiently for me, I renamed src\sxastarter to src\getfishtank (updating the name is a primary difference throughout my codebase).
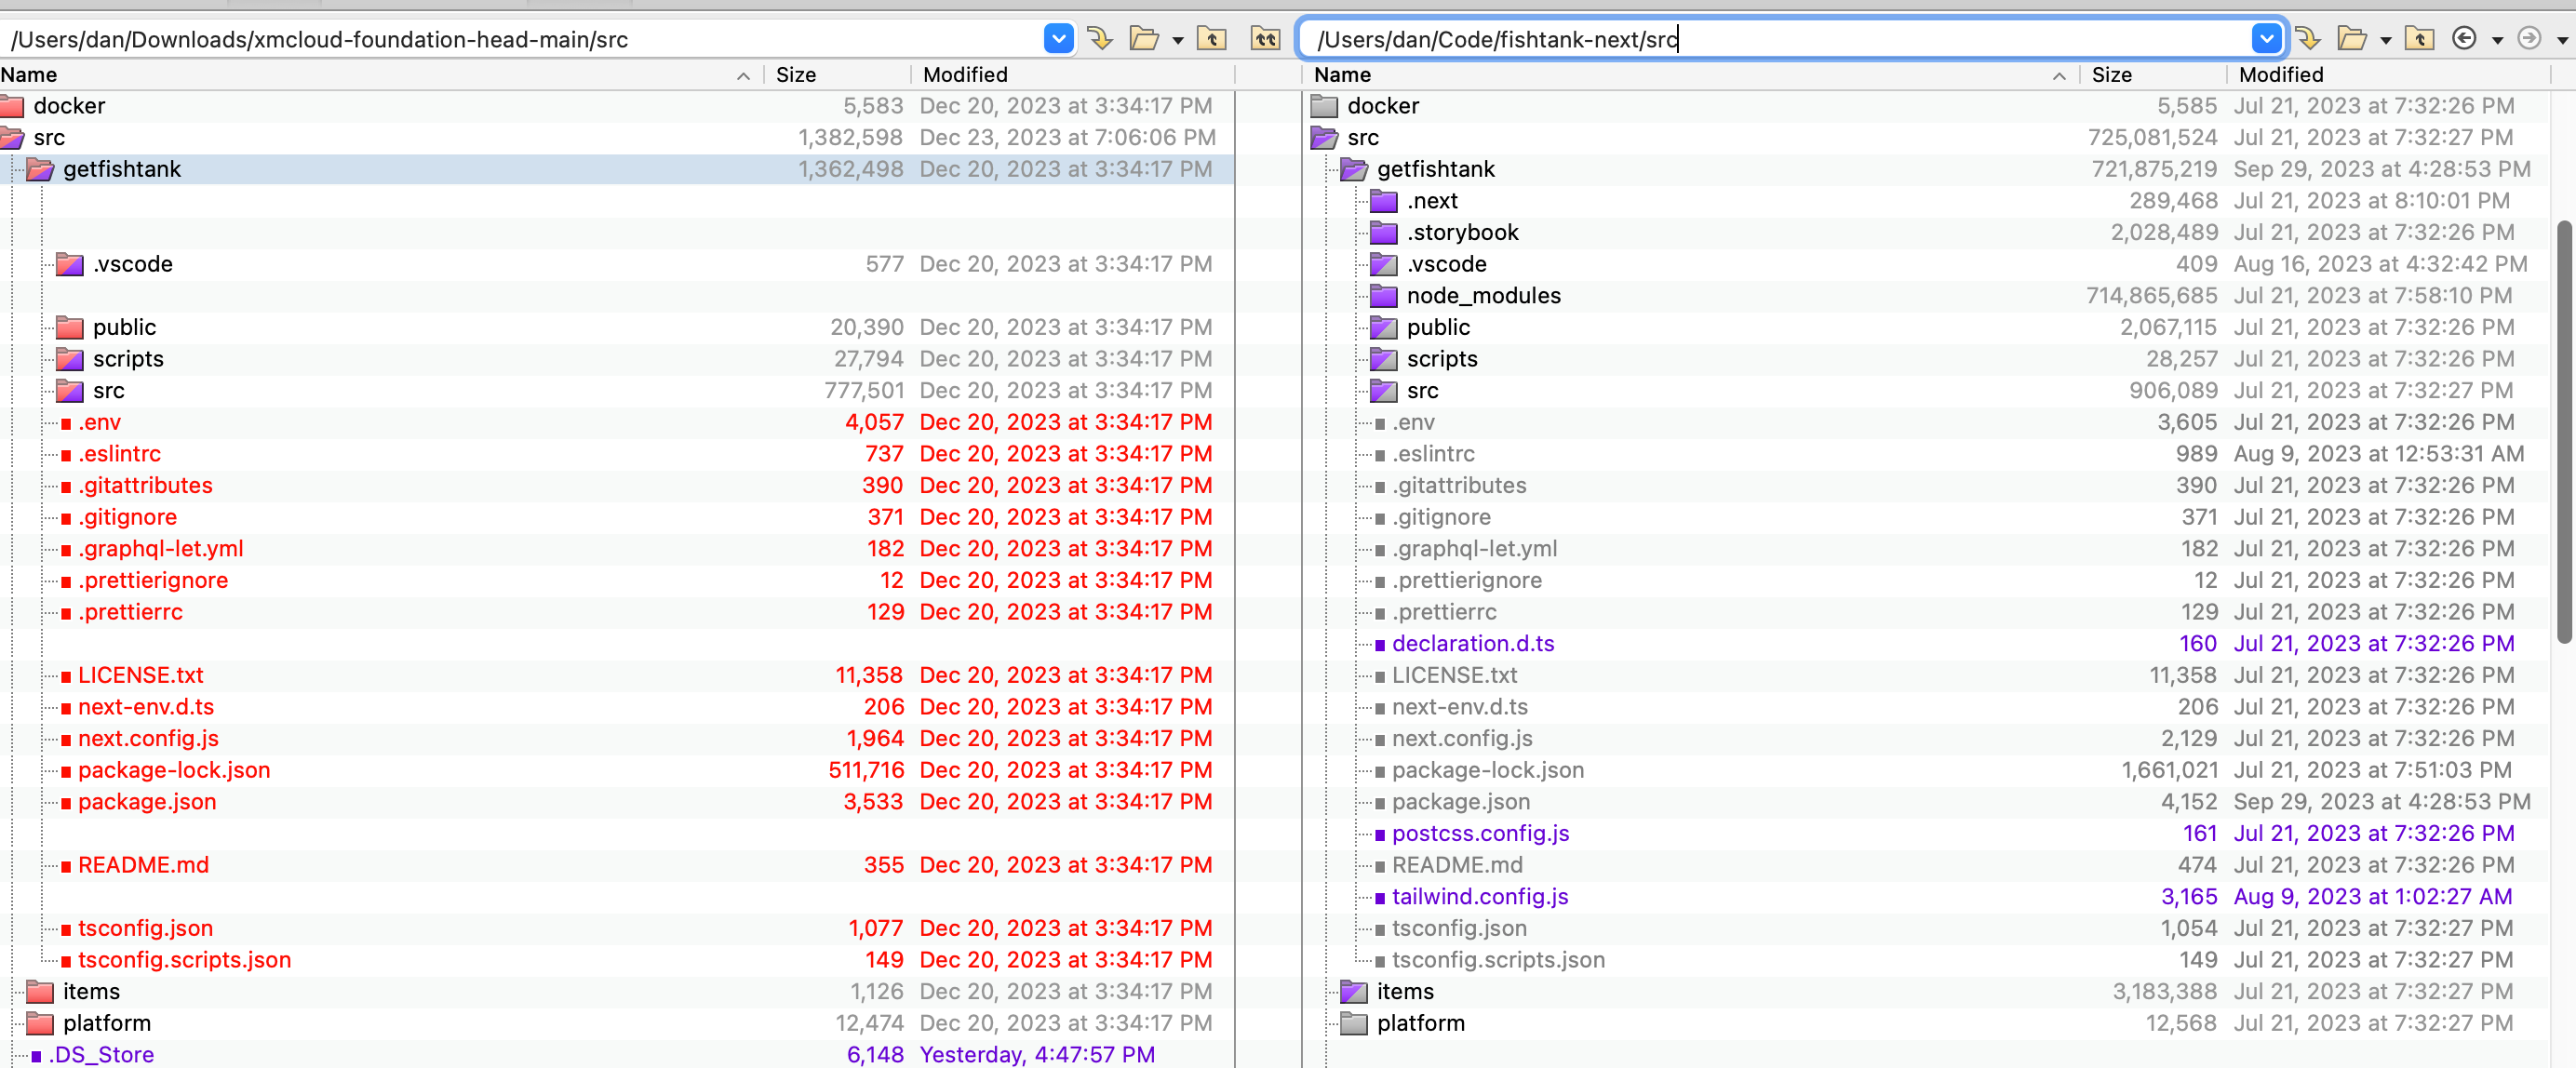
Nothing is too alarming but there are a few changes of interest on in the base-level files.
.env Contains new environments variables for JSS_APP_NAME, GRAPH_QL_SERVICE_RETRIES, & NEXT_PUBLIC_PERSONALIZE_SCOPEpackage.json Many updated versions of the libraries are found. Next.js, Next.js Headless Services, Sitecore Engage, Dev Tools and a collection of updates NPM script commands. With all the changes to your local project, this might take some leg work.
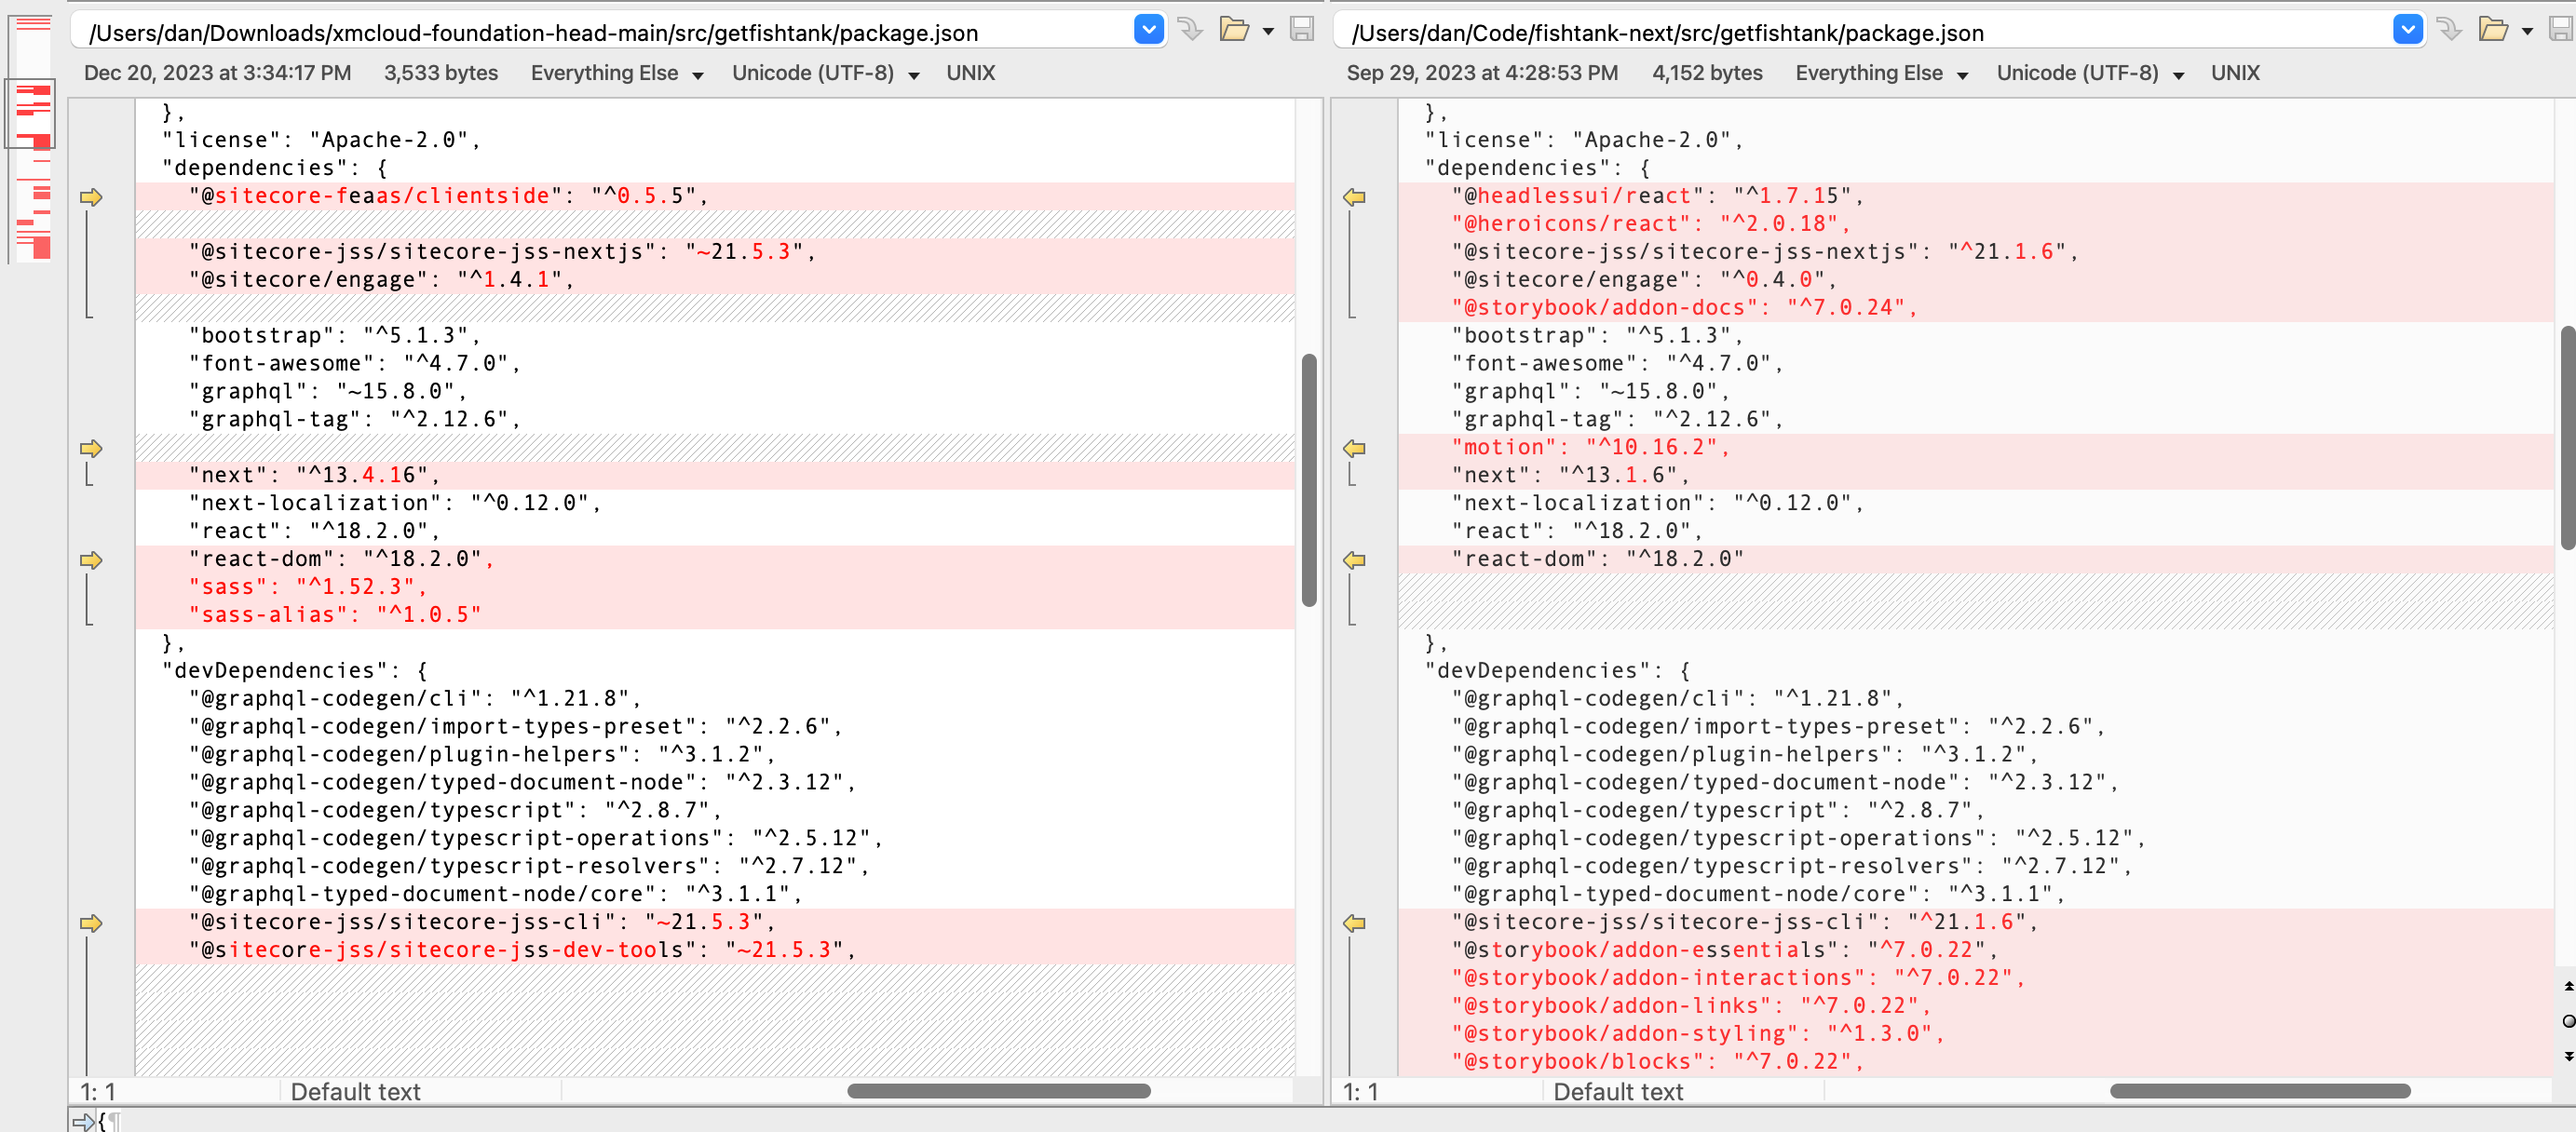
Regarding the package.json updating - I do not understand the dependencies between the Sitecore libraries (if there is any) and I do not want to waste time experimenting. I will simply update this file.
Upgrading: Project Next.js ‘Scripts’ Folder
The scripts folder was quite different between these versions of the base XM Cloud front-end.
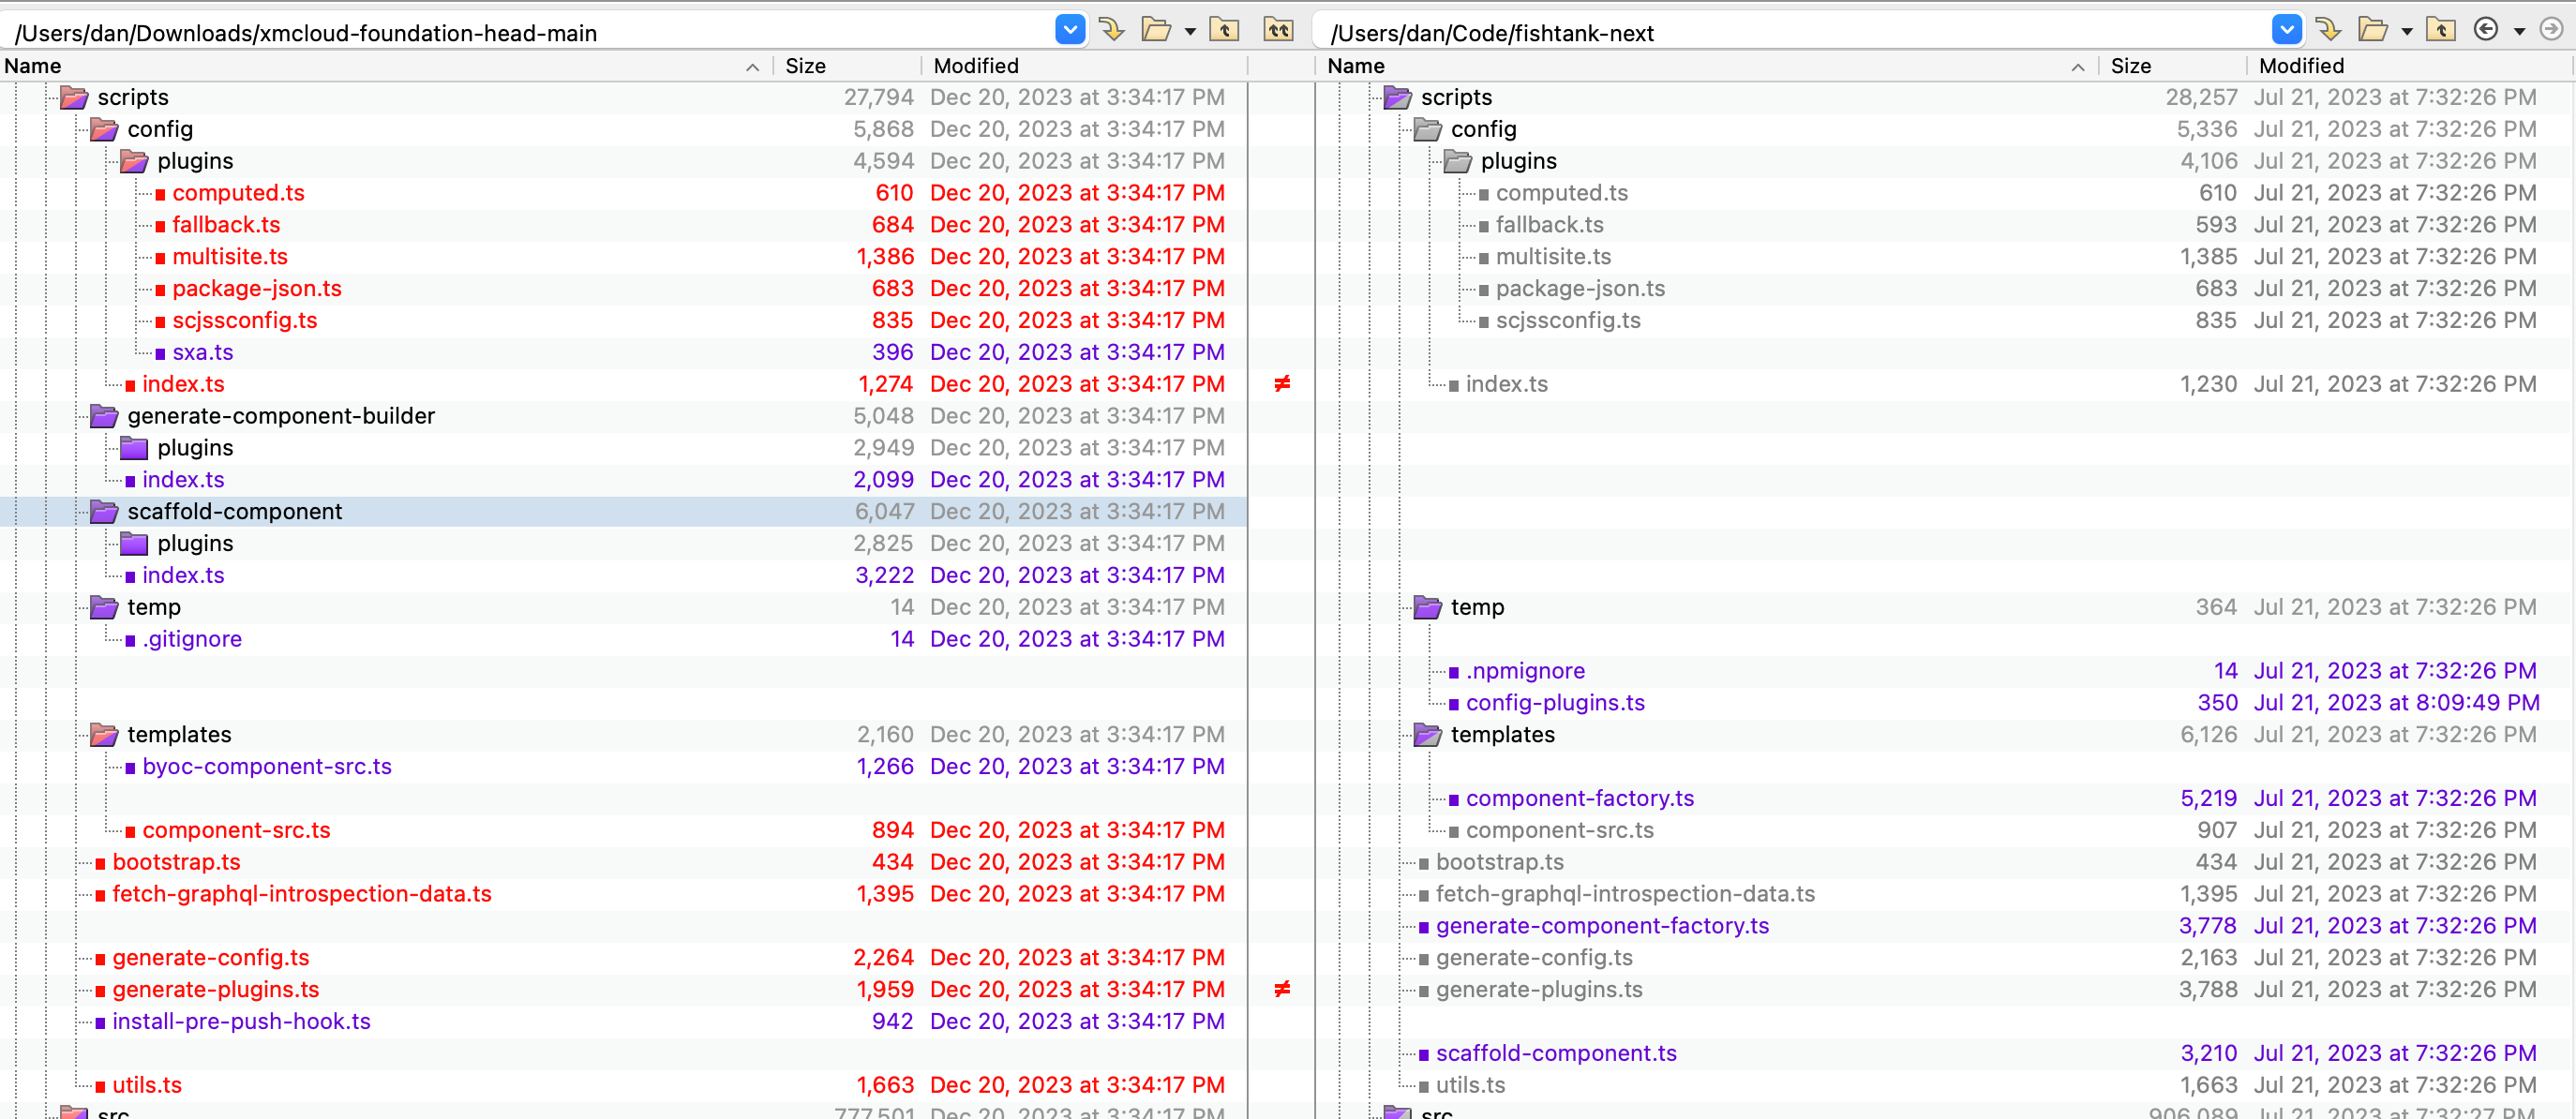
There has been refactoring in these folders. This is not where I cook. I see no hardcoded reference to my sample project. I will replace my script folder with the folder from the the project.
Upgrading: Project Next.js ‘Assets’ & ‘Components’ Folder
Your assets folder is likely untouched and your components folder should be obvious. Let’s load up ./src/sxastarter Next.js project folder (or your equivalent) and work through the changes.
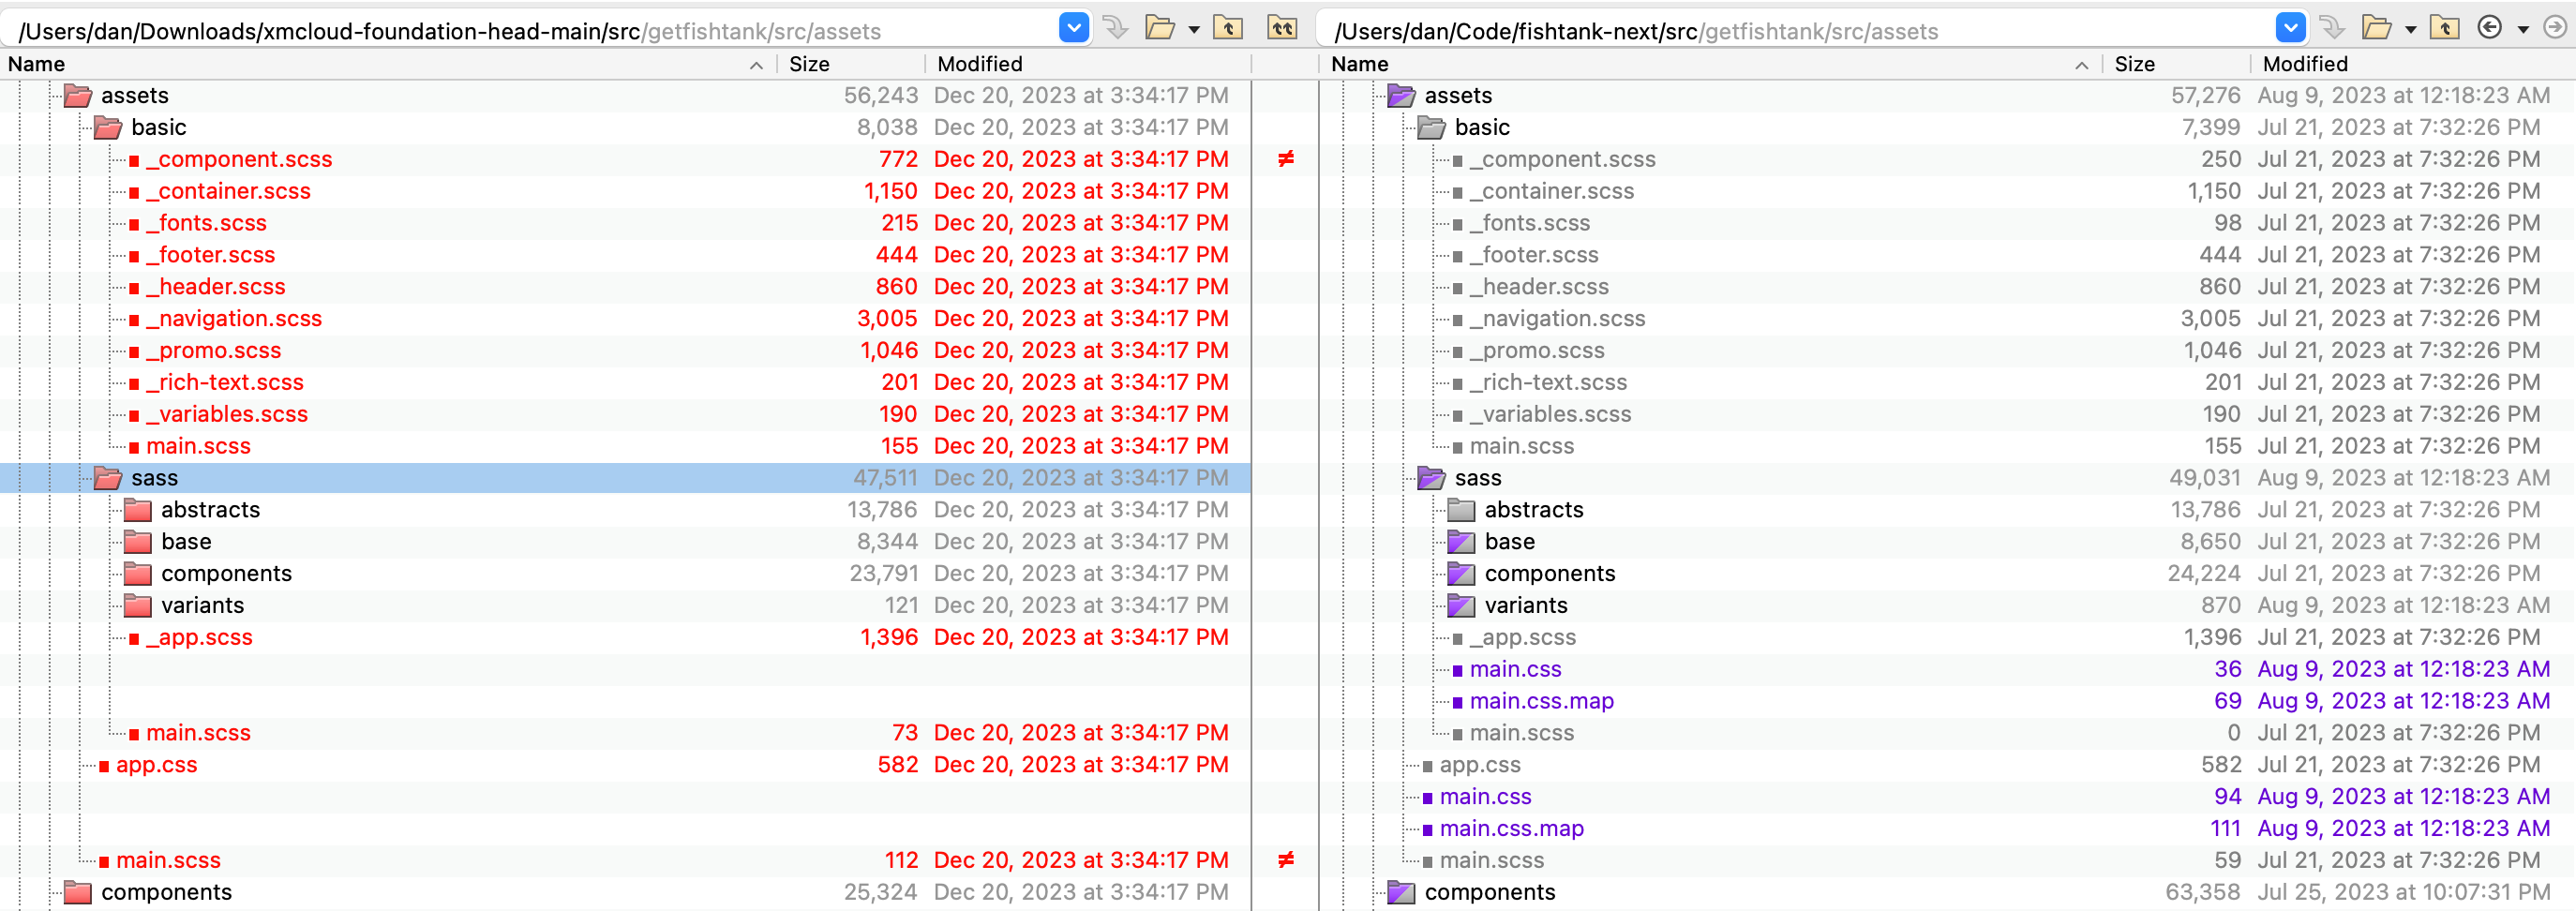
assets Changes impact the out of the box styling assets. These are unused in my project but I will update them to keep my project closely aligned with the main projectcomponents A single, mass overwrite can be used to update of the existing OOTB components from Sitecore. My custom project components are in a separate folder structure and will not be affected. There is an old FEaaSWrapper.tsx that needs to be manually removed from my project as well.
Upgrading: Project Next.js ‘lib' Folder
The lib folder is very similar to components. My custom code is organized into folders so it is easy to focus on the changes to Sitecore’s files and migrate them.
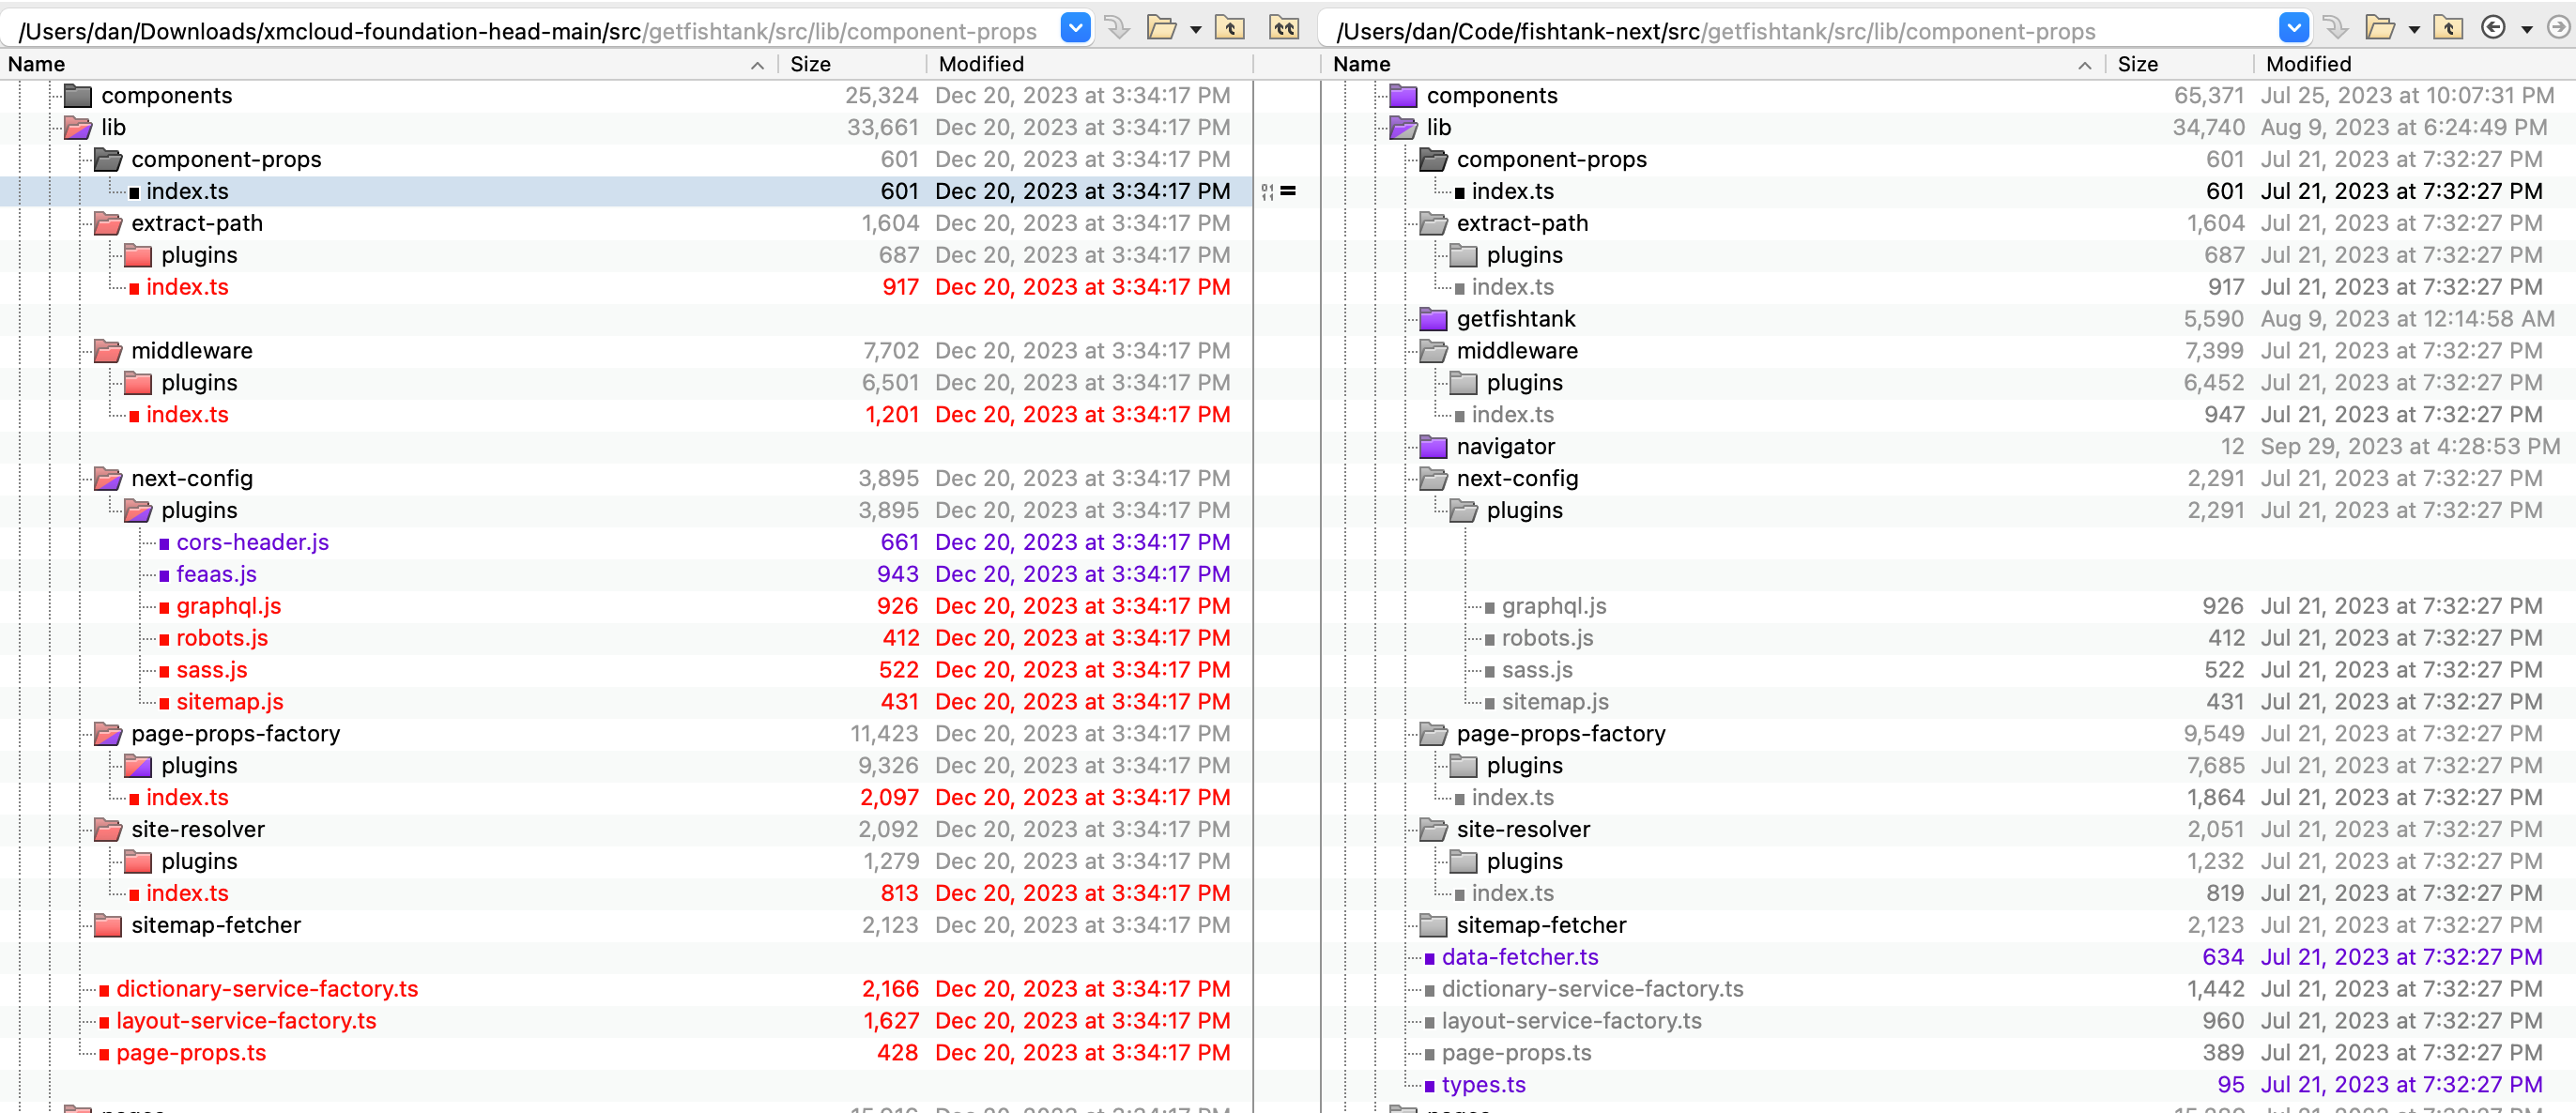
- It is safe and required to copy across all folders in
lib including componet-props, extract-path, middleware, next-config, page-props-factory, site-resolver, sitemap-fetcher and the individual files in the folder as well (except for dictionary-service-factory.ts).
- If you’ve modified the
dictionary-service-factory.ts with a property to help your site resolving such as jssAppTemplateId be sure to merge that file manually or re-apply the changes afterward.
- Main changes are moving the front-end-as-a-service wrapper (deleted earlier) into a plugin.
- Environment variables for Personalize are integrated.
- The codebase is migrating to the
componentBuilder to the componentFactory when creating the component-props.
data-fetcher.ts (found in my project) is no longer used and can be deleted.
Upgrading: Project Next.js ‘pages’ Folder
Similar to the lib folder, the changes in the pages folder can largely be straight across. The changes make use of newly introduction environment variables and new importing paths.
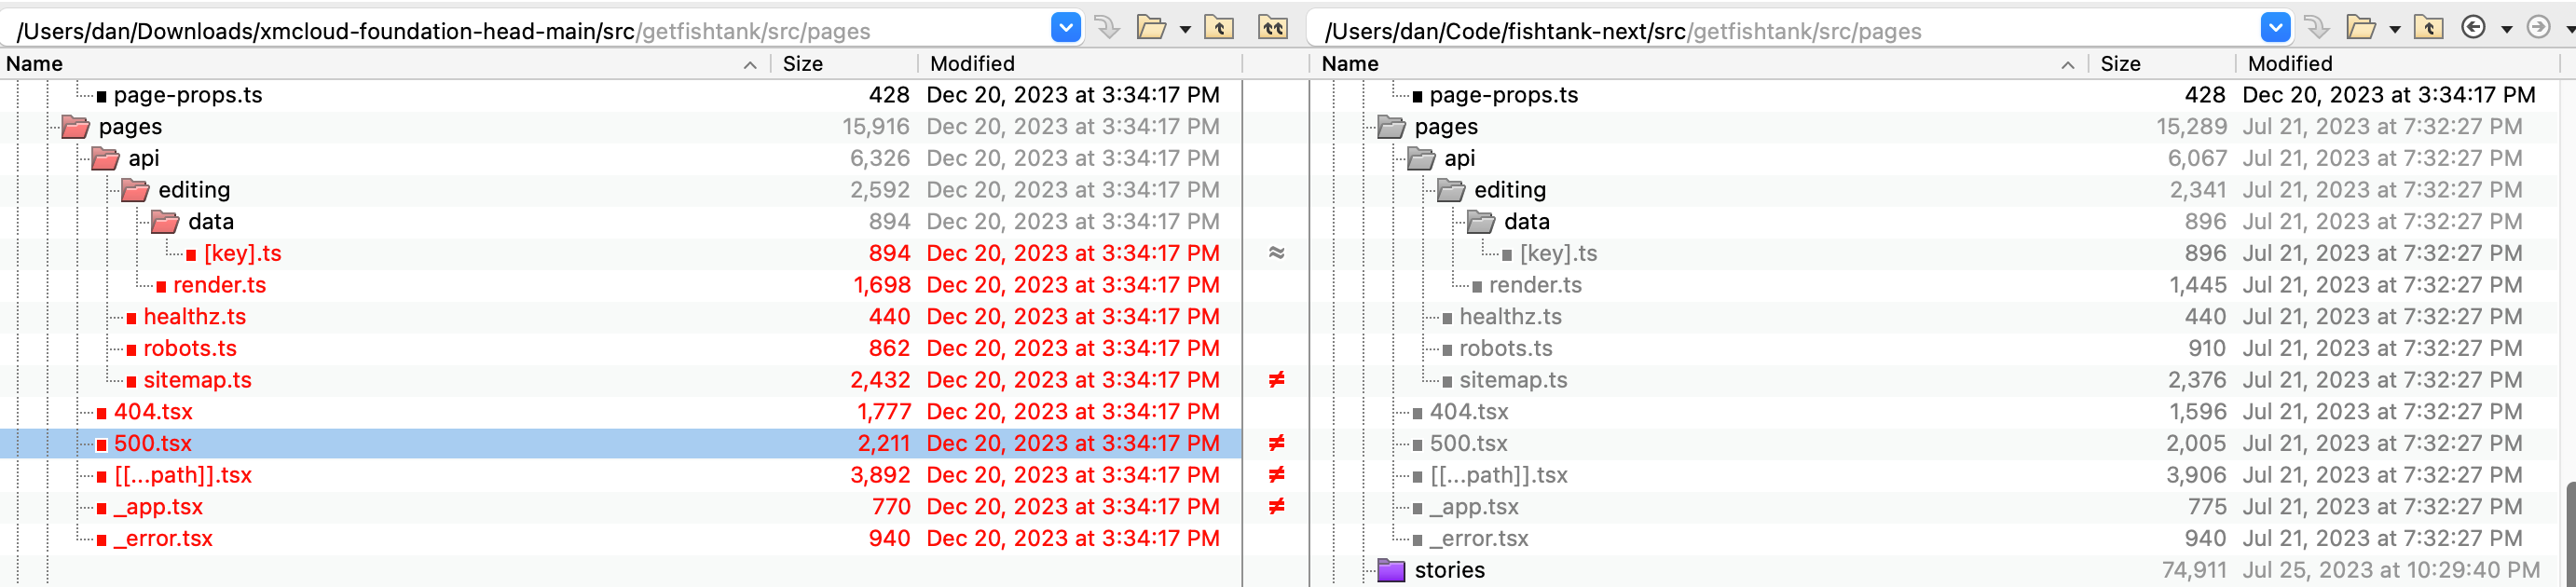
_app.tsx file was modified in our custom project to reference a Tailwind CSS file generated from by our project instead of the the OOTB scss file. This change needed to be preserved by updated the file after all files were replaced.
Upgrading: Project Next.js ‘temp’ Folder & Remaining Files
The temp folder had files created from the previous build. The contents of the folder was deleted for housekeeping sake but one file named GraphQLIntrospectionResult.json was saved by me. It was available in the new base XM Cloud starter kit project.
The other root-level TSX files including Layout.tsx, middleware.tsx, Navigation.tsx, NotFound.tsx & Scripts.tsx were all copied over to update paths to new libraries.
Now that we’re done with the src folder, lets check on the items and platform folder to bring across the latest changes.
items folder can be ignored. It only contains a DefaultRenderingHost module which my customer project has updated and should not be overwritten.platform A more detailed merge would be required with a heavily customized project. In this case the Platform.wpp.targets file had a target removed. I’ve updated the file to keep inline with the base image.
Install & Verify Upgraded Project Dependencies
Now we will use our updated package.json file to install the latest dependencies in the project. Navigate to your Next.js project folder. My custom project is again at ./src/getfishtank.
Let’s run npm install.
dan@Dans-MacBook-Pro getfishtank % npm install

added 21 packages, removed 8 packages, changed 19 packages, and audited 1895 packages in 42s
Verifying The Upgrade
For a final verification I ran npm run build to do a local build of the front-end. Catching it in progress, we a success.
> getfishtank
In reality, on my first try the build failed because of linting errors due to my incorrect use of spacing inside of Beyond Compare. But now we’re here.
Update Nuget Dependencies
Now we’ll ensure that Sitecore is using the latest version of the dotnet packages. We’ll run:
PS C:\code\fishtank-next> dotnet tool restore
Tool 'sitecore.cli' (version '5.2.113') was restored. Available commands: sitecore
And to confirm we’ll run an update:
PS C:\code\fishtank-next> dotnet tool update sitecore.cli
Tool 'sitecore.cli' is up to date (version '5.2.113' manifest file C:\code\fishtank-next\.config\dotnet-tools.json)
Storybook Error
After this upgrade, I did encounter an error starting Storybook.
info => Serving static files from ././.storybook/public at /
info => Starting manager..
WARN You (or an addon) are using the 'config' preset field. This has been replaced by 'previewAnnotations' and will be removed in 8.0
info Addon-docs: using MDX2
info => Using implicit CSS loaders
ERR! Error: Cannot find module 'next/dist/shared/lib/router-context'
ERR! Require stack:
ERR! - /Users/fishtank/Code/fishtank-next/src/getfishtank/node_modules/@storybook/nextjs/dist/preset.js
ERR! - /Users/fishtank/Code/fishtank-next/src/getfishtank/node_modules/@storybook/core-common/dist/index.js
ERR! - /Users/fishtank/Code/fishtank-next/src/getfishtank/node_modules/@storybook/telemetry/dist/index.js
To fix this issue I upgraded my Storybook to version 7.6.x with these commands.
npx storybook@latest upgrade
npx storybook@latest automigrate
From that point npm run storybook worked without issue.
Testing It In The Project
Switch to your base folder and run the up script at .\up.ps1. I noticed a few small changes working successfully.
The new license checking functionality reported:
The license is valid. 245 days left until expiration.
Latest version of CLI was restored:
Tool 'sitecore.cli' (version '5.2.113') was restored.
When the serialization push happened, only the rendering host modules was targeted:
Pushing Default rendering host configuration
Matched module configurations: RenderingHost
From this point out, we could successfully log into XM Cloud and use our Sitecore instance.
Final Thoughts
This process really wasn’t too bad. I would say it took 90 minutes total. 70 minutes to work through the changes and ensure the front-end was building. Then an additional 20 minutes running .\up.ps1 the first time with updated containers.
Not doubt there is more information here than is useful. But my overall approach was:
- Check out the latest version of the XM Cloud base project
- Get a good tool for comparing folders and files like Beyond Compare
- Go through each file, merge the changes in (there aren’t that many)
- There are a few areas of code where no merging is required, you can take their latest files without issue
Thanks for reading everyone. Good luck working with XM Cloud.