Reading time: 9 min read
Mocking NextAuth.js in Storybook
A comprehensive guide to authenticated components
Start typing to search...
In modern web development, authentication is a critical feature for many applications. NextAuth.js provides an easy
and secure way to implement authentication in Next.js apps. Meanwhile, Storybook is
an excellent tool for building UI components in isolation. However, integrating NextAuth.js with Storybook can be
challenging due to context dependencies like SessionProvider.
In this guide, we'll walk through setting up a Next.js application with NextAuth.js and configuring Storybook to work
seamlessly with components that rely on authentication. We'll address common issues, such as the
useSession hook error in Storybook, and demonstrate how to handle different authentication scenarios.
While we'll use credentials-based authentication for demonstration purposes, the strategies and solutions provided are
applicable to any authentication provider supported by NextAuth.js.
Start by creating a new Next.js application:
npx create-next-app next-auth-storybook-example
cd next-auth-storybook-example
Install next-auth and other required dependencies:
npm install next-auth axios
We'll use the CredentialsProvider to authenticate users via email and password. We'll simulate an
authentication service by querying the JSON Placeholder API.
[...nextauth].ts in pages/api/auth/:// pages/api/auth/[...nextauth].ts
import NextAuth from "next-auth";
import CredentialsProvider from "next-auth/providers/credentials";
import axios from "axios";
export default NextAuth({
providers: [
CredentialsProvider({
name: "Credentials",
credentials: {
email: { label: "Email", type: "text" },
password: { label: "Password", type: "password" },
},
authorize: async (credentials) => {
try {
const res = await axios.get(
"https://jsonplaceholder.typicode.com/users?email=" +
credentials?.email
);
const users = res.data;
const user = users[0];
if (user) {
return { id: user.id, email: user.email, name: user.name };
} else {
return null;
}
} catch (error) {
console.error(error);
return null;
}
},
}),
],
callbacks: {
async jwt({ token, user }) {
if (user) {
token.user = user;
}
return token;
},
async session({ session, token }) {
session.user = token.user as any;
return session;
},
},
secret: process.env.NEXTAUTH_SECRET,
pages: {
signIn: "/auth/signin",
signOut: "/auth/signout",
error: "/auth/error",
},
});
Create a .env.local file in the root directory:
# .env.local
NEXTAUTH_SECRET=your_nextauth_secret
NEXTAUTH_URL=http://localhost:3000
Generate a secure secret for NEXTAUTH_SECRET:
You can quickly generate a 32-character base64 secret using the online tool provided by Vercel:
.env.local file as the value for
NEXTAUTH_SECRET.NEXTAUTH_SECRET=fhjK9n8jKj3h9Kj8hKj8hKj8hKj9h8Kj8
If you prefer to generate the secret locally, you can use OpenSSL:
openssl rand -base64 32
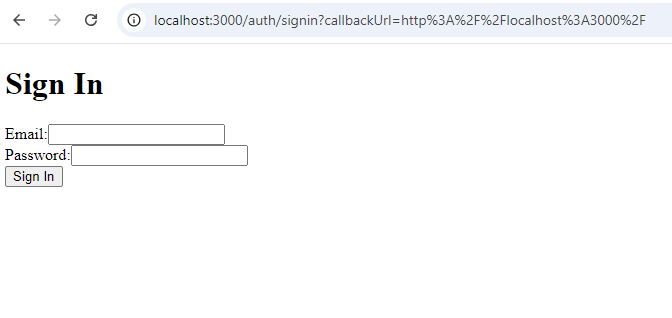
Create a custom sign-in page at pages/auth/signin.tsx:
// pages/auth/signin.tsx
import { signIn } from "next-auth/react";

export default function SignIn() {
  const handleSubmit = async (e: any) => {
    e.preventDefault();
    const email = e.target.email.value;
    const password = e.target.password.value;

    await signIn("credentials", {
      email,
      password,
      callbackUrl: "/",
    });
  };

  return (
    <form onSubmit={handleSubmit}>
      <h1>Sign In</h1>
      <label>
        Email:
        <input name="email" type="email" />
      </label>
      <br />
      <label>
        Password:
        <input name="password" type="password" />
      </label>
      <br />
      <button type="submit">Sign In</button>
    </form>
  );
}
To protect pages or components, use the useSession hook and conditionally render content:
// pages/protected.tsx
import { useSession, signIn } from "next-auth/react";

export default function ProtectedPage() {
  const { data: session, status } = useSession();

  if (status === "loading") return <p>Loading...</p>;

  if (!session) {
    signIn(); // Redirect to sign-in page
    return null;
  }

  return <p>Welcome, {session?.user?.name}!</p>;
}
Let's create a UserProfile component that displays user information:
// components/UserProfile.tsx
import { useSession, signIn, signOut } from "next-auth/react";

export default function UserProfile() {
  const { data: session, status } = useSession();

  if (status === "loading") return <p>Loading...</p>;

  if (!session) {
    return (
      <>
        <p>You are not logged in.</p>
        <button onClick={() => signIn()}>Sign In</button>
      </>
    );
  }

  return (
    <>
      <p>Welcome, {session?.user?.name}</p>
      <p>Email: {session?.user?.email}</p>
      <button onClick={() => signOut()}>Sign Out</button>
    </>
  );
}
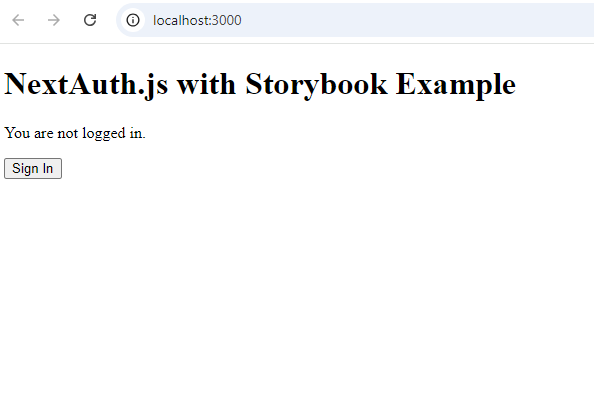
Add this component to your homepage to test it:
// pages/index.tsx
import UserProfile from "../components/UserProfile";

export default function Home() {
  return (
    <div>
      <h1>NextAuth.js with Storybook Example</h1>
      <UserProfile />
    </div>
  );
}
Wrap your application with <SessionProvider> in _app.tsx
// pages/_app.tsx
import { SessionProvider } from "next-auth/react";
import type { AppProps } from "next/app";

function MyApp({ Component, pageProps: { session, ...pageProps } }: AppProps) {
  return (
    <SessionProvider session={session}>
      <Component {...pageProps} />
    </SessionProvider>
  );
}

export default MyApp;
Run your application:
npm run dev
Visit http://localhost:3000 and navigate to the sign-in page. Use any email address to sign in since
we're using a placeholder API.
To test the authentication flow, you can use any of the emails provided by the JSON Placeholder API. You can find more details about these users at the JSONPlaceholder Users API.

Initialize Storybook in your project:
npx sb init
If you're using TypeScript, ensure you have the necessary dependencies:
npm install --save-dev typescript @types/react @types/node
Create UserProfile.stories.tsx:
// components/UserProfile.stories.tsx
import { Meta, Story } from "@storybook/react";
import UserProfile from "./UserProfile";

export default {
  title: "Components/UserProfile",
  component: UserProfile,
} as Meta;

const Template: Story = (args) => <UserProfile {...args} />;

export const Default = Template.bind({});
Start Storybook:
npm run storybook
You'll encounter the following error in Storybook:
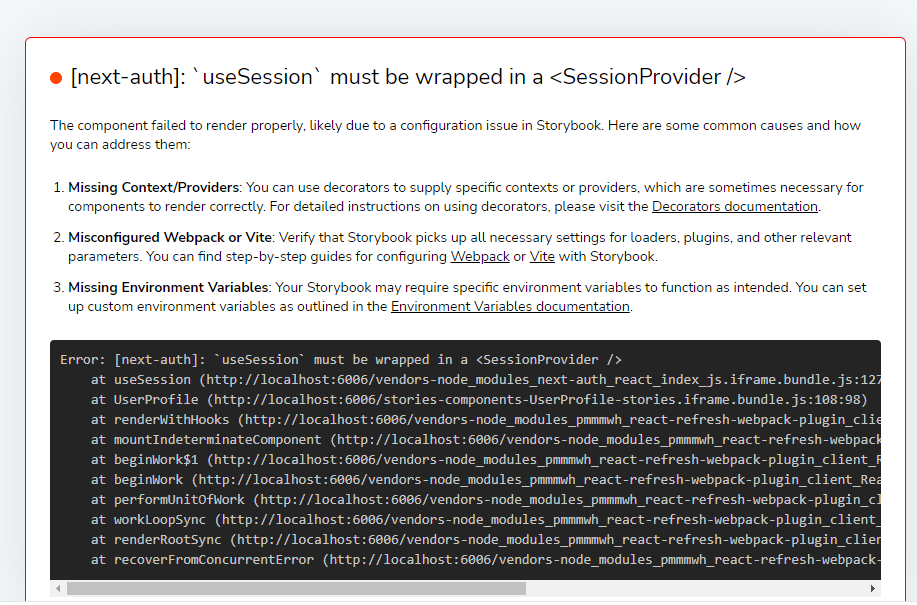
To resolve this, wrap your stories with SessionProvider.
In your UserProfile.stories.tsx, import SessionProvider and Add a decorator to wrap your
component:
export default {
  title: "Components/UserProfile",
  component: UserProfile,
  decorators: [
    (Story) => (
      <SessionProvider session={null}>
        <Story />
      </SessionProvider>
    ),
  ],
} as Meta;
Now, the SessionProvider wraps your component, providing the necessary context.
If TypeScript complains about types, ensure you import types correctly:
import { Meta, StoryFn } from "@storybook/react";
And define your template accordingly:
const Template: StoryFn = (args) => <UserProfile {...args} />;
To simulate different authentication states in Storybook, you can provide mock session data.
Create mock sessions:
const loggedOutSession = null;

const loggedInSession = {
  user: {
    name: "John Doe",
    email: "[email protected]",
    image: "https://via.placeholder.com/150",
  },
  expires: "9999-12-31T23:59:59.999Z",
};
Modify the decorator to use the session from args:
export default {
  title: "Components/UserProfile",
  component: UserProfile,
  decorators: [
    (Story, context) => (
      <SessionProvider session={context.args.session}>
        <Story />
      </SessionProvider>
    ),
  ],
} as Meta;
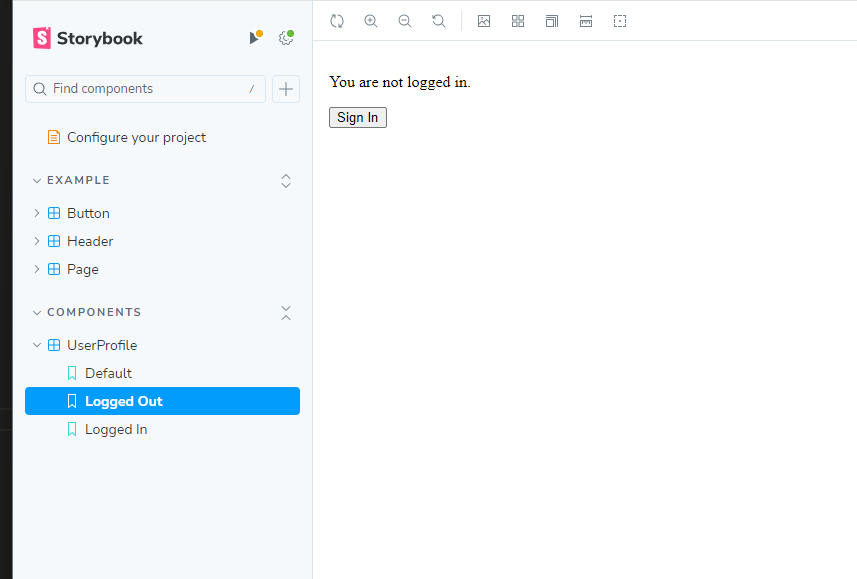
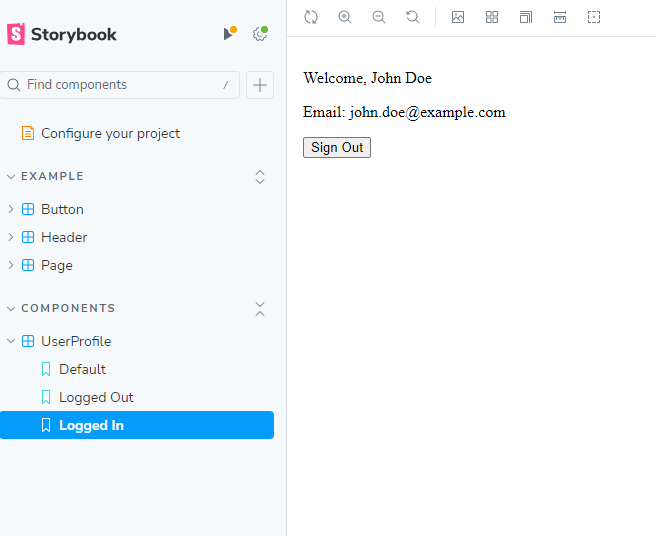
Define stories for logged-in and logged-out states:
export const LoggedOut = Template.bind({});
LoggedOut.args = {
  session: loggedOutSession,
};

export const LoggedIn = Template.bind({});
LoggedIn.args = {
  session: loggedInSession,
};
Run Storybook:
Integrating authentication into your application is essential but often challenging when testing components in isolation. By mocking NextAuth.js in Storybook, you can develop and test authenticated components efficiently without relying on a live authentication flow or backend services. This approach enhances your development workflow, improves component isolation, and ensures your UI behaves correctly under different authentication states.
In this guide, we've demonstrated how to set up NextAuth.js with the CredentialsProvider in a Next.js
application and integrate it with Storybook. By addressing common issues like the useSession hook error
and showing how to wrap your components with the SessionProvider and mock session data, you can apply
these techniques to any authentication provider supported by NextAuth.js, making your components more robust and your
development process more efficient.
You can find the complete source code for this example on GitHub:
https://github.com/rikaweb/next-auth-storybook-example

