Reading time: 9 min read
How to Boost Results in Sitecore Search
A step-by-step guide to implementing custom boost logic in Sitecore Search using meta tags and the customer engagement console.
Start typing to search...
When setting up a search implementation using Sitecore Search in XM Cloud there is a good chance you will want to implement a method to allow you to boost specific pages in the search results so that they are easier to find. Unfortunately out of the box there is no boost property on a content item that will allow you to do this. However that does not mean we can’t build out our own implementation!
Each page will need to have a custom meta tag setup with the property called boost. This will require a custom field on the Page template and some additional logic in the frontend to output a tag like the following:
<meta property="boost" content="10">
From there we will set up some custom attributes and sorting logic in the Customer Engagement Console in order to “boost” the rankings based on the value in the content property of this tag.
Start off by creating a base template called _Boost. A good location for this base template would be /sitecore/templates/Foundation/Common/Pages/_Boost.
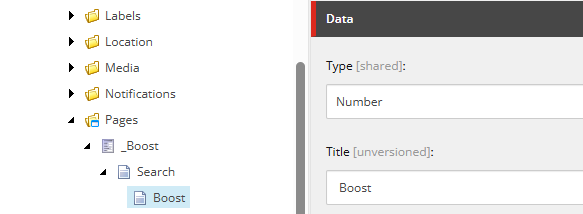
From there create the Search subheading and a property called boost with the type of Number.
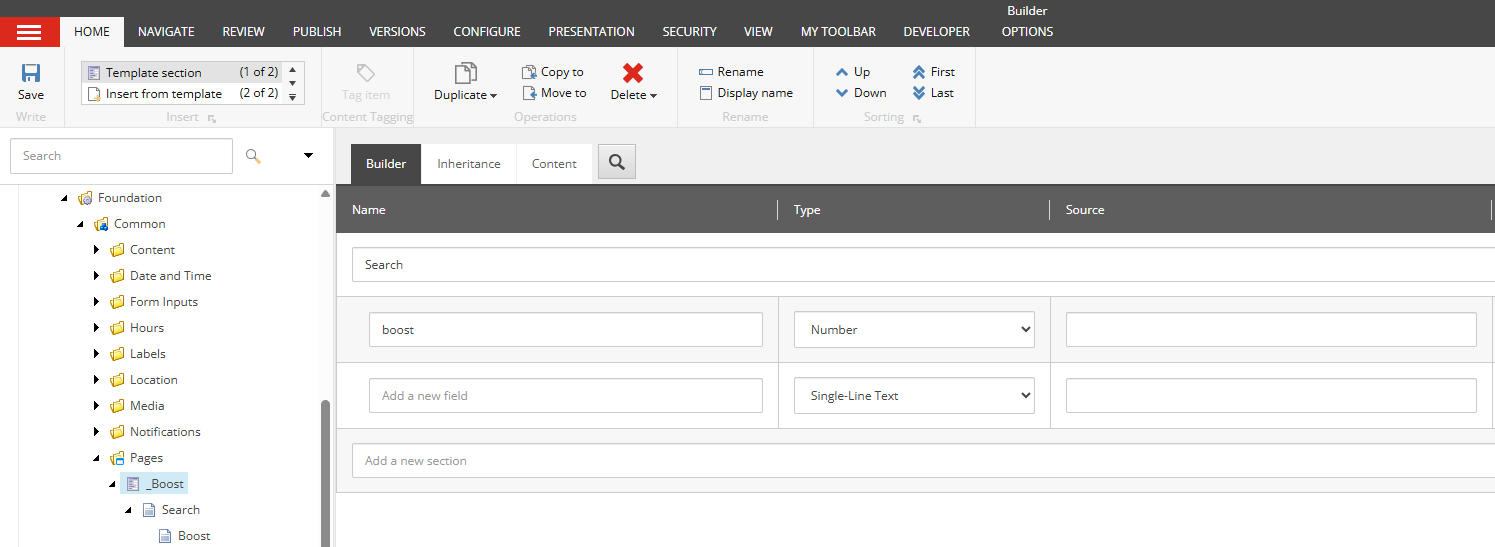
Next, in order to follow best practices, set the Title and Display Name for this property to Boost.
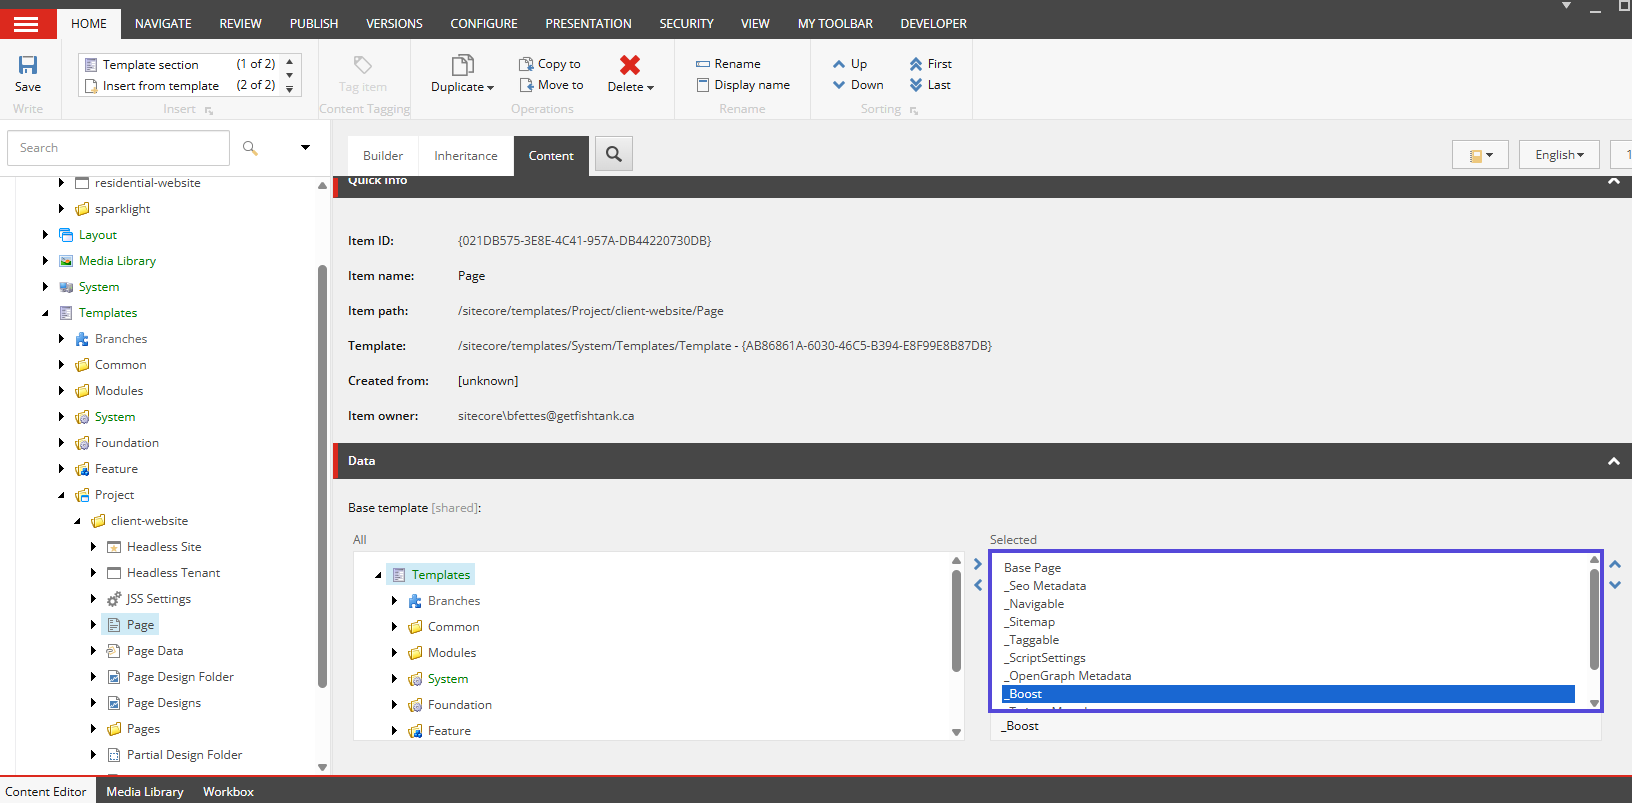
Now that we have the base template created we will want to set this template as the base template on your Page template. On this example project that Page template can be found at /sitecore/templates/Project/client-website/Page. On the Content tab for the Base Template find the _Search template on the left side and use the right arrow to add it as a Base Template.
You’ll also want to update the __Standard Values template to default the value of Boost to 0, which will make sure that by default no pages are boosted and will be returned based on relevance.
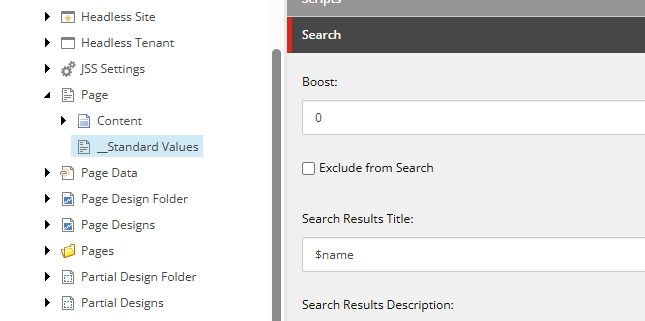
Now that this has been completed this will ensure that any Pages that are created using this Page template will now include the Boost property:
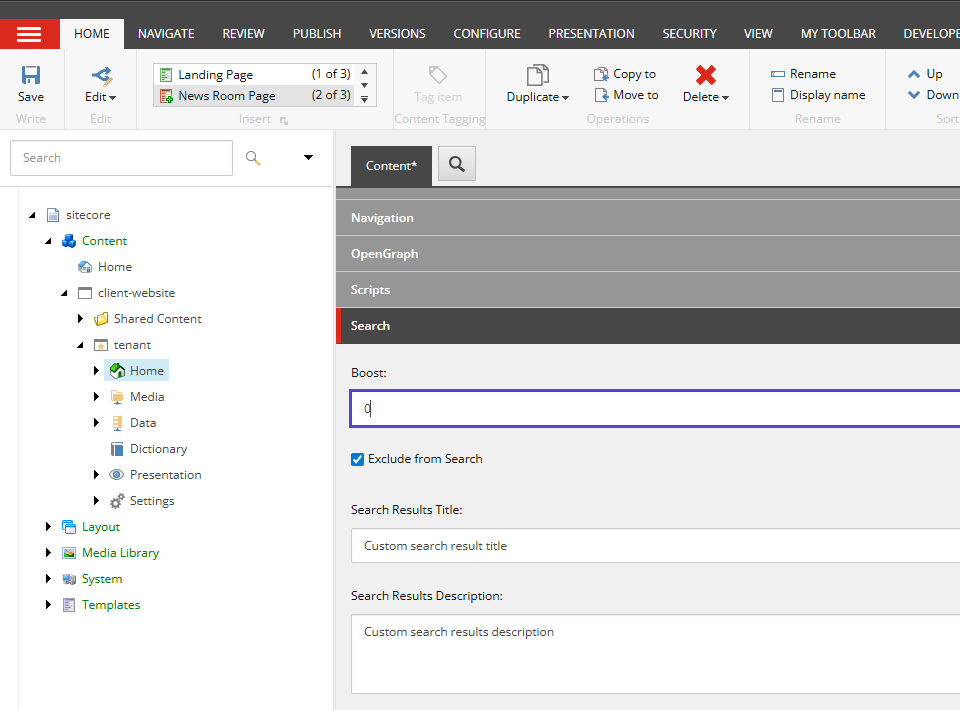
Now we have everything we need on the backend configured, so go ahead and publish out your templates and any content under Home that you want to have boosted or will be using to test the boost property.
Next you will need to update your front end code to output this custom property in the markup. The exact implementation will vary depending on your solution however you’ll ultimately want something like the following:
import Head from 'next/head';
import { MetadataProps } from './Metadata';
import { CustomPageMetaFieldsType } from 'lib/types';
export const MetadataSearch: React.FC<MetadataProps> = ({ route }) => {
  const { boost, searchResultsTitle, searchResultsDescription } = (
    route as CustomPageMetaFieldsType
  )?.fields;
  const boostValue = boost?.value?.toString() ?? '0';
  const searchResultsTitleValue = searchResultsTitle?.value?.toString() ?? 0;
  const searchResultsDescriptionValue = searchResultsDescription?.value?.toString() ?? 0;
  return (
    <Head>
      **<meta property="boost" content={boost} />**
      <meta property="searchResultsTitle" content={searchResultsTitleValue} />
      <meta property="searchResultsDescription" content={searchResultsDescriptionValue} />
    </Head>
  );
};
In this example we have placed it in MetadataSearch.tsx which defines a component named MetadataSearch and is then output in another file called Metadata.tsx:
import MetadataTwitter from './MetadataTwitter';
import MetadataOpenGraph from './MetadataOpenGraph';
import { CustomPageMetaFieldsType } from 'lib/types';
import { Field, Item, RouteData } from '@sitecore-jss/sitecore-jss-nextjs';
import { GenericFieldValue } from '@sitecore-jss/sitecore-jss/types/layout/models';
import { MetadataPage } from './MetadataPage';
import { MetadataSearch } from './MetadataSearch';
export type MetadataProps = {
  route:
    | RouteData<Record<string, Field<GenericFieldValue> | Item | Item[]>>
    | null
    | CustomPageMetaFieldsType;
};
const Metadata: React.FC<MetadataProps> = (props) => {
  return (
    <>
      <MetadataPage route={props.route} />
      <MetadataTwitter {...props} />
      <MetadataOpenGraph {...props} />
      <MetadataSearch {...props} />
    </>
  );
};
export default Metadata;
This Metadata component is then called at the top of our Layout.tsx which ensures that it is include at the top of each page.
You will also need a metadata.ts file in your lib\types\page folder with the following code:
import { Field, ImageField } from '@sitecore-jss/sitecore-jss-nextjs';
import { CustomField } from '../fields';
import { CommonPageRouteMetaDataFieldsType } from './page';
export type MetaCollectionType = {
  name: string;
  value: string;
};
type MetaFieldTypes =
  | CustomField
  | Field<string>
  | ImageField
  | ConfigType
  | TagType[]
  | MetaCollectionType[]
  | Field<number>
  | Field<boolean>;
export type CustomPageMetaFieldsType = CommonPageRouteMetaDataFieldsType & {
  fields: {
    [key: string]: MetaFieldTypes;
    Title: Field<string>;
    MetaKeywords: Field<string>;
    MetaDescription: Field<string>;
    //Search
    **boost: Field<number>;**
    searchResultsTitle: Field<string>;
    searchResultsDescription: Field<boolean>;
    //OG Tags
    OpenGraphTitle: Field<string>;
    OpenGraphDescription: Field<string>;
    OpenGraphImageUrl: ImageField;
    OpenGraphType: Field<string>;
    OpenGraphSiteName: Field<string>;
    OpenGraphAdmins: Field<string>;
    OpenGraphAppId: Field<string>;
    // Tags
    SxaTags: TagType[];
  };
  templateName?: string;
};
Now we have everything we need on the frontend to populate the pages with the custom Boost property we setup in the previous step.
To start off, you will want to add a custom attribute to associate with your boosting. To do so go to:
Administration → Domain Settings → Attributes → Add Attribute
Enter the following values:
| Entity | content |
|---|---|
| Display Name | Boost |
| Attribute Name | boost |
| Data Type | float |
| Properties | Available for Rules & Page Hard Filters |
| Properties | Available for Ranking Recipes |
You can leave all of the optional fields blank, as they will not be needed.
Once you’ve finished populating the form click Save then Publish.

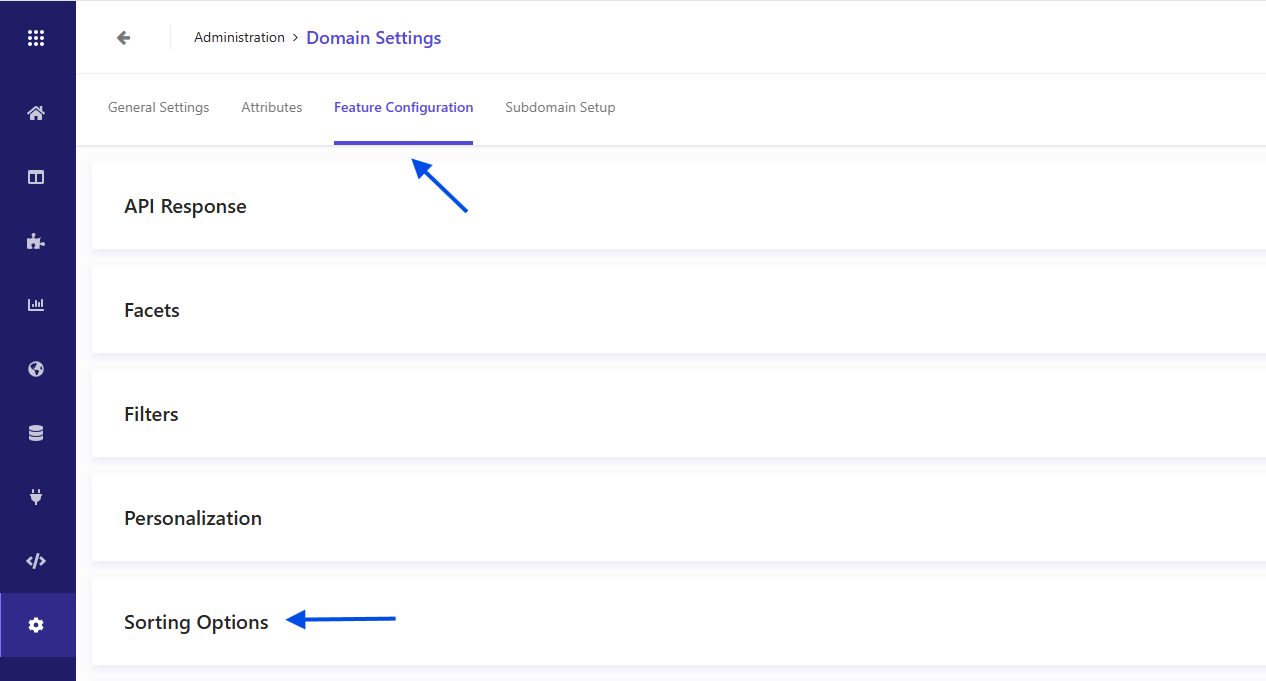
Next we will want to go to the Feature Configuration tab. From here expand the Sorting Options accordion.
First you will need to go to + Add Attribute, scroll to the bottom and select the boost attribute we just create and then click Add.
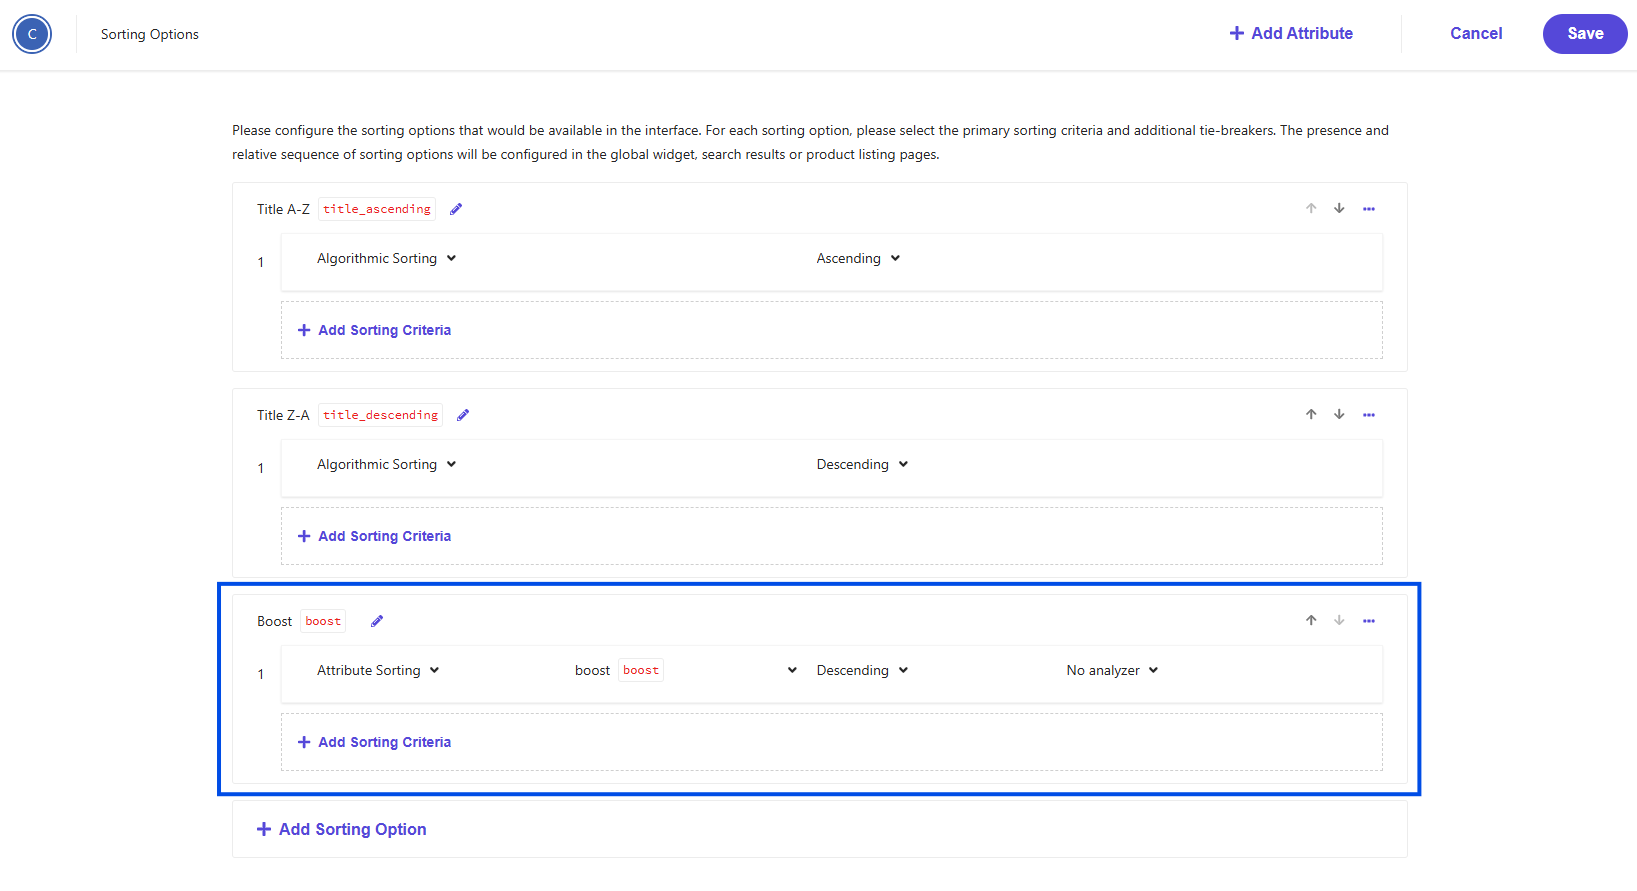
Now back at the Sorting Options you should see two default options for title_ascending and title_descending. We want to add our new boost attribute so click Add Sorting Option.
Now in the display name field click the Edit icon to the right. Enter the following values:
| Display name | Boosting |
|---|---|
| API Name | boosting |
Now click Save.
In the accordion for Boosting change the first dropdown from Algorithmic Sorting to Attribute Sorting. This will display a new field to the right which says Select Attribute, in that dropdown select the boost attribute we created above. Next set the sorting dropdown to the right to Descending, this will ensure that higher values rise to the top.
Now click Save, then when taken to the previous screen you will now want to click Publish. If it prompts you to reindex you can uncheck the box for now.
Now we will need to setup our Source to read a boost attribute from a page and populate this new boost attribute we have setup. You’ll need to be using an Advanced Web Crawler in order to use this functionality.
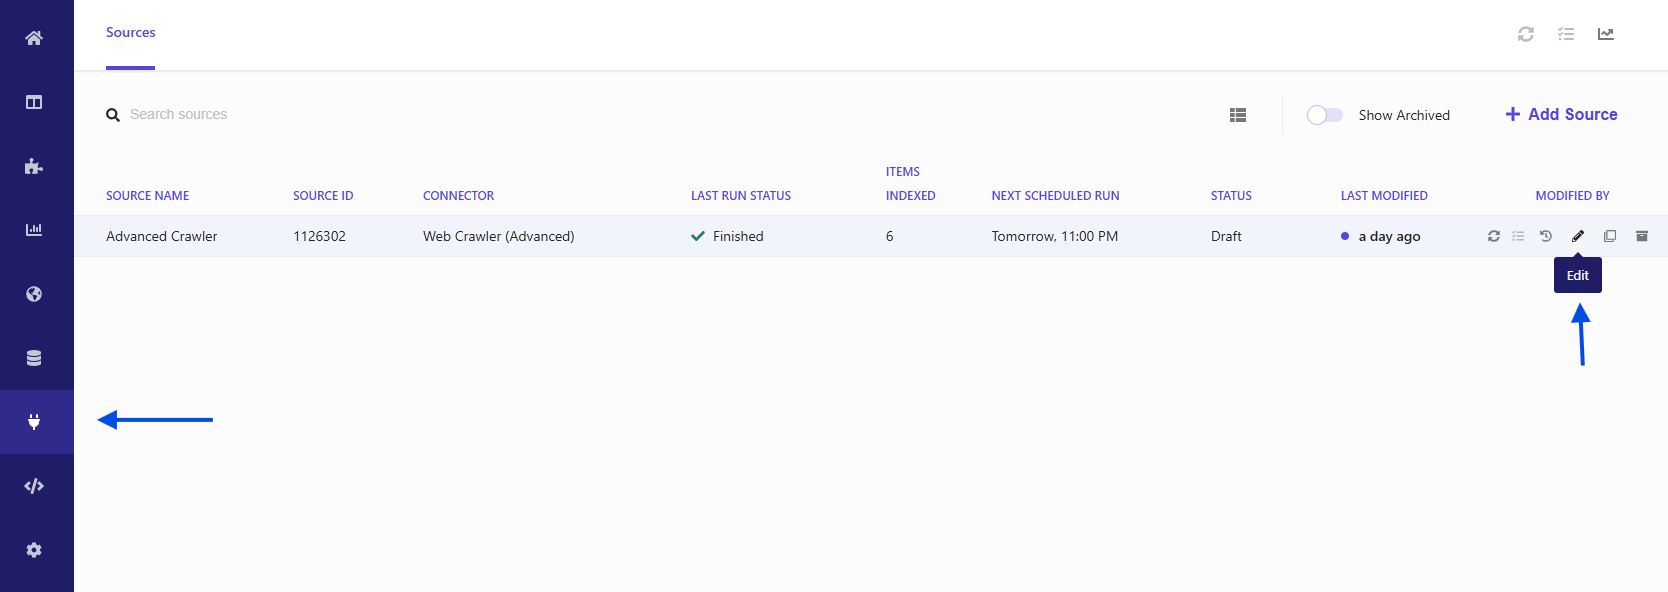
On the left side click Sources and then on your Web Crawler (Advanced) click on the Edit button.
Scroll down to Document Extractors and click Edit. You can use an XPath or JS extractor, however for this example we’ll be using a JS Extractor. Click edit on your extractor:
Add a new line in the JavaScript to grab the boost property from the metatag:
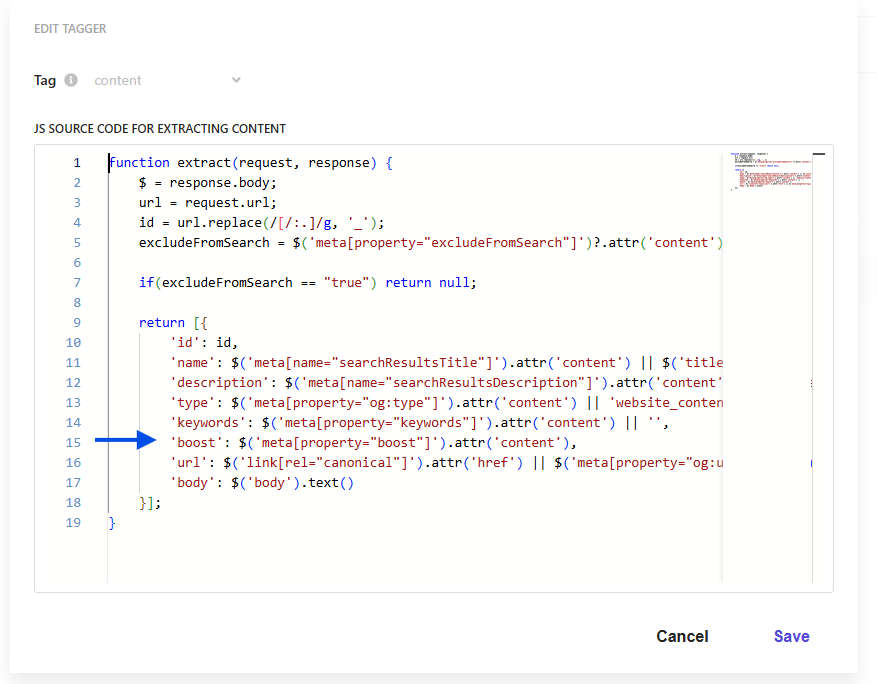
This will ensure that the boost attribute we setup in the steps above is populated using the value in the boost meta tag. From there content that has been indexed will be sorted Descending by this boost value, so the higher the value you set the higher it will be bumped up in the search results.
Next Save and Publish your changes.
In order to test your changes you can either have a Search integration already setup for your front end application, or if not you can test it out using the Customer Engagement Console.
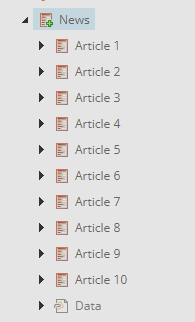
First of all, you’ll need some test content. For my testing I’ll be using a test site with numerous news articles. For testing’s sake I’ve just named them Article 1 through 10, and have them sorted by Display name in Sitecore.
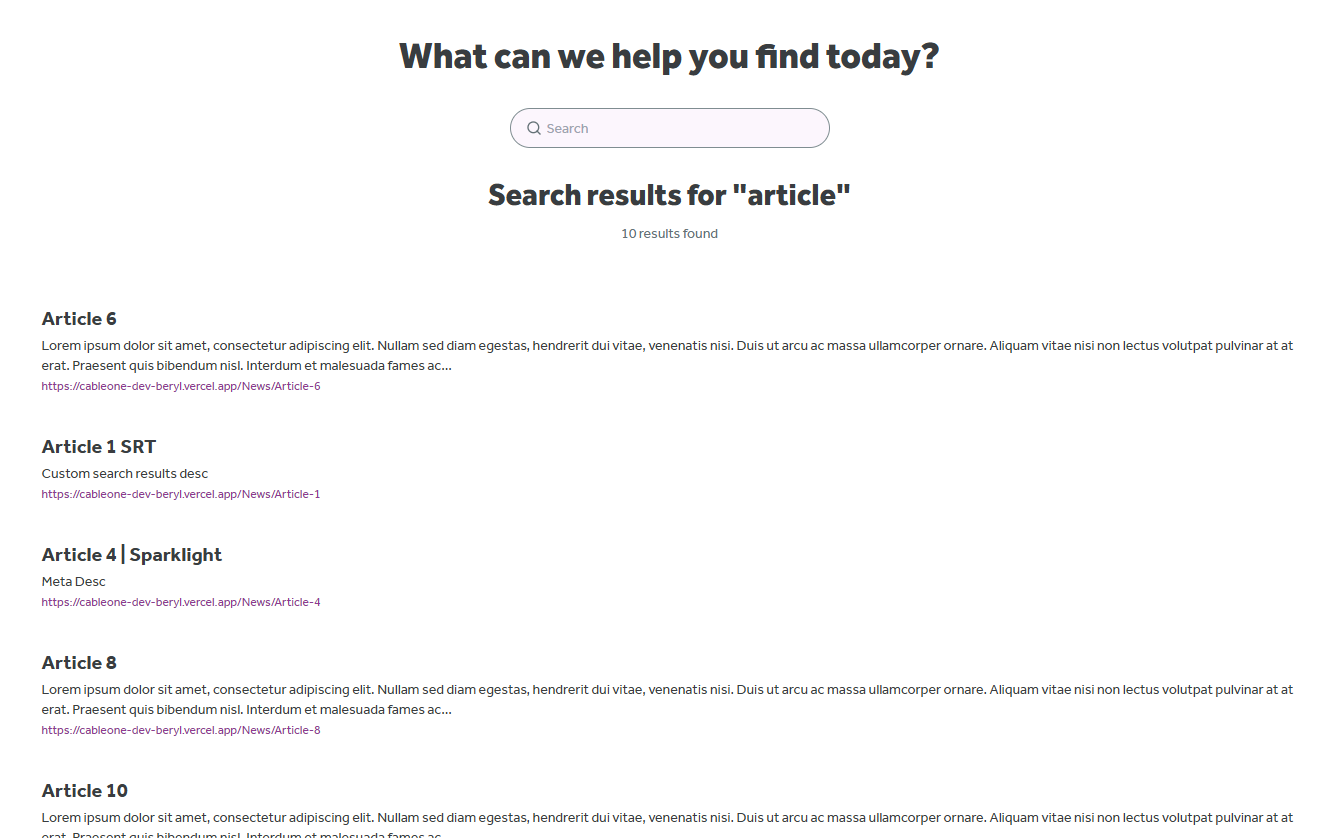
Currently when searching for “article” on our search page I get the following results:

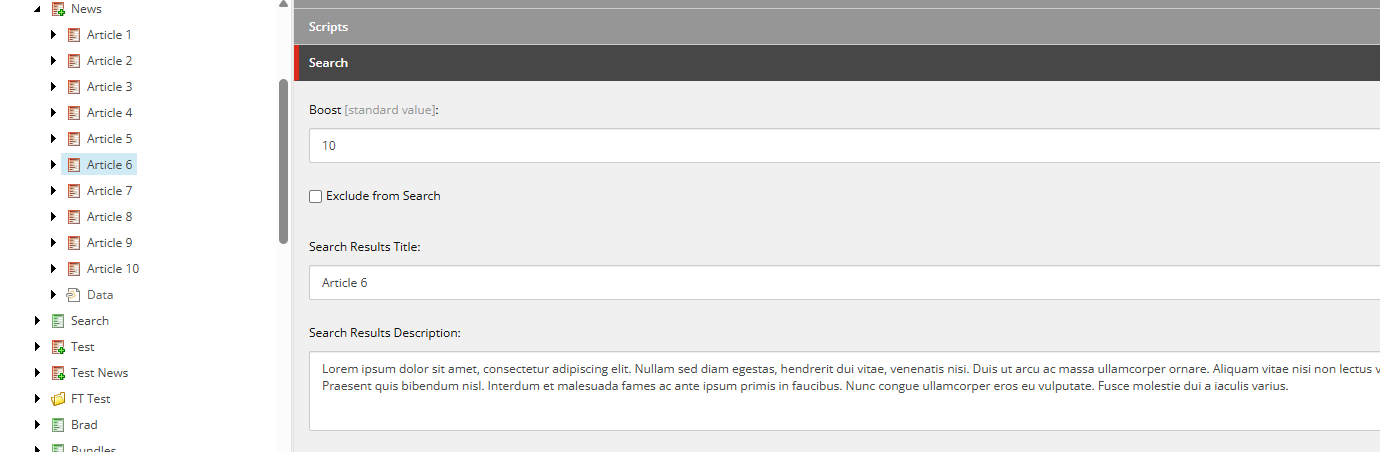
But I want Article 6 to appear at the top of the list. So I will set the Boost value on Article 6 to 10, and then publish it out:
After publishing the item we will next want to rerun the indexing in the CEC and once that’s done we can perform another search for Article and now we’ll see that Article 6 is at the top:
By implementing this custom boost logic solution, you’ve essentially created a flexible and powerful way to control search result rankings in Sitecore Search, even though this functionality isn’t available out of the box. This implementation provides several key benefits:
Content Editor Control: Editors can now easily adjust search result prominence directly from the Sitecore interface using a simple numeric field, without requiring technical intervention for each change.
Scalable Architecture: The solution follows Sitecore best practices by using base templates and proper inheritance, making it easy to extend to additional page types as your site grows.
Real-time Testing: The Customer Engagement Console provides immediate feedback for testing boost values, allowing you to fine-tune result rankings and verify changes before they go live.
SEO-Friendly Implementation: By using meta tags to store boost values, the solution maintains clear markup and doesn’t interfere with other SEO considerations.
This approach demonstrates how Sitecore’s flexibility, combined with the Advanced Web Crawler’s JavaScript extraction capabilities, can solve complex search ranking challenges. The boost functionality you’ve implemented will help ensure that your most important content surfaces prominently in search results, ultimately improving user experience and content discoverability across your site.
With this foundation in place, you can now confidently manage search result priorities and ensure that critical pages receive the visibility they require in your Sitecore Search implementation.