Reading time: 5 min read

In a previous article we setup a Sitecore JSS application. At the time we set it up using the React framework. Nothing wrong with doing that. This time around, however, I wanted to use the Next.js framework instead.
Quick Setup
In creating a new app, first, we install the Sitecore JSS Next.js package:
npm install @sitecore-jss/sitecore-jss @sitecore-jss/sitecore-jss-nextjsThen we create the app using the command:
jss create demonextjsjssapp nextjsNote how this time we're using nextjs.
Just like the previous article, I go through and update the hosts file, IIS Manager site bindings and create my API Key.
Once all of that is in place, I'll switch into the app directory and run the command below and update it just like we did last time.
jss setupOne thing to highlight when using Next.js compared to a template setup like React is the need to setup the JavaScriptServices.ViewEngine.Http.JssEditingSecret value.
Open up your /sitecore/config/<jss app config file> and update the JSSEditingSecret value with a value your choosing. And, this is really important, make sure that the setting is NOT commented out.
Then, head on over to your .env file in your app root and update the JSS_EDITING_SECRET to have the exact same value.
Once that's in place, go ahead and run both commands below:
jss deploy configjss deploy app -c -dOnce that completes, assuming no errors, you should find your Next.js JSS application in the Content Editor under /sitecore/content. Feel free to start up the JSS app using:
jss startAfter that finishes, you should now be able to hit your Next.js application via the chosen host entry you assigned it as per above.
Create Your First Next.js JSS Component
Open up the Content Editor and let's head down to the Project template folder here:
/sitecore/templates/Project/For us, we're going to create a folder called demonextjsjssapp as it corresponds to our app that we setup above. Next, we will create a new template called DemoComponent. Pick a name of your choice.
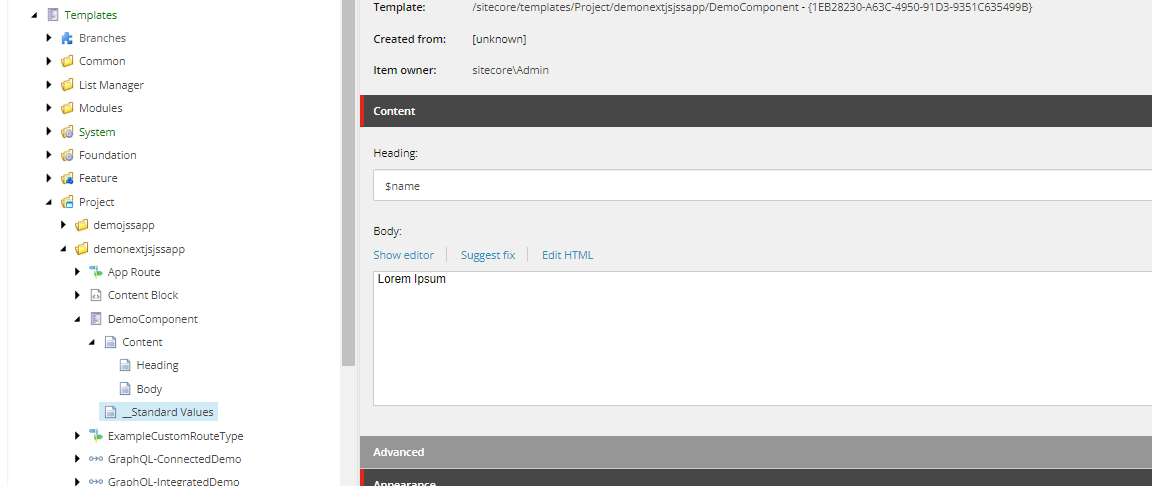
Within this template, we're going to have a heading field of type Single-line Text and then a field called body of type Rich Text. It will look something like this.
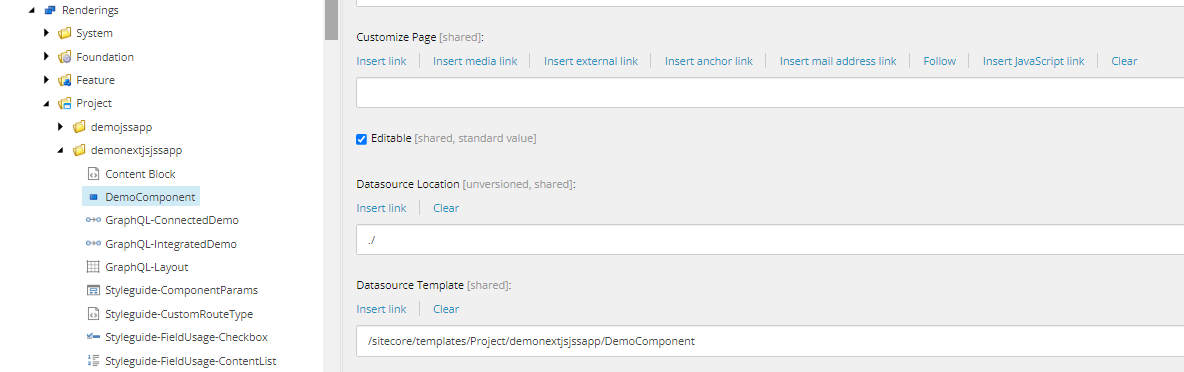
Now let's create a JSON rendering located under: /sitecore/layout/Renderings/Project/demonextjsjssapp called DemoComponent.
Be sure to update the Datasource Location to ./ and set the Datasource Template to the template you created above.
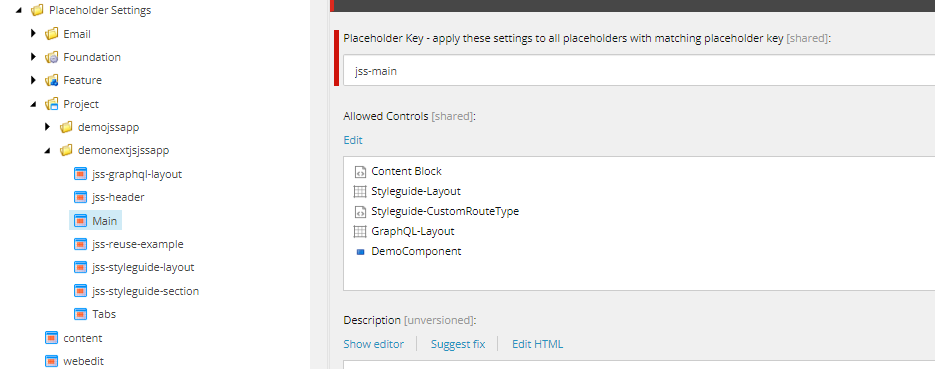
Next, we need to update the Main placeholder under /sitecore/layout/Placeholder Settings/Project/<your project folder>/ and in the Allowed Controls section add the JSON rendering you just setup.
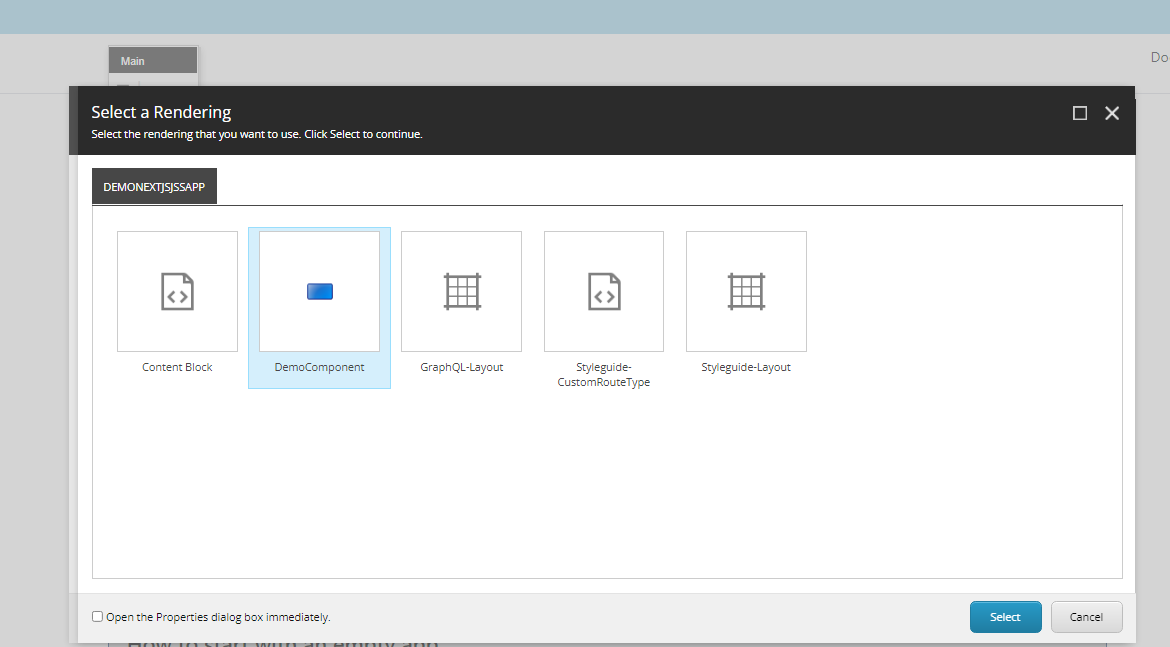
Lastly, let us add the rendering to the Home item of the project. Right-click on the Home item and proceed to the Experience Editor. While there, add your new component to the Main placeholder.
Tip: Depending on how you're adding your component to the page. If you're using Presentation Details then you'll want to ensure you're putting the JSON rendering under the jss-main placeholder. If you used the Experience Editor mode of adding it, it would automatically set it as such.
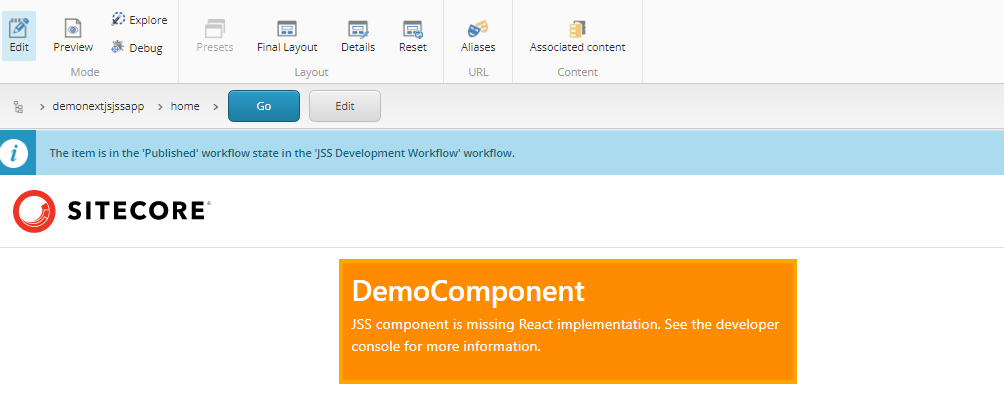
We can see it's added as we can see a representation of the component in Experience Editor. Don't worry about that error just yet. Because we're going about this as Sitecore-first, we still have to create the corresponding Next.js component in our app. which we will do shortly.
Let's check out how it's looking. Open a browser and go to:
http://demonextjsjssapp.dev.local/sitecore/api/layout/render/jss?item=/&sc_apikey=You will find the API Key value in your scjssconfig.json file in the root of your Next.js project.
Loading the page we can see the result clearly showing our component listed under the placeholders list.
{
    "sitecore": {
      "context": {
        "visitorIdentificationTimestamp": 637870335766666200,
        "pageEditing": false,
        "site": {
          "name": "demonextjsjssapp"
        },
        "pageState": "normal",
        "language": "en",
        "itemPath": "/"
      },
      "route": {
        "name": "home",
        "displayName": "home",
        "fields": {
          "pageTitle": {
            "value": "Welcome to Sitecore JSS"
          }
        },
        "databaseName": "master",
        "deviceId": "fe5d7fdf-89c0-4d99-9aa3-b5fbd009c9f3",
        "itemId": "10c95710-7652-54be-a6d8-7011d11ef2b9",
        "itemLanguage": "en",
        "itemVersion": 1,
        "layoutId": "c554a29d-74fd-5fd6-a7a3-3b6a1e75790b",
        "templateId": "bb2be82e-56e7-54d5-83f8-6d9659b6ea2b",
        "templateName": "App Route",
        "placeholders": {
          "jss-main": [
            {
              "uid": "002d71eb-3b8e-4d59-9e10-ab2b19ebdf3c",
              "componentName": "DemoComponent",
              "dataSource": "{CBF1731D-3FFC-4B59-A095-ABAFF9EE6AB8}",
              "params": {},
              "fields": {
                "Body": {
                  "value": "Lorem Ipsum"
                },
                "Heading": {
                  "value": "How cool is this!"
                }
              }
            }
          ]
        }
      }
    }
  }
Map The Component In Our Next.js App
As mentioned above, we still have to create the corresponding component in the Next.js app. If we had done this as code-first, we wouldn't need to do this but because we went about this as Sitecore-first we do.
Open your Next.js app and inside <your project>/src/components we will create a DemoComponent.tsx file.
We're then going to update the file with our component information (that we set up in the template above.
import { Text, Field, RichText } from '@sitecore-jss/sitecore-jss-nextjs';

type DemoComponentProps = {
    fields: {
    Heading: Field<string>,
    Body: Field<string>
    };
}

const DemoComponent = (props: DemoComponentProps): JSX.Element => (
    <div>
    <Text field={props.fields.heading} />
    <RichText field={props.fields.body} />
    </div>
);

export default DemoComponent;
Save and head back into Experience Editor. A quick refresh should now reveal the component.
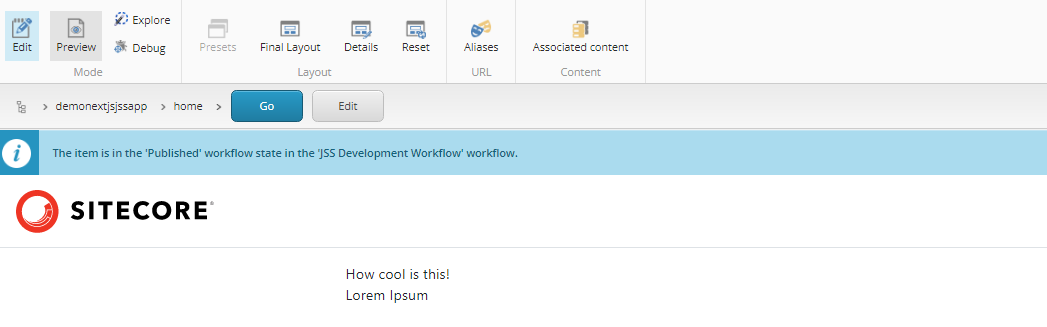
Tip: If when you refresh Experience Editor and you don't see your component, check the case of the fields you've used. The props field names are case sensitive, so if you used any capitals, then you'll need to use the same case here.
