Reading time: 5 min read
Unlocking Your Sitecore Account in Docker
Resolving an “Error: User Is Locked Out” scenario while using Sitecore with Docker.
Start typing to search...
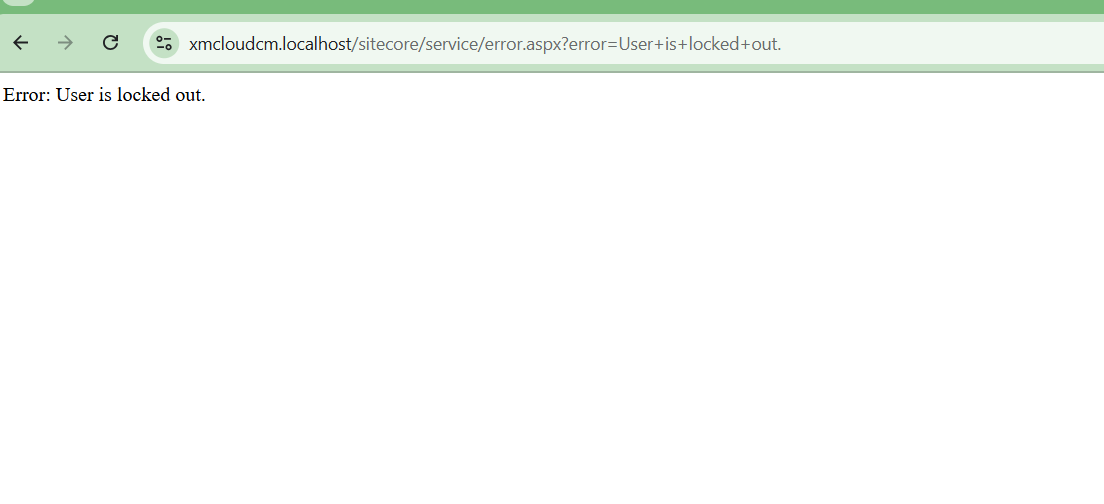
What do you do when you’re developing in Sitecore using a Docker container and you find yourself getting a “Error: User is locked out” message? Well you might think this means you are locked out of your Sitecore XM Cloud Portal account, this is actually the “local” account within your Docker container that has been locked out. But how does one get themselves unlocked?
Previously, back in just January of 2023, we wrote about how one would unlock their account using SQL Server, however things have changed rapidly with the introduction of XM Cloud and thus also to how developer environments are setup. Now you will have a local CM and CD instance running within Docker, in addition to that SQL Server will now live inside the Docker container.
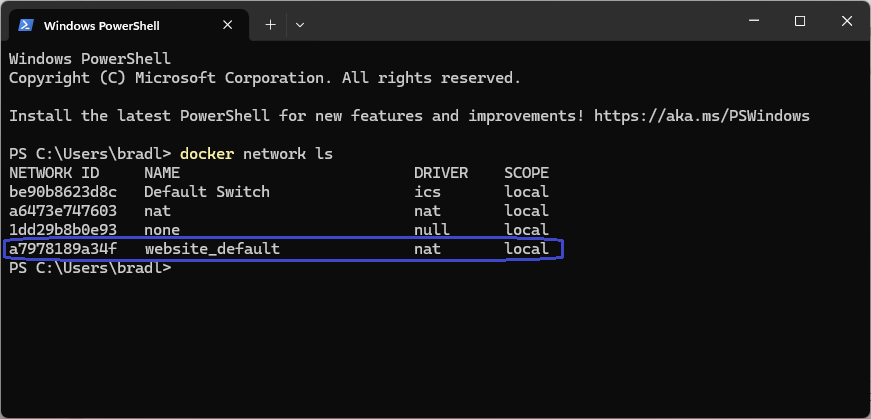
To get yourself unlocked you’ll first want to open up Command Prompt or PowerShell and run the following command:
docker network ls
This will show you a list of all the networks the Engine daemon knows about, we’re looking for the one that matches the name you setup for your solution, in this example we used “website” which is then appended with _default.
Now we want to find the IP of the SQL Server instance running on website_default, to do so run the following command (replacing website_default with your site name):
docker inspect website_default
This will give you a JSON output like the following, you’ll want to look for the section pertaining to SQL Server (highlighted in bold):
PS C:\Users\bradl> docker inspect website_default
[
    {
        "Name": "website_default",
        "Id": "a2978189a34f48da2ba4899da64b02b7a190f8fa51a5a8e611e024a56ffdfc90",
        "Created": "2025-02-25T15:22:46.993612-05:00",
        "Scope": "local",
        "Driver": "nat",
        "EnableIPv6": false,
        "IPAM": {
            "Driver": "windows",
            "Options": null,
            "Config": [
                {
                    "Subnet": "172.20.16.0/20",
                    "Gateway": "172.20.16.1"
                }
            ]
        },
        "Internal": false,
        "Attachable": false,
        "Ingress": false,
        "ConfigFrom": {
            "Network": ""
        },
        "ConfigOnly": false,
        "Containers": {
            "176e1f5630b39457984a9b4d407cab2cbd1f1f65b4218a8a8387f88427f0f2dd": {
                "Name": "website-solr-1",
                "EndpointID": "2c60ab52275e3e8982ff6c6394d9e23c12a1272799c6366bb18bd319fdbced58",
                "MacAddress": "00:15:5d:71:db:a2",
                "IPv4Address": "172.20.21.142/16",
                "IPv6Address": ""
            },
            "83b67166d8818d748d066e7aaead7d42e2a193083977ff1751ec7385a2146d52": {
                "Name": "website-traefik-1",
                "EndpointID": "184bfeaa7432b55a33a07ac9c74646fa65dbdcff15f5b54480b227d7d7f5e794",
                "MacAddress": "00:15:5d:71:d5:cd",
                "IPv4Address": "172.20.16.231/16",
                "IPv6Address": ""
            },
            "a77b70638717e3e4632468d2bd7eca63d5ac53cd2469e5d3a0b07ab8e3707dcb": {
                "Name": "website-rendering-1",
                "EndpointID": "ba00a5bfdc941fe9904f664e4534723fff8eaf236518563a96438530ef3a2bb2",
                "MacAddress": "00:15:5d:71:d4:c0",
                "IPv4Address": "172.20.22.110/16",
                "IPv6Address": ""
            },
            "b77b1a755bbb833f107585b825c954df48ed7be62cc13cc910755a557b626474": {
                "Name": "website-cm-1",
                "EndpointID": "272b4cec902021a6965fc9efd191aaef7fd32f78756ab8cf6913a1035451cc8d",
                "MacAddress": "00:15:5d:71:d6:ab",
                "IPv4Address": "172.20.25.20/16",
                "IPv6Address": ""
            },
            **"bc3c57f6e1d5b14fd5a6b640e94f752b12ae9b7b0a2e1cc14651b1710d547ae5": {
                "Name": "website-mssql-1",
                "EndpointID": "3a2fb941a286f8ed3fe5baa73e025e0424c28bc860edd061271369f9d66a65e5",
                "MacAddress": "00:15:5d:71:de:e1",
                "IPv4Address": "172.20.23.188/16",
                "IPv6Address": ""
            }**
        },
        "Options": {
            "com.docker.network.windowsshim.hnsid": "88294CEE-773B-44D5-AD86-7FCFBE2EF0F9"
        },
        "Labels": {
            "com.docker.compose.network": "default",
            "com.docker.compose.project": "website",
            "com.docker.compose.version": "2.17.2"
        }
    }
]
Looking at the output you’ll see a IPv4Address value in the entry for website-mssql-1 which in this case is 172.20.23.188, that is the IP to the SQL Server engine running inside the Docker container.
Next you will need the “sa” password, you can find that in the environment file which should be found in root\local-containers.env. Look for the SQL_SA_PASSWORD which should be around line 19.

Now that you are armed with both the IP address and password you can fire up SQL Server Management Studio and enter the IP we found as the Server Name, then selecting SQL Server Authentication from the next dropdown, then “sa” for the Login and for the Password the value we found above.
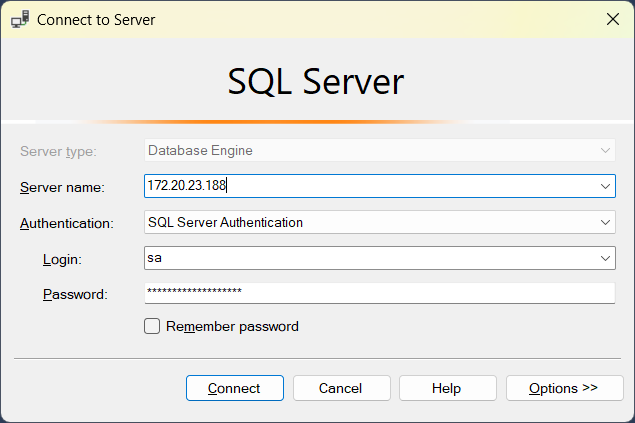
Now hit Connect.
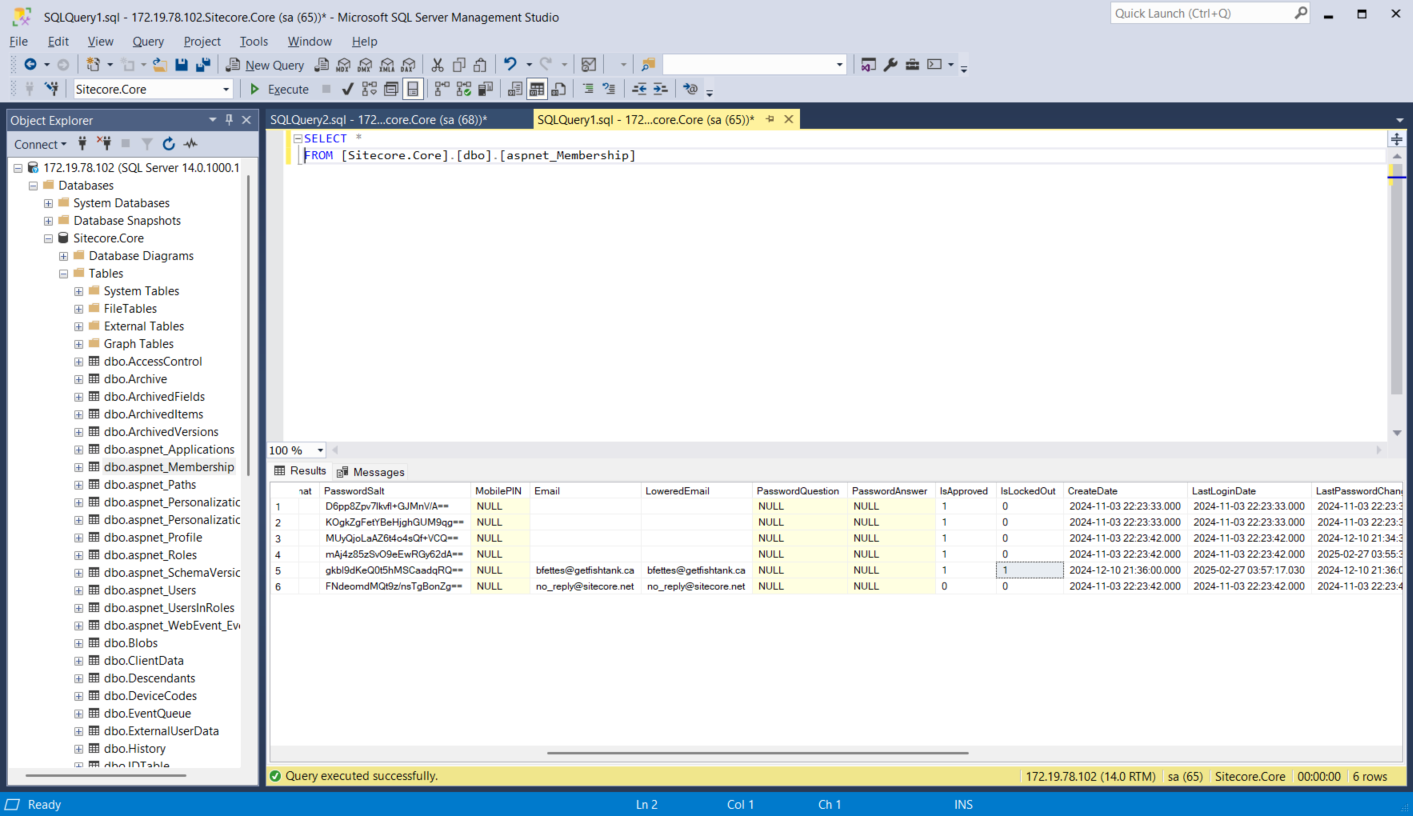
Once logged into the server you should see your familiar Core and Master databases. You will want to check the aspnet_Membership table in the Sitecore.Core database to see if you’re user is locked out.
For example I just did a SELECT * FROM [Sitecore.Core].[dbo].[aspnet_Membership] and I can see that my user is set to IsLockedOut=1:
To fix this I can open up a new query window and create a query to set the value to 0 for my email address:
UPDATE [Sitecore.Core].[dbo].[aspnet_Membership]
SET IsLockedOut = 0
WHERE email = '[email protected]'
You should see a message saying 1 row affected.
To confirm, you can do another query, this time I filtered it to my email:
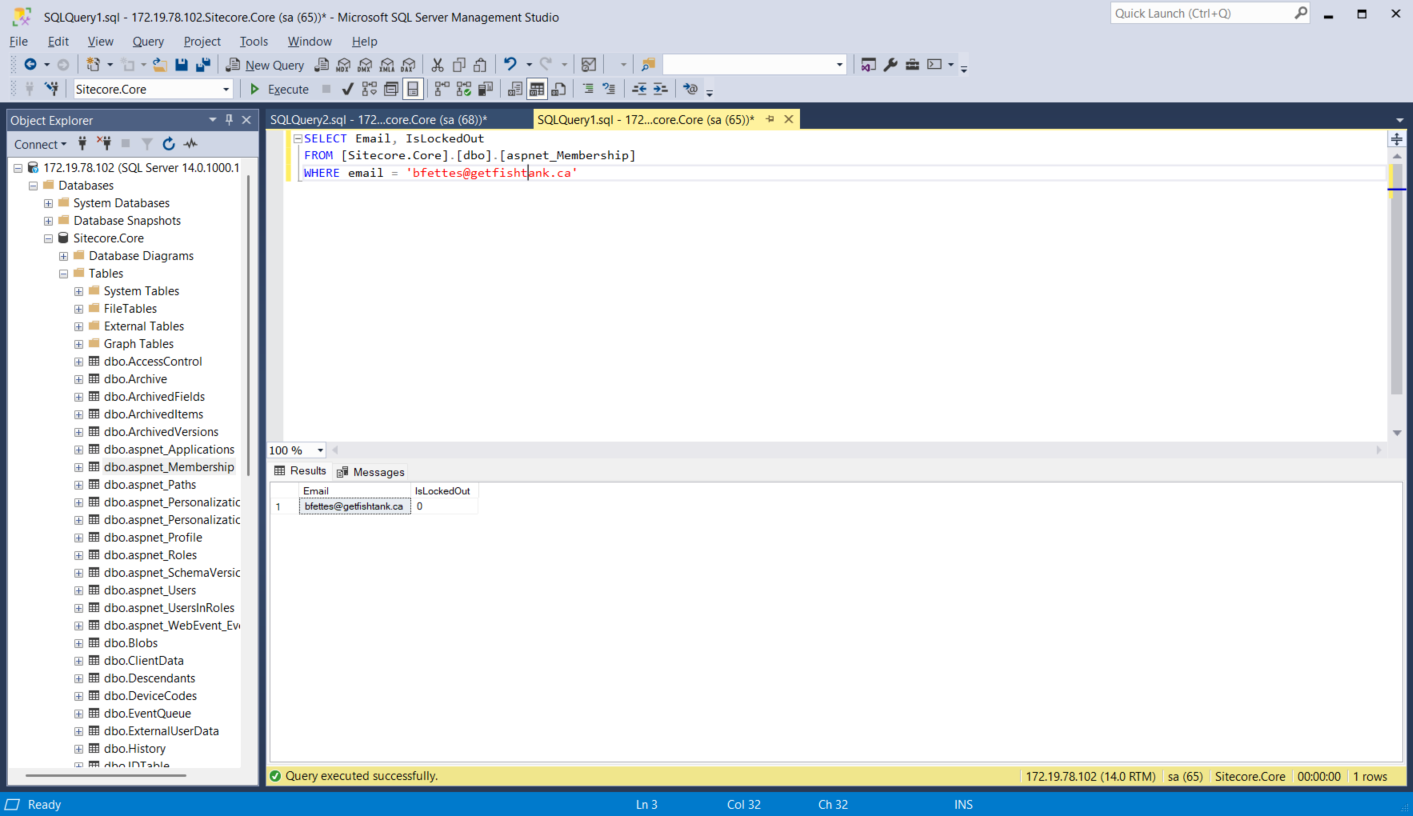
Great, everything looks good, my user is no longer locked out! Now lets try logging in again!
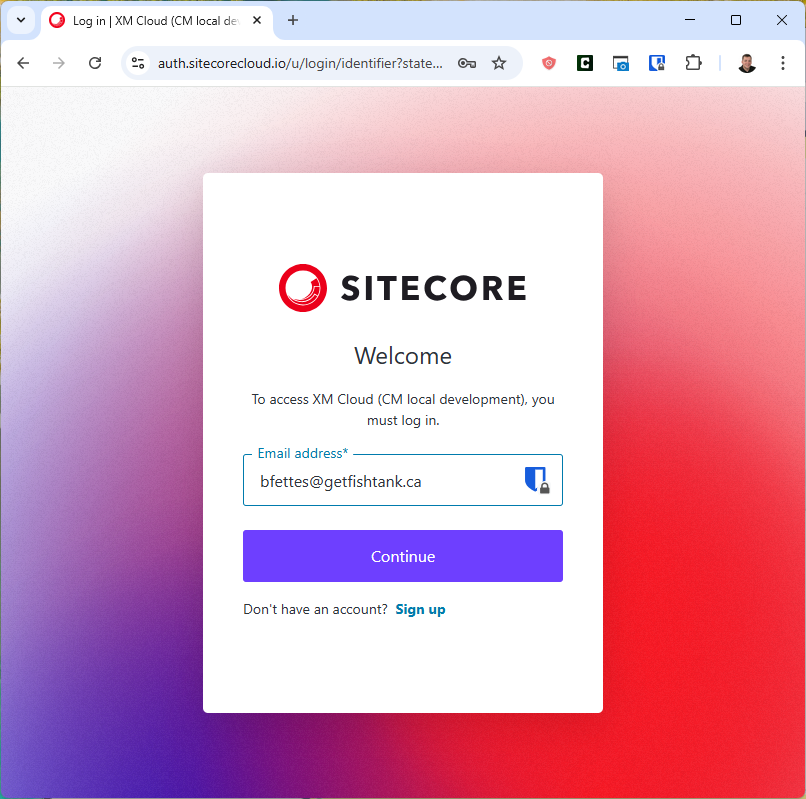
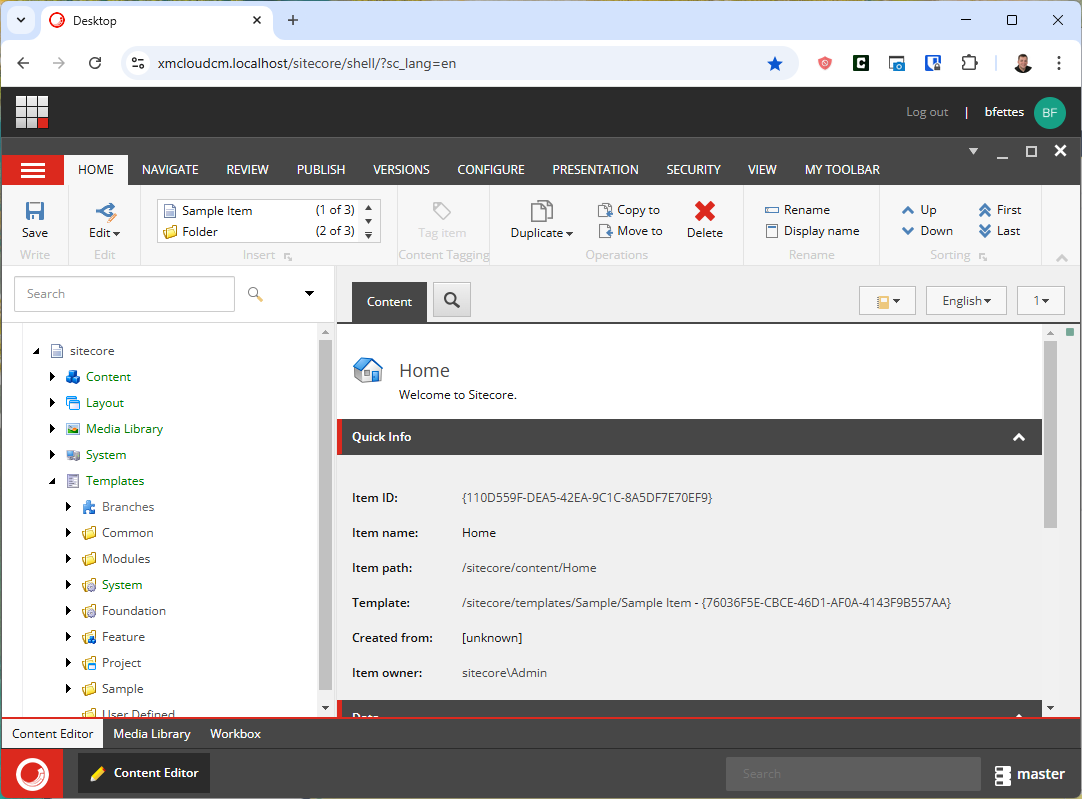
After entering my email address and then password, I am now able to login successfully to my local Sitecore instance running inside Docker.
To see a video of the whole process, please check out the following recording: