Reading time: 3 min read
Debugging Default Headless Rendering Variant in Sitecore XM Cloud
An easy to miss bug in Headless Variants that you can learn to fix and remember in your XM Cloud component development.
Start typing to search...
An easy to miss bug in Headless Variants that you can learn to fix and remember in your XM Cloud component development.
Recently, we encountered issues with Headless Variants in some of our components. Ensuring a seamless authoring experience is crucial, especially for Content Authors who should not need to perform additional steps just to get basic components working on their pages.
The primary issue we faced involved inconsistent behavior with default variants across multiple components. Typically, when a component offers several variants, the expectation is for the Default variant to be automatically applied. However, this isn’t always the case.
In this article, I’ll guide you through a straightforward troubleshooting process to help you identify and resolve these issues in your Headless Variant setup. I’ll also share practical tips to ensure a smoother authoring experience.
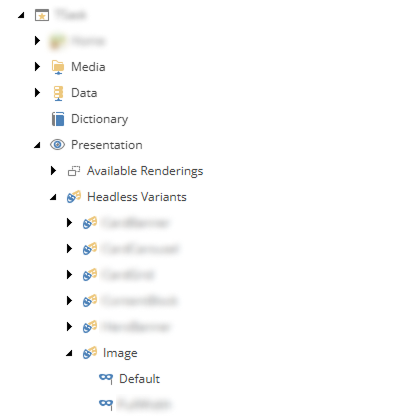
When setting up a new component, it’s standard practice to designate a Default Headless Variant. Sitecore provides several Out-of-the-Box (OOTB) components, each with a pre-configured Headless Variant.
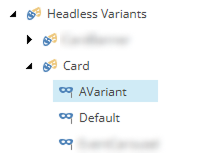
Here’s an example where I’ve added a new variant to a component. At first glance, everything seems fine — nothing out of the ordinary.

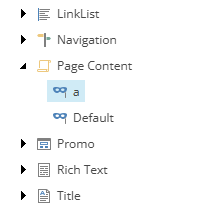
However, a common scenario that can trigger the issue is when a newly created variant is named in a way that alphabetically precedes the Default variant.
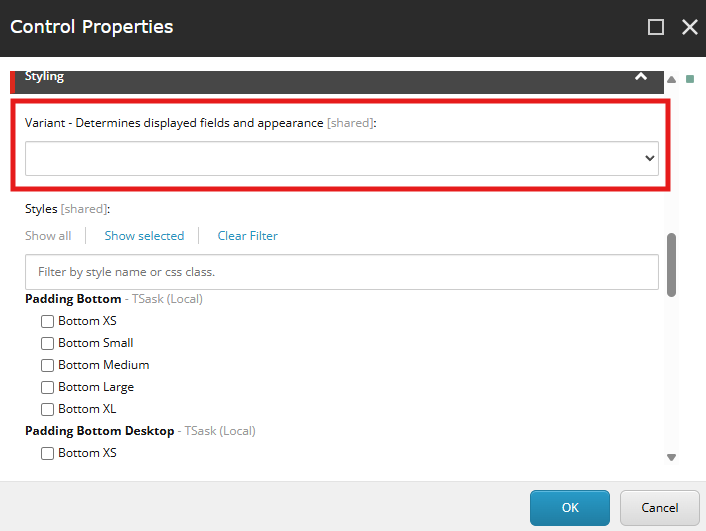
At this point, it may not seem like anything is wrong. To double-check, I viewed the variant set in the Layout Details, only to find that no variant had been selected.
Once you begin authoring content on your pages, whether in preview mode or after publishing, you might notice that the Default variant is not being applied.
This is a weird behavior we found while doing testing on our components. I’ll walk you through a simple solution that will prevent any future variants from being added before Default.
This unexpected behavior became evident during our component testing. In the next section, I’ll walk you through a simple solution to ensure that future variants don’t unintentionally override the Default variant.
When working with Headless Variants and setting up the frontend code, it’s common practice to designate the first variant as Default. This ensures our components are prepared for any future variants we might add.
In XM Cloud, the initial variant is also typically labeled as Default.
A frequent issue occurs when new variants are added, sometimes appearing before the Default variant. A quick, temporary fix is to manually drag the Default variant to the top. However, this approach is unreliable since new variants can still override it.
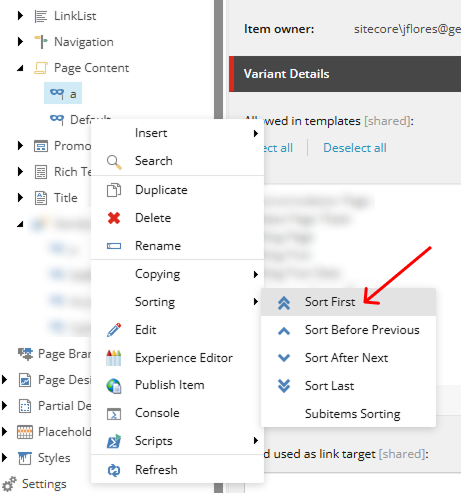
To ensure the Default variant remains first, you can set its sort value using the following steps:
This guarantees that any future variants will be added after the Default variant.
While this is a simple step, it’s an essential practice that can prevent unnecessary bugs and inconsistencies. By applying this sorting fix early in development, you ensure stability across projects, especially when multiple developers are involved. Future developers will also benefit from fewer variant-related issues, reducing the likelihood of time-consuming debugging sessions.
Taking a moment to apply this setting now can save significant effort down the line.

