Custom Icons for Components in Sitecore XM Cloud Page Builder
Enhancing Sitecore XM Cloud with modern custom icons
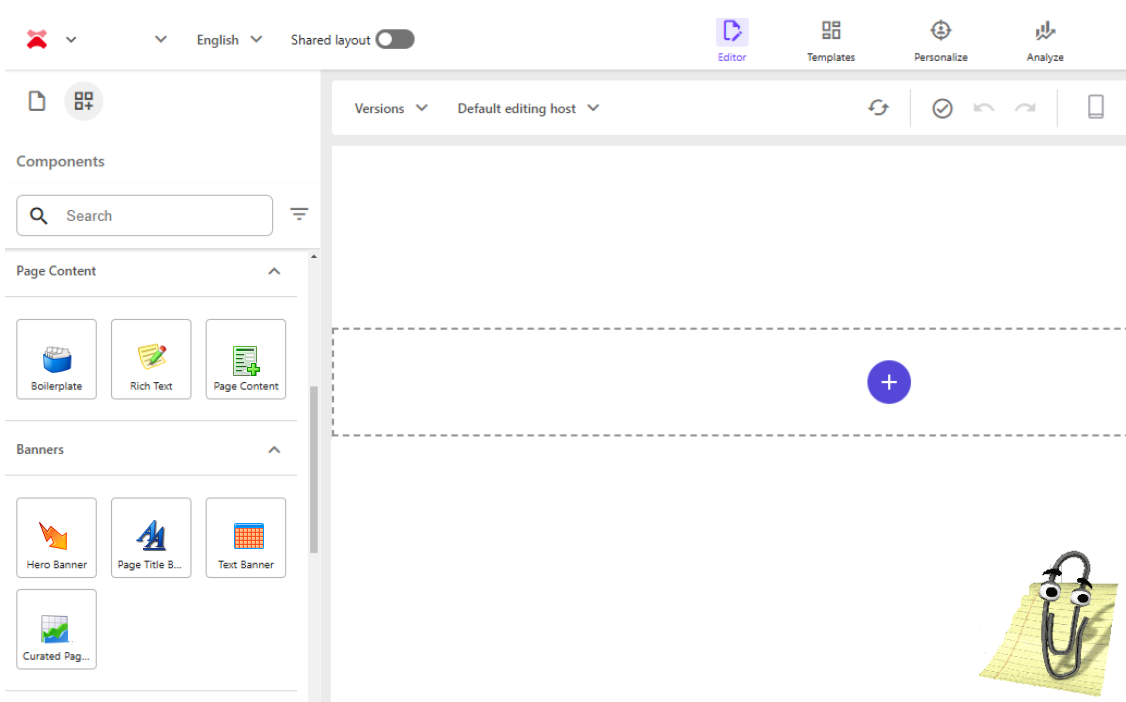
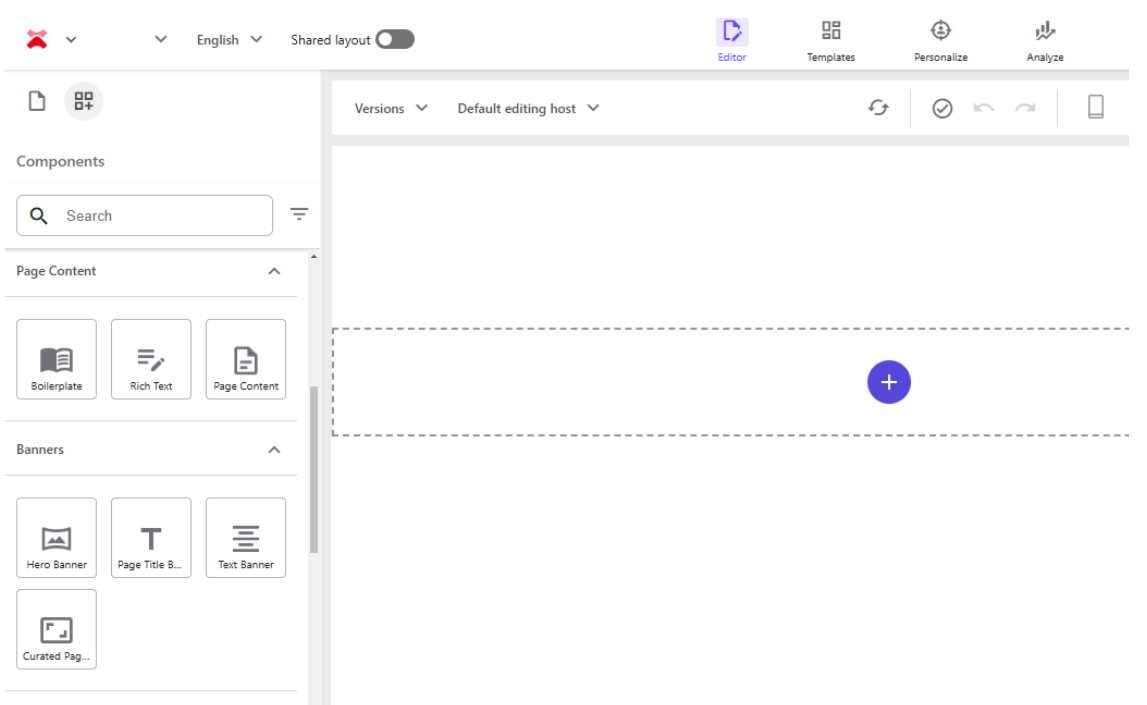
Sitecore XM Cloud introduces a modernized interface, and Page Builder is no exception. It features a minimalistic, flat design with gray-toned iconography.
When it comes to creating custom components, Sitecore’s default icon library offers limited options. Aside from the “Office” library, most available icons are outdated, likely dating back to the 2000s.


To align with Page Builder’s interface and maintain a contemporary look, you can load custom icons into the Media Library and apply them using the PowerShell script provided below.
Find an open-source icon library that matches Sitecore Page Builder’s modern, flat design. Some great options include:
Make sure the chosen library is open-source and free for commercial use.
Individually upload the icons to Sitecore’s Media Library. Ensure all icons are 48x48 pixels for consistency.
To simplify applying icons to items, create a PowerShell script and add it to Sitecore’s Content Editor ribbon.
Steps to Add the Script to the Ribbon:
![]()
$location = get-location
$contextItem = Get-Item $location

$props = @{
    Parameters = @(
        @{
            Name="icon";
            Title="Choose a modern new icon";
            Editor="droptree";
            Source="/sitecore/media library/Icons"
        }
    )
    Title = "Icon selector"
    Description = "Choose wisely."
    Width = 600
    Height = 600
    ShowHints = $true
}

Read-Variable @props
$formatedId = $icon.ID.ToString().Replace("{", "").Replace("}", "").Replace("-", "").ToLower()
$iconValue = "/-/media/" + $formatedId + ".ashx?thn=1&&db=master"

$contextItem.Editing.BeginEdit()
$contextItem["__Icon"] = $iconValue
$contextItem.Editing.EndEdit()
To display the script as a button in the Content Editor ribbon:
![]()
Now, you can easily apply custom icons to any item in the content tree.
![]()
For a clean and modern UI, use these custom icons primarily in components (e.g., rendering and data source templates). For page templates and folders, the out of the box Office icon library is a great option.
Start typing to search...