Reading time: 8 min read
Automate Sitecore Content Publishing with GraphQL, Next.js, and Vercel Cron Jobs
Learn how to utilize the Sitecore authoring API and Vercel to automate scheduled Sitecore content publishing.
Start typing to search...
Learn how to utilize the Sitecore authoring API and Vercel to automate scheduled Sitecore content publishing.
The demand for efficient and flexible content management tools continues to grow in the digital space. While Sitecore is renowned for its powerful and adaptable platform, offering solutions for diverse scenarios, it lacks built-in functionality for automated, scheduled content publishing out-of-the-box. Manually publishing content, especially on a regular schedule, can be time-consuming and prone to errors.
Fortunately, Sitecore's inherent flexibility provides a powerful solution: the Sitecore Authoring and Management GraphQL API. This API gives developers granular control over content operations via a dedicated GraphQL endpoint.
This post focuses on harnessing this API to solve a common challenge: setting up automated daily publishing for specific Sitecore content items. We'll walk you through creating a Next.js serverless function that interacts with the Sitecore API and can be easily deployed and scheduled using Vercel Cron Jobs.
Implementing an automated publishing workflow offers significant advantages:
Our solution involves two core components:
The serverless function itself performs two main steps:
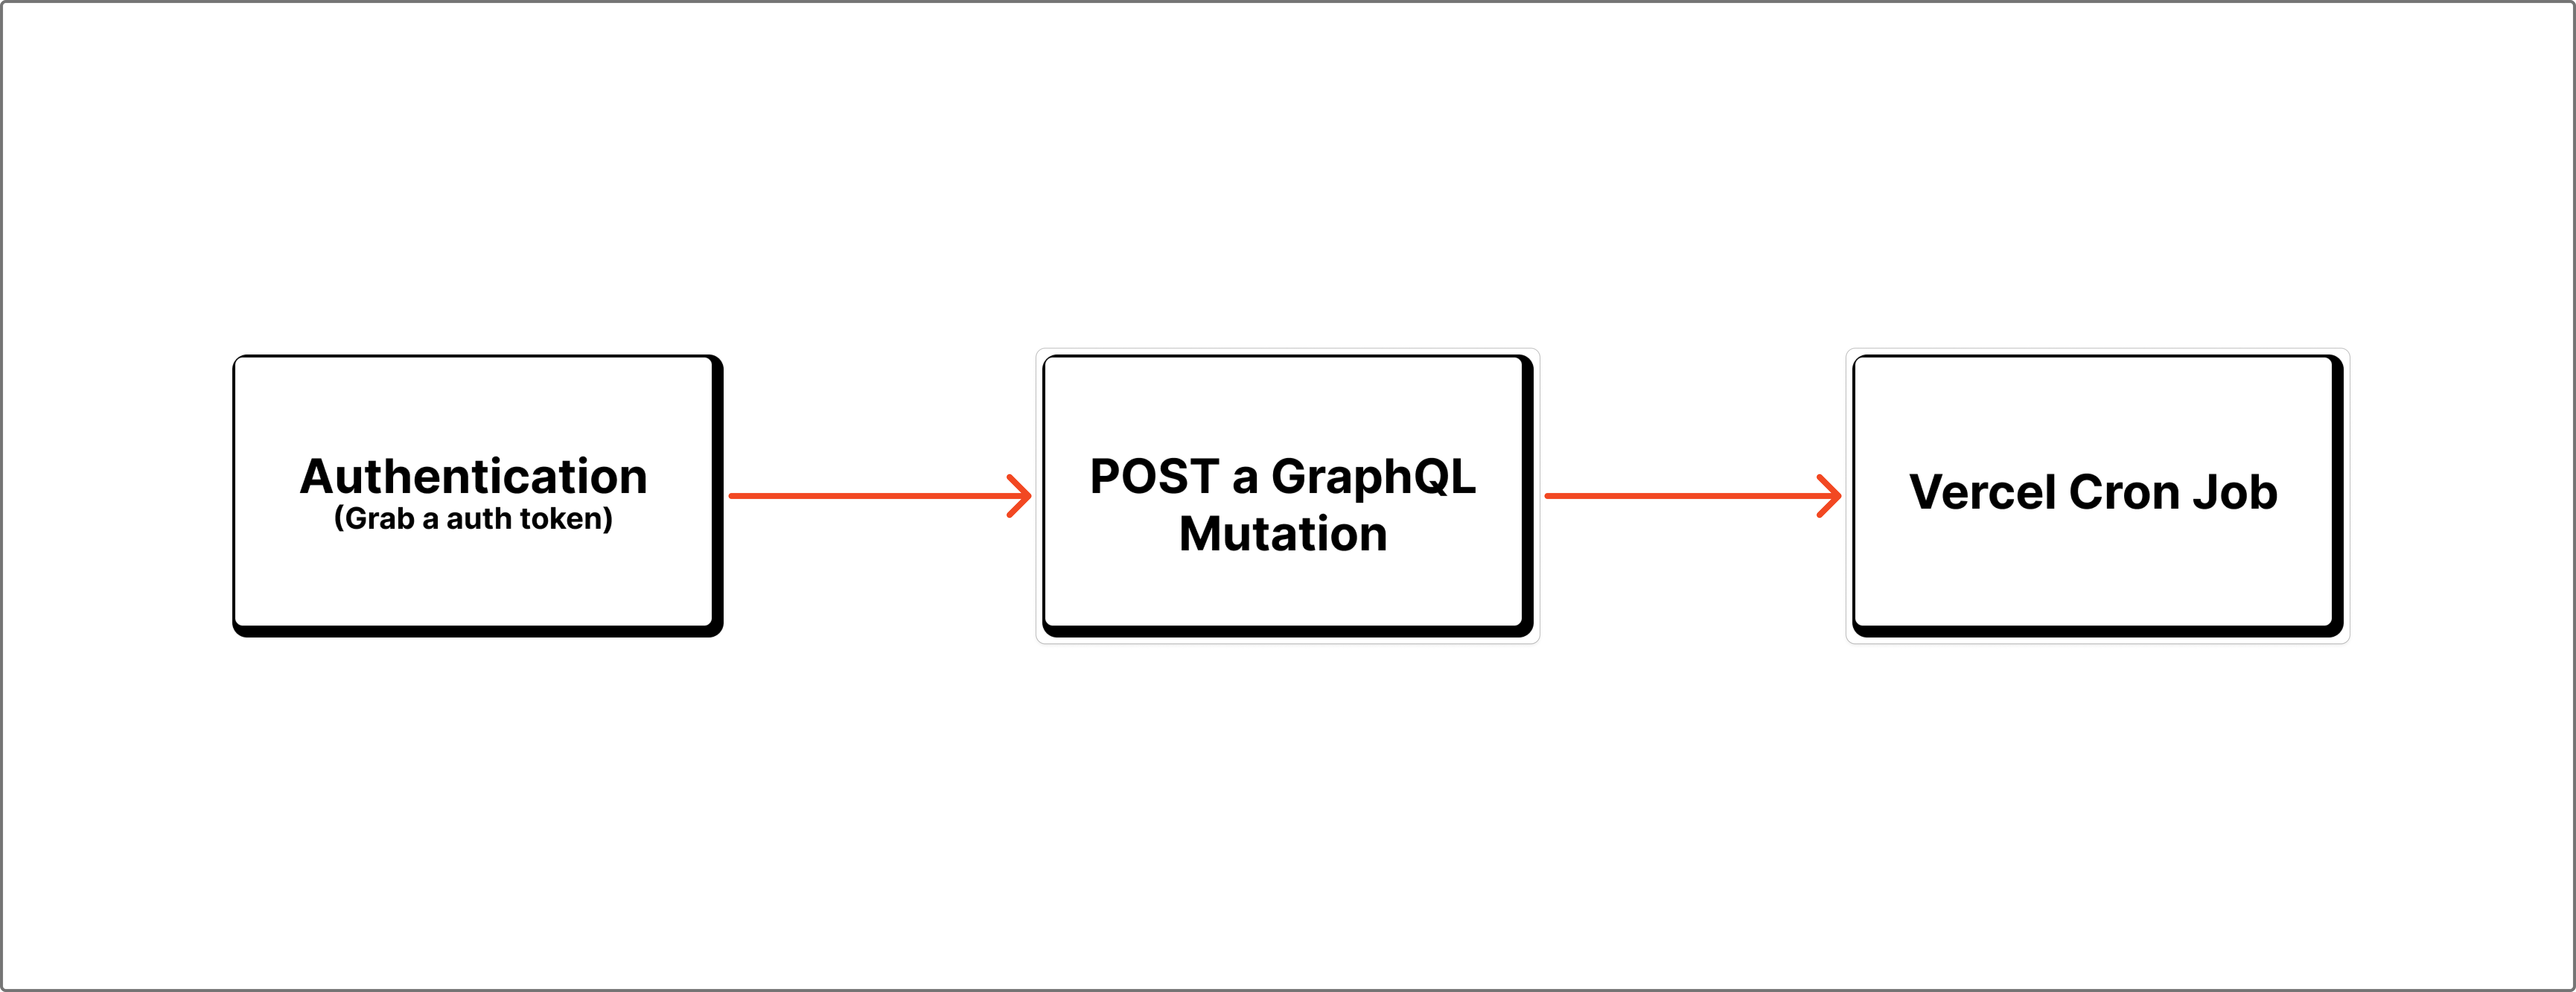
Diagram showing the flow: Vercel Cron Job triggers Next.js API route, which calls Sitecore Auth API for a token, then calls Sitecore GraphQL API to publish content.
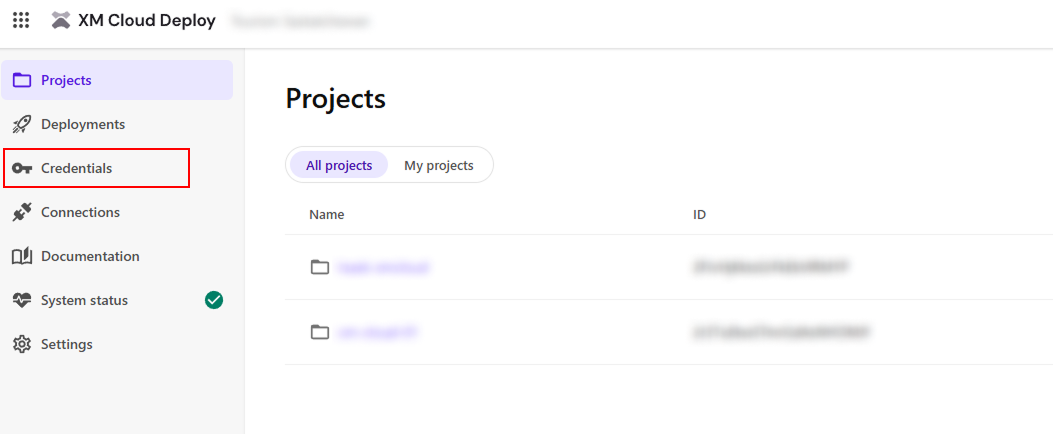
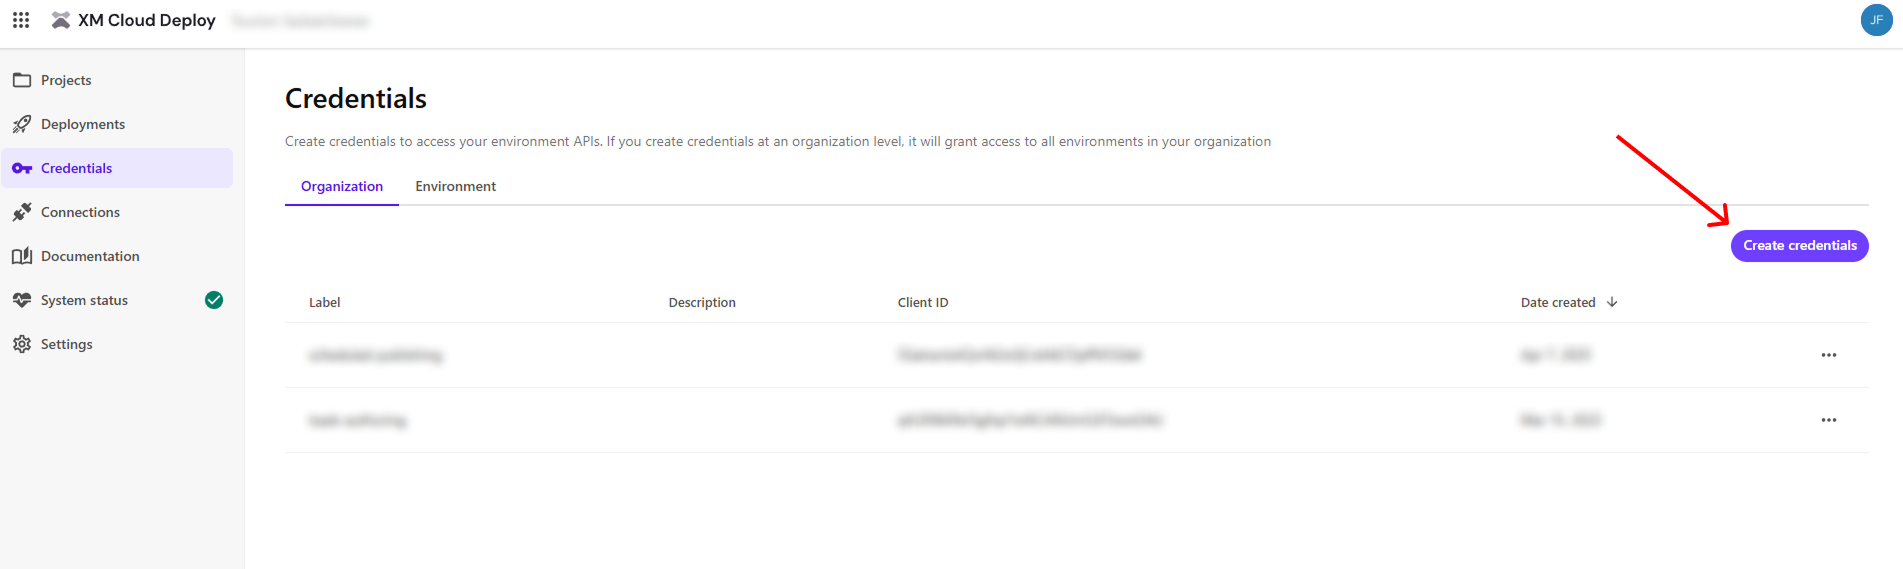
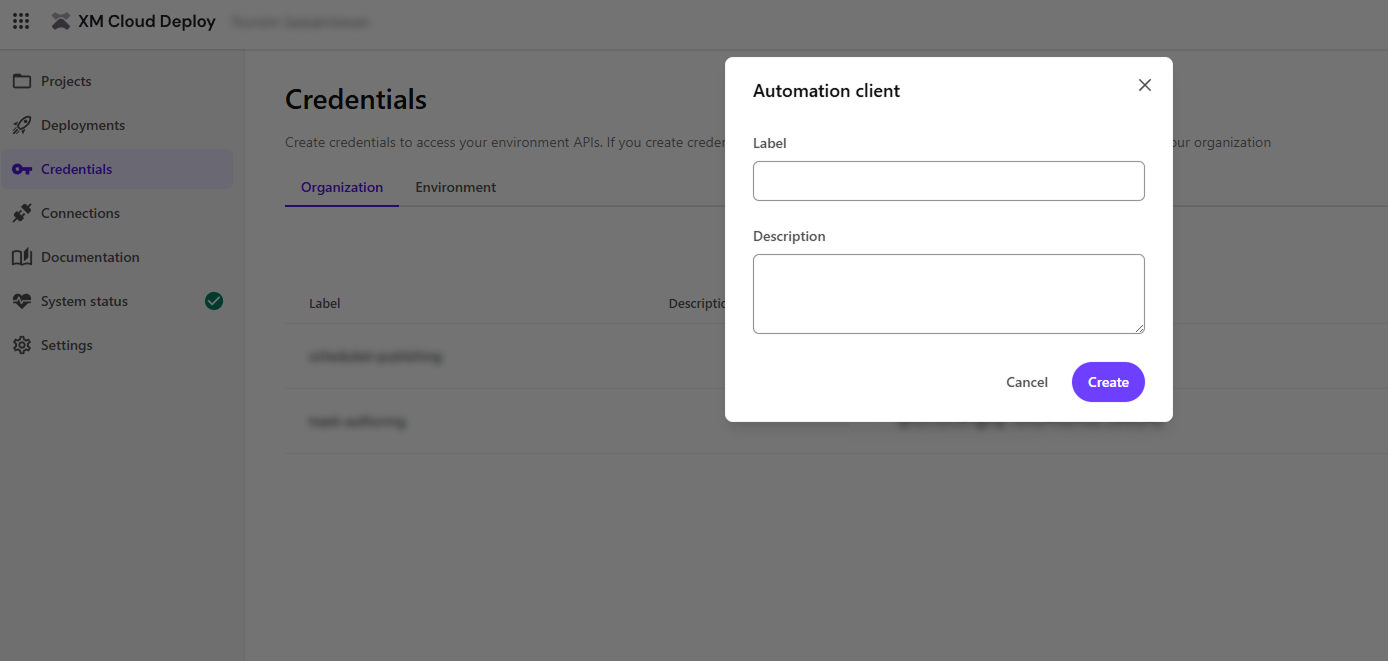
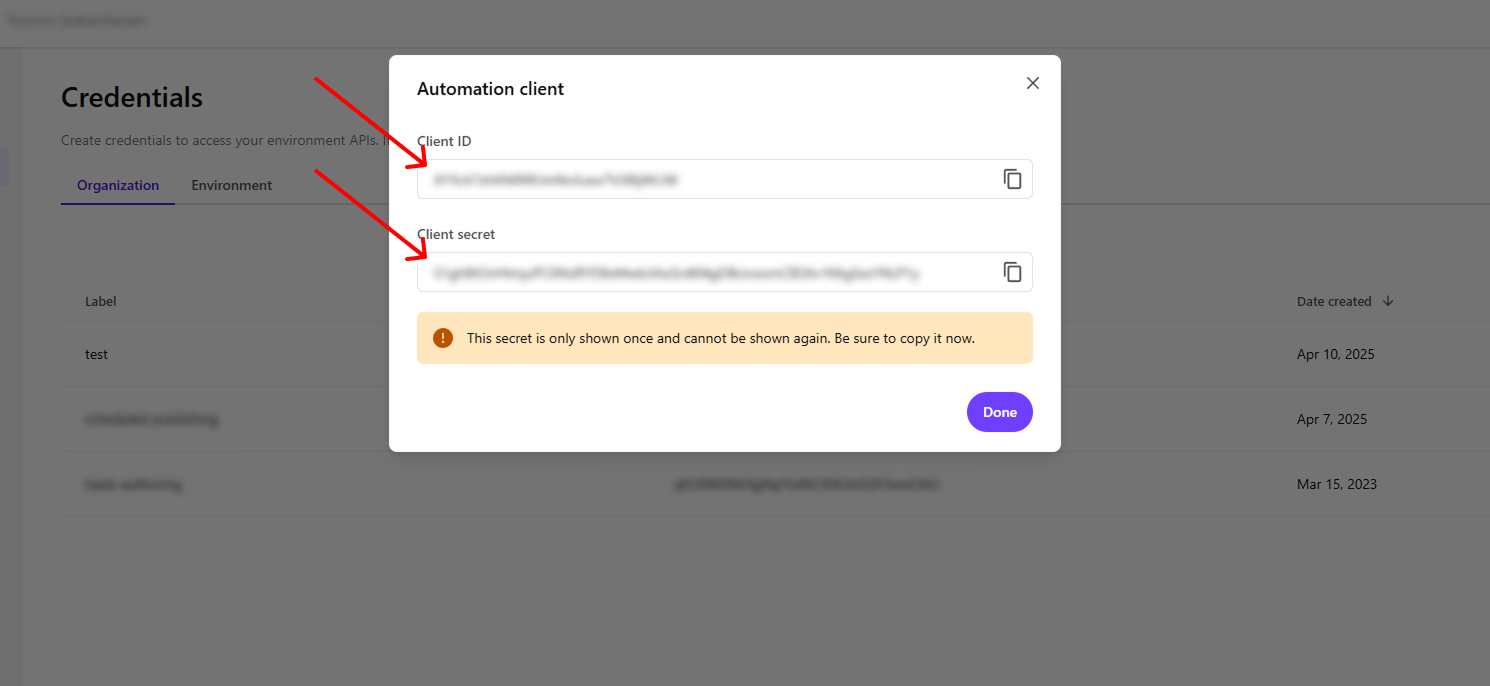
Before writing any code, we need to generate API credentials within the Sitecore XM Cloud Deploy Platform. These credentials (Client ID and Client Secret) are essential for authenticating our serverless function.
For our code example, we'll assume you've stored these in environment variables named SITECORE_CLIENT_ID and SITECORE_CLIENT_SECRET. You'll also need the URL for your Sitecore Authoring GraphQL endpoint, which we'll store as SITECORE_AUTHORING_ENDPOINT.
Now, let's create the Next.js API route (a serverless function) that handles the authentication and publishing logic. Create a file like pages/api/publish-content.ts:
import type { NextApiRequest, NextApiResponse } from 'next';

// Retrieve sensitive information and endpoints from environment variables
const CLIENT_ID = process.env.SITECORE_CLIENT_ID ?? '';
const CLIENT_SECRET = process.env.SITECORE_CLIENT_SECRET ?? '';
const GRAPHQL_ENDPOINT = process.env.SITECORE_AUTHORING_ENDPOINT ?? '';

// Static Sitecore Identity URL for token generation
const SITECORE_IDENTITY_URL = 'https://auth.sitecorecloud.io/oauth/token';

export default async function handler(req: NextApiRequest, res: NextApiResponse) {
  if (req.method !== 'POST') {
    return res.status(405).json({ error: 'Method Not Allowed' });
  }

  try {
    // Step 1: Get auth token
    const tokenRes = await fetch(SITECORE_IDENTITY_URL, {
      method: 'POST',
      headers: { 'Content-Type': 'application/x-www-form-urlencoded' },
      body: new URLSearchParams({
        grant_type: 'client_credentials',
        client_id: CLIENT_ID,
        client_secret: CLIENT_SECRET,
        audience: 'https://api.sitecorecloud.io',
      }),
    });

    const tokenData = await tokenRes.json();
    if (!tokenRes.ok) throw new Error(tokenData.error_description || 'Failed to get token');

    const accessToken = tokenData.access_token;

    // Step 2: Publish item using GraphQL
    const graphqlQuery = {
      query: `
          mutation {
            publishItem(
              input: {
                languages: ["en"]
                rootItemPaths: [
                    "/sitecore/content/Blogs"
                ]
                targetDatabases: "experienceedge"
                publishItemMode: SMART
                publishRelatedItems: false
                publishSubItems: true
              }
            ) {
              operationId
            }
          }
        `,
    };

    const graphqlRes = await fetch(GRAPHQL_ENDPOINT, {
      method: 'POST',
      headers: {
        Authorization: `Bearer ${accessToken}`,
        'Content-Type': 'application/json',
      },
      body: JSON.stringify(graphqlQuery),
    });

    const result = await graphqlRes.json();

    if (result.errors) {
      return res.status(500).json({ error: result.errors });
    }

    return res.status(200).json({ result: result.data.publishItem });
  } catch (error) {
    console.error(error);
    res.status(500).json({ error: (error as Error).message || 'Unexpected error' });
  }
}
Let me breakdown the code above and give some explanation on each important section.
import type { NextApiRequest, NextApiResponse } from 'next';

const CLIENT_ID = process.env.SITECORE_CLIENT_ID ?? '';
const CLIENT_SECRET = process.env.SITECORE_CLIENT_SECRET ?? '';
const SITECORE_IDENTITY_URL = 'https://auth.sitecorecloud.io/oauth/token';
const GRAPHQL_ENDPOINT = process.env.SITECORE_AUTHORING_ENDPOINT ?? '';
export default async function handler(req: NextApiRequest, res: NextApiResponse) {
  if (req.method !== 'POST') {
    return res.status(405).json({ error: 'Method Not Allowed' });
  }

  // Implementation will go here
}
try {
  // Step 1: Get auth token
  const tokenRes = await fetch(SITECORE_IDENTITY_URL, {
    method: 'POST',
    headers: { 'Content-Type': 'application/x-www-form-urlencoded' },
    body: new URLSearchParams({
      grant_type: 'client_credentials',
      client_id: CLIENT_ID,
      client_secret: CLIENT_SECRET,
      audience: 'https://api.sitecorecloud.io',
    }),
  });

  const tokenData = await tokenRes.json();
  if (!tokenRes.ok) throw new Error(tokenData.error_description || 'Failed to get token');

  const accessToken = tokenData.access_token;
POST request to Sitecore's authentication endpoint.The Sitecore Authoring and Management GraphQL API provides a good amount of mutation options that will fit into different objectives. Checkout some of their examples here. In the query below we are using publishItem , which should function similarly to the publish function available on the editors.
  // Step 2: Publish item using GraphQL
  const graphqlQuery = {
    query: `
        mutation {
          publishItem(
            input: {
              languages: ["en"]
              rootItemPaths: [
                  "/sitecore/content/Blogs"
              ]
              targetDatabases: "experienceedge"
              publishItemMode: SMART
              publishRelatedItems: false
              publishSubItems: true
            }
          ) {
            operationId
          }
        }
      `,
  };

  const graphqlRes = await fetch(GRAPHQL_ENDPOINT, {
    method: 'POST',
    headers: {
      Authorization: `Bearer ${accessToken}`,
      'Content-Type': 'application/json',
    },
    body: JSON.stringify(graphqlQuery),
  });

  const result = await graphqlRes.json();
The rest of the code basically deals with what to do with response and handling any errors.
  if (result.errors) {
    return res.status(500).json({ error: result.errors });
  }

  return res.status(200).json({ result: result.data.publishItem });
} catch (error) {
  console.error(error);
  res.status(500).json({ error: (error as Error).message || 'Unexpected error' });
}
With the Next.js API route created and deployed, scheduling it is straightforward using Vercel Cron Jobs:
/api/publish-content) and define the schedule using standard cron syntax.// vercel.json
{
"crons": [
{
"path": "/api/publish-content",
"schedule": "0 8 * * *" // Runs every day at 8:00 AM UTC
}
// Add more cron jobs if needed
]
}
The schedule 0 8 * * * means the job runs at 0 minutes past the 8th hour, every day, every month, every day of the week (i.e., 8:00 AM UTC daily). Adjust the schedule to fit your requirements. You can use tools like crontab.guru to help generate cron expressions.
Deploy your Next.js application to Vercel. Vercel will automatically detect the crons configuration and schedule the job.
While Sitecore doesn’t offer built-in scheduled publishing, its powerful Authoring and Management GraphQL API provides the necessary tools for developers to implement this crucial functionality. By creating a simple Next.js serverless function and leveraging a scheduler like Vercel Cron Jobs, you can build a robust, automated publishing workflow. This not only saves valuable time and reduces manual errors but also ensures your content reaches your audience consistently and reliably, directly addressing a common pain point for content teams. This approach highlights the flexibility of Sitecore’s platform and the power of modern web development practices.

