Set Up a Storybook Instance for XM Cloud in Vercel
Learn how to set up a Storybook instance for your Sitecore XM Cloud environment in Vercel.
When developing for XM Cloud, the front-end tends to take center stage and in the end takes a perhaps more effort than in previous iterations of component building. Getting components built and reviewable by a QA is of utmost importance but also is getting something in front of the client as quickly as possible.
Hence, why implementing Storybook is one of the first things we do when setting up our projects. Storybook is a development environment for UI components. It allows developers to view, test, and develop components in isolation from the rest of the application. It's useful when developing complex or reusable components. Quite handy if you want to eventually develop a library of components.
Vercel is one of several platforms for developing, previewing, and deploying web applications, including hosting the front-end of XM Cloud applications.
While you can host Storybook as a completely separate project, typically for XM Cloud projects it’s just part of your overall front-end. So how do you have a running Storybook instance in Vercel when it’s part of a much larger project? Let’s set it up, but first we need our XM Cloud code in a GitHub, BitBucket type repo.
If you’ve setup your XM Cloud project using the template provided inside the XM Cloud portal, you’ve most likely already got this setup.
It’s also possible that if you’ve setup your XM Cloud project from within the XM Cloud portal then you’ve also potentially used the Setup Host option that automatically can connect with your Vercel setup and create all the appropriate.
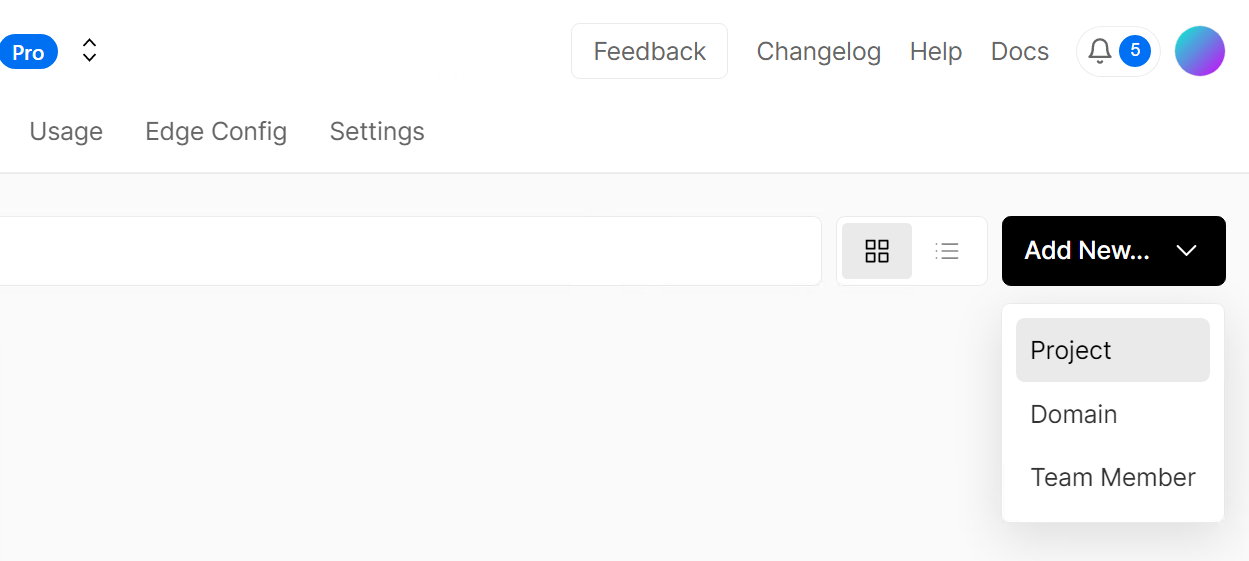
Log into Vercel and add a new Project as shown below.

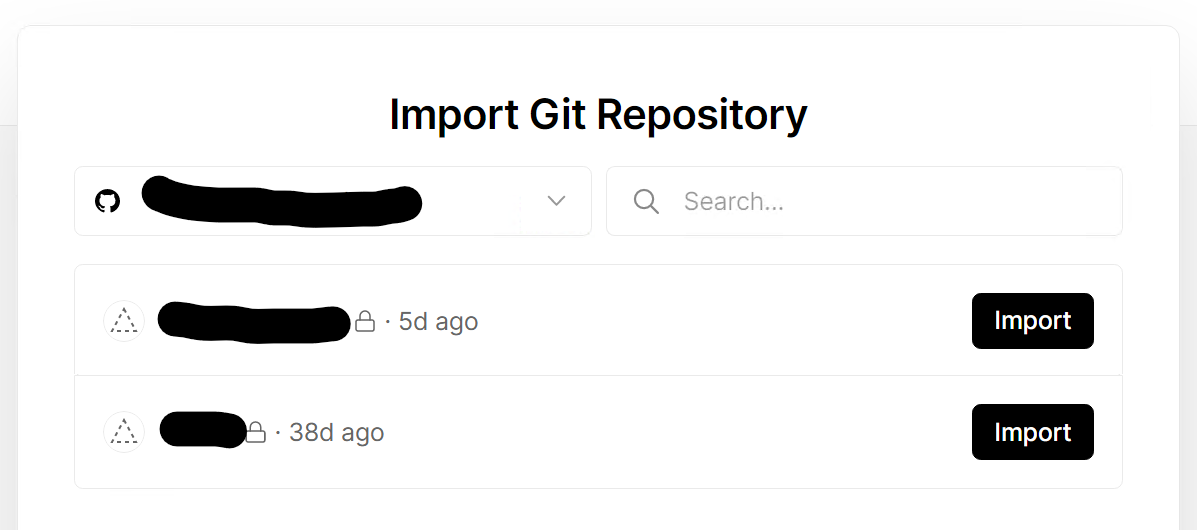
Your next step will be to connect it to the appropriate repository. Select the appropriate organization and the repository of your XM Cloud project.

Once the project is created, you will need to update the appropriate settings so that this Vercel project recognizes it as a Storybook applications.
First thing is to set, and this is very important, is the Framework Preset to Other. This will ensure that it doesn’t try and build it as a NextJs project instead.
Next up is setting the Build Command to npm run build-storybook, the Output Directory to ./storybook-static, and the Development Command to npm run storybook. Note the Development Command might not be available until after a successful build. But once done, it can be found under Settings

Make sure to change the Root Directory to the path of your site’s rendering application. E.g. src/rendering or src/sxastarter.
Navigating to Settings > Git you can change the production branch to for example qa if you want it to deploy and update whenever you update that branch.
If the user committing the change is not part of the team, it will not automate the deployment, so you’ll need to run a Redeploy of the deployment manually from the Vercel portal.
It should be mentioned that while this is incredibly useful, the basic setup is essentially public. So it’s likely intended for a short use only. Vercel of course offers password protection for a price should you consider needing it for longer use. You could of course attempt to secure it using a traditional middleware.js setup and the Express server as there is some documentation for doing so. Perhaps I’ll attempt this in the future, we shall see.
Start typing to search...