Create a Theme in Sitecore Content Hub
And How to Update an Existing One
And How to Update an Existing One
Creating themes in Sitecore Content Hub allows you to customize your digital asset manager (DAM) to have the look and feel of your brand. Content Hub themes allow you to change the colours, fonts, logos, and layouts. Learn how to create a new theme in Content Hub and how to update your theme to an existing one.
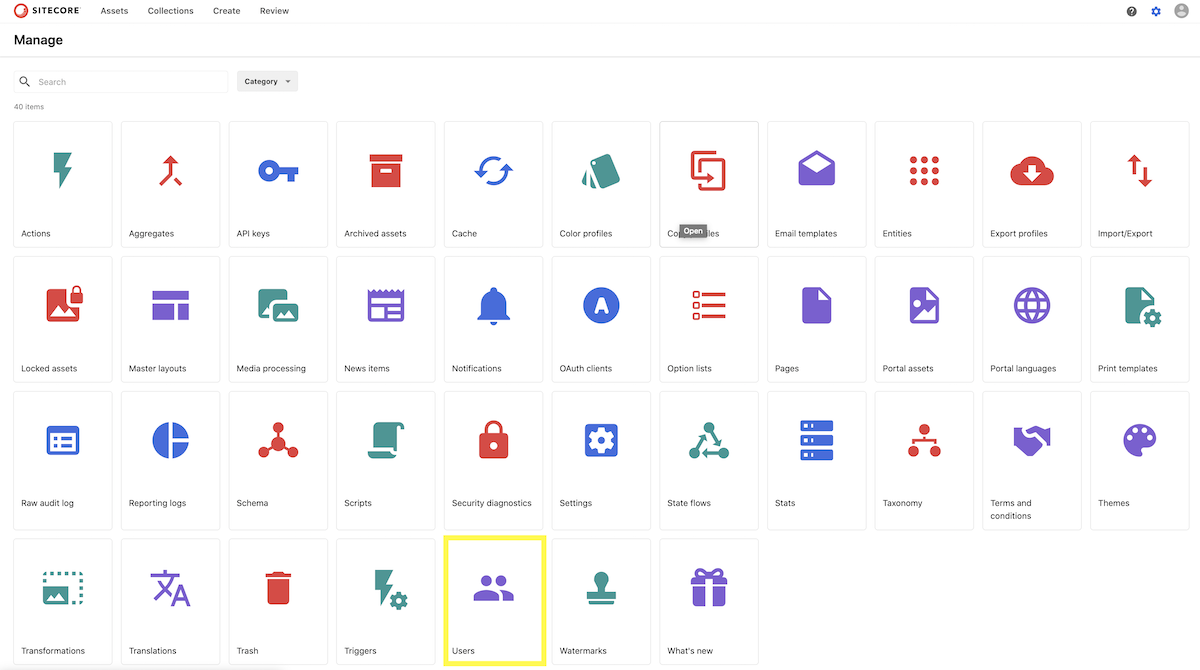
To create a new theme, you will first need to access the Theme Manager in Sitecore Content Hub. This can be done by navigating to the "Manage" page and selecting "Themes."
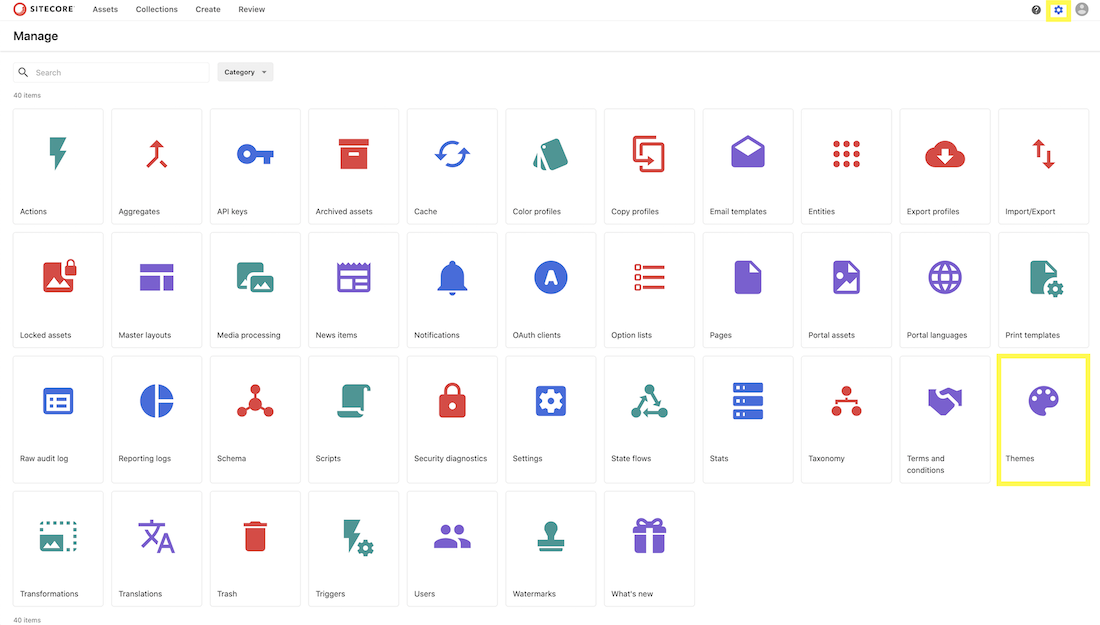
Once you are in the Theme Manager, you can create a new theme by clicking the ‘+Theme’ button.

Then enter a name for your theme and click ‘SAVE’.
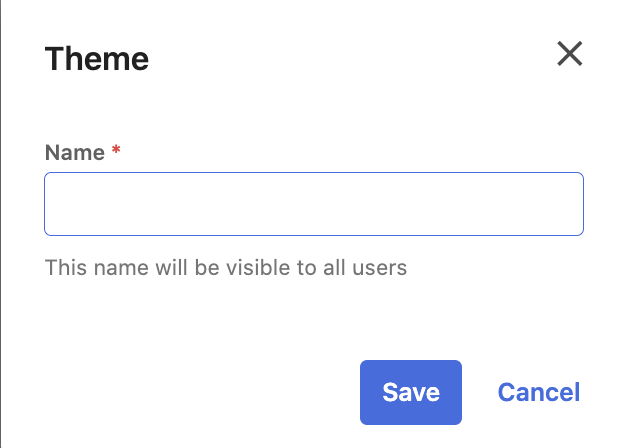
With your new theme created, you can customize it to your brand guidelines. Sitecore Content Hub offers a wide range of customization options, including colour schemes, fonts, favicons, and logos. You can also create custom CSS and JavaScript to further customize your theme.
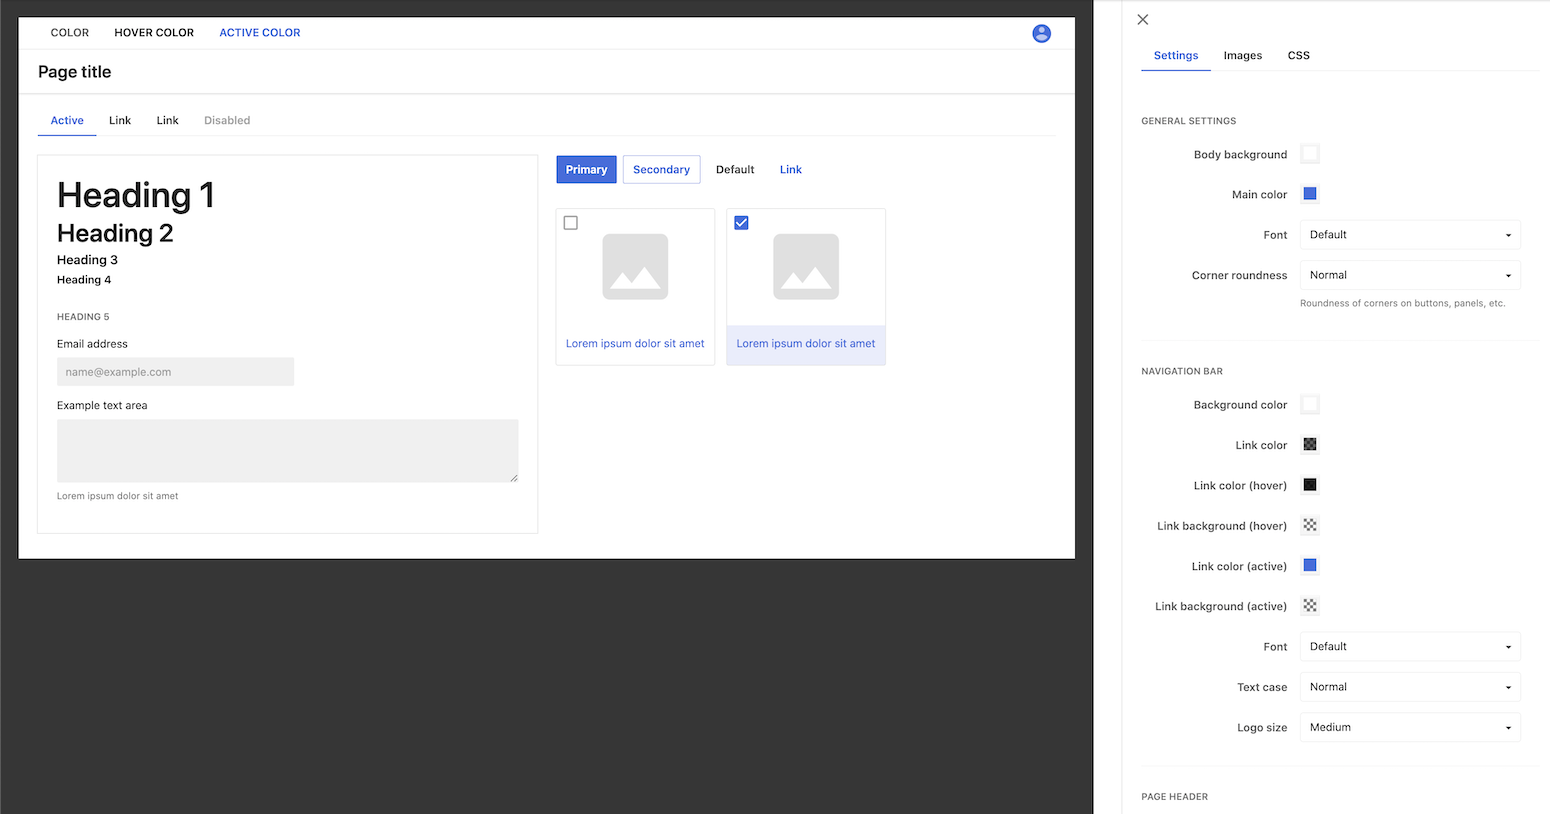
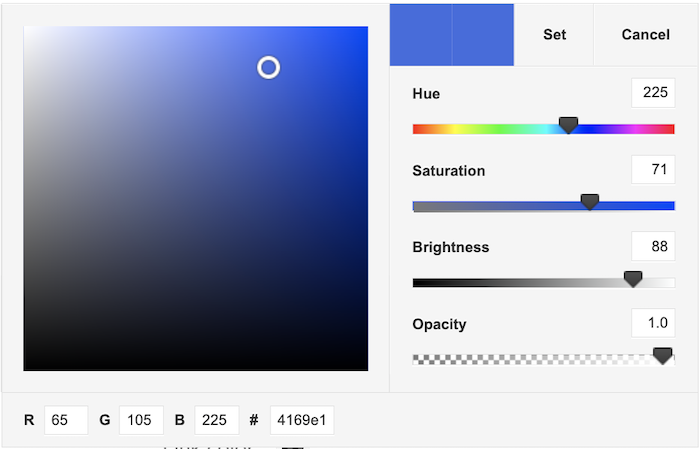
Theme Colours
Colours can be added with RBG or hex colour codes. You can also manually adjust aspects like hue, saturation, brightness, and opacity.
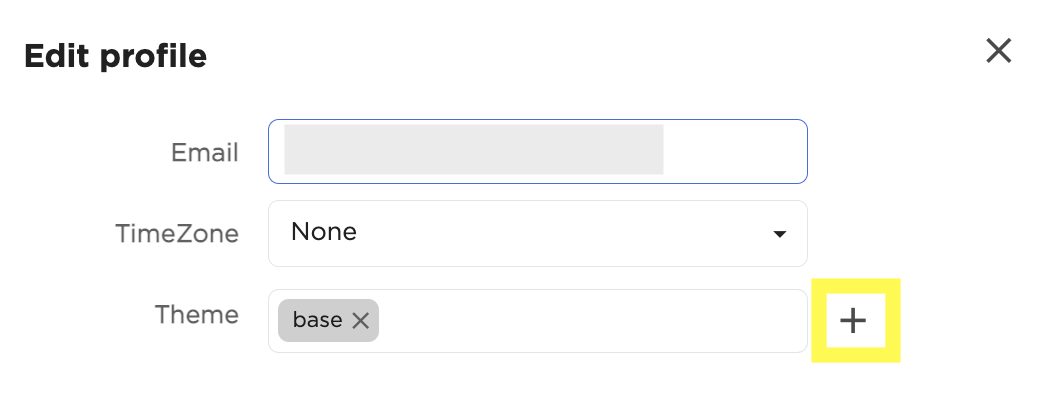
Once you’ve customized your new theme, you have to apply it to your DAM.
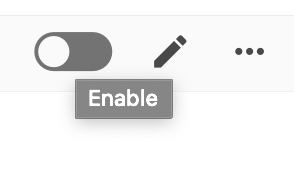

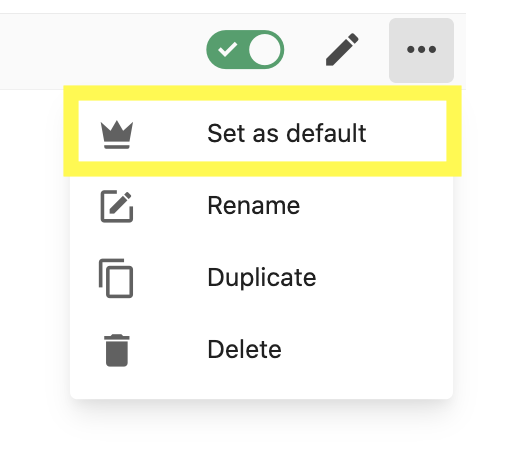
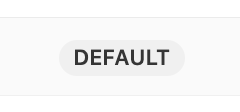 <
<To update an existing theme, you will need to access the Theme Manager in Sitecore Content Hub. This can be done by navigating to the "Manage" page and selecting "Themes."

You will see a list of available themes. Some will be locked and cannot be edited. Select the unlocked theme that you to update.

Make any changes to the fonts, colours, logos, etc. and click the ‘Save’ button once finished. The updates need to process and you might see a ‘Processing’ label next to your theme, so changes might not appear right away. Once the processing is complete, your changes should be applied.
If the theme that was updated is not the theme applied to your account, you’ll want to check your updates from an account that does have the theme applied. This can be done through the Impersonate feature. Alternatively, you can assign the updated theme to a user (see Step 4).


Creating a new theme in Sitecore Content Hub is a fairly simple process that allows you to easily customize the look and feel of your DAM with your brand guidelines. By following the steps outlined in this post, you can create a new theme, customize it to your brand, and update it when needed. To learn more about Sitecore Content Hub or to get started email [email protected].
Start typing to search...