Reading time: 9 min read
Integrating Sitecore Send with Your XM Cloud Site
From tracking to subscribing: A complete walkthrough for seamless Sitecore Send integration.
Start typing to search...
In today’s data‑driven marketing landscape, capturing and managing subscriber information is crucial for building personalized, high‑impact campaigns. In this blog, we’ll walk you through everything you need to get up and running with Sitecore Send—from registering your website for tracking and embedding the tracking script, to designing subscription forms and managing your email lists. Along the way, you’ll learn how to verify that the platform is correctly integrated, configure custom fields, create a subscription form, email lists and managing them.
After logging into the Sitecore Send platform, the very first thing you’ll want to do is link your website so Sitecore Send can start tracking visitor behavior. In the next section, we’ll walk through how to add your site to Send and complete the connection.
To add a website:
Sitecore Send supports website tracking plugins that let you track the website behavior of your visitors, ghost users, and logged-in users.
To install website tracking using a plugin:
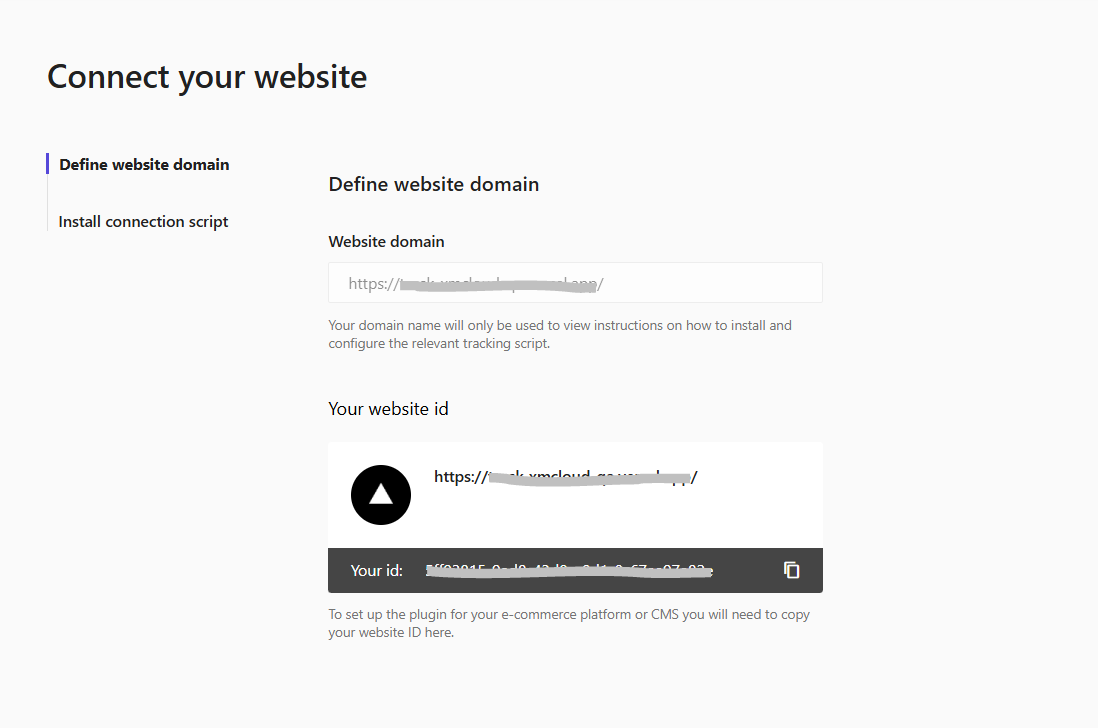
Click the URL of the website that you want to track.
On the Connect your website page, you can see your Website domain and website ID.
Click Install connection script.
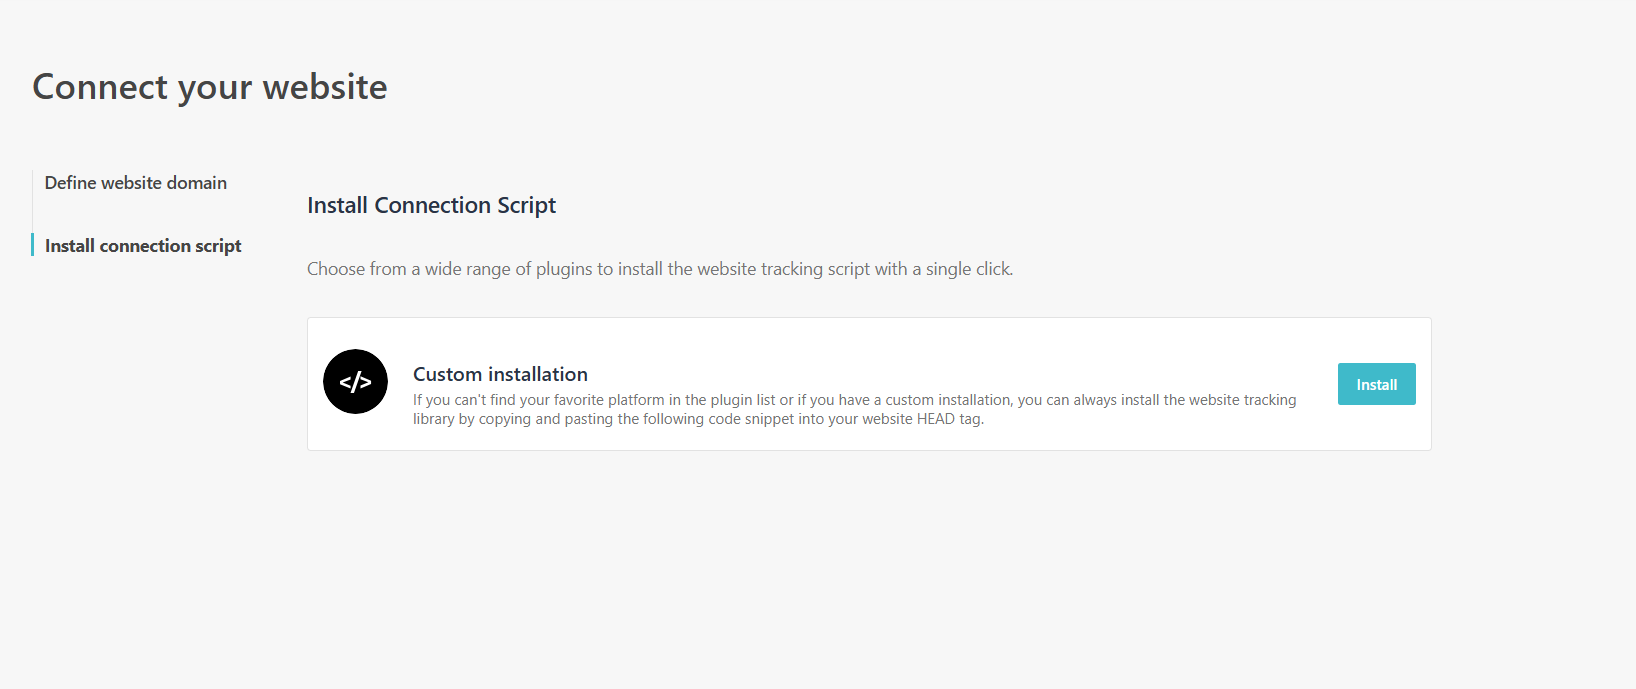
Copy the code snippet generated and add it to your solution. Preferably at the path \rendering\src\pages_document.js in your filesystem. Adding your tracker snippet to _document.js ensures consistent, site‑wide loading and execution of your analytics/tracking code at the earliest possible moment.
import { Html, Head, Main, NextScript } from 'next/document';
export default function Document() {
return (
<Html>
<Head>
<script id="MoosendTracker"
dangerouslySetInnerHTML={{
__html: `insert the tracker script here`,
}}
/>
);
}
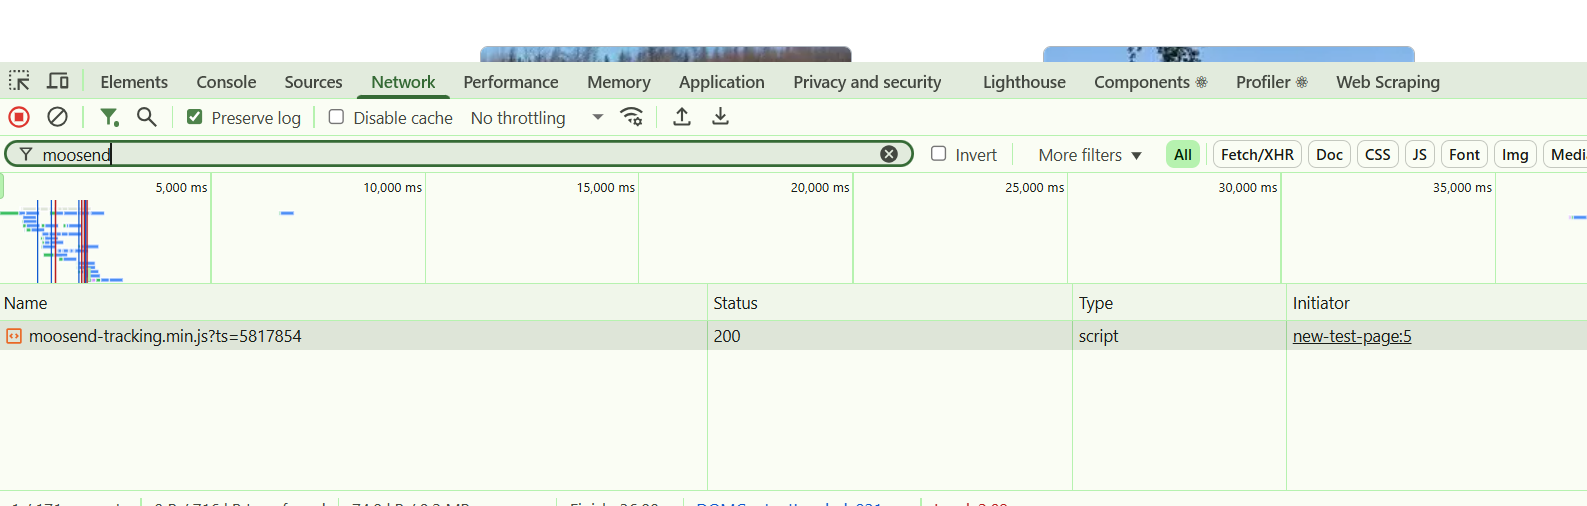
You can verify that Sitecore Send is connected to your website even without submitting a form. Just open your browser’s developer tools, go to the Network tab, and refresh the page. Then search for “moosend” — if you see a file like moosend-tracking.min.js loading with a 200 status, that means the tracking script is working correctly. This confirms that Sitecore Send is actively running on your site and it is integrated with Send
At this stage, you might not see your website listed as "verified" in Sitecore Send. That’s completely normal. Sitecore Send typically waits for an actual user interaction—like a form submission—before it marks the site as verified. So even if the tracking script is working, verification may not appear until some activity is detected.

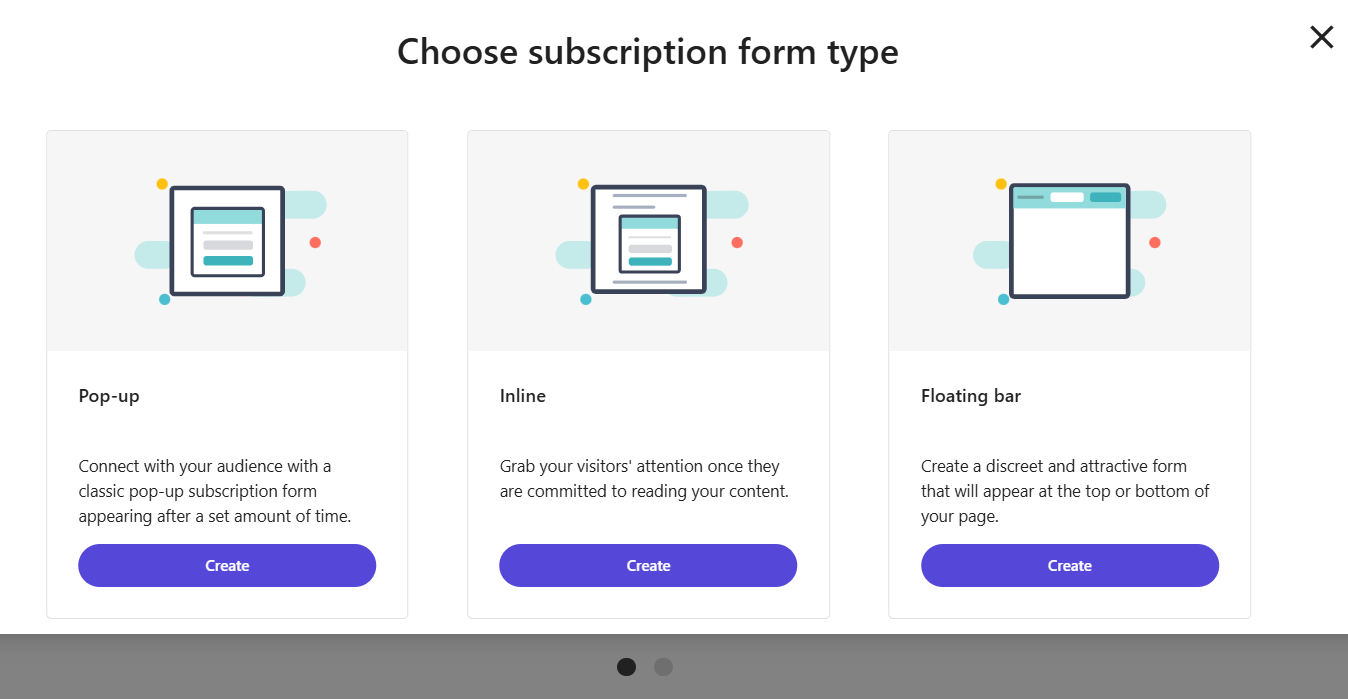
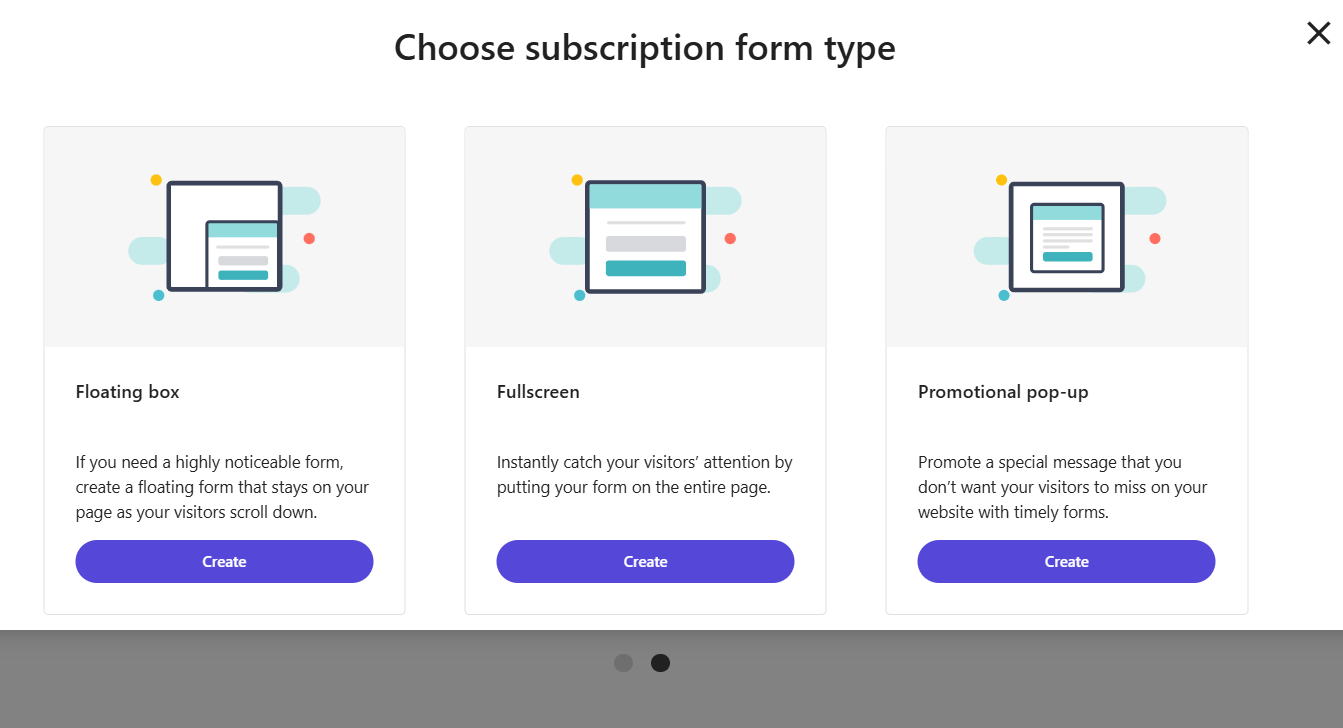
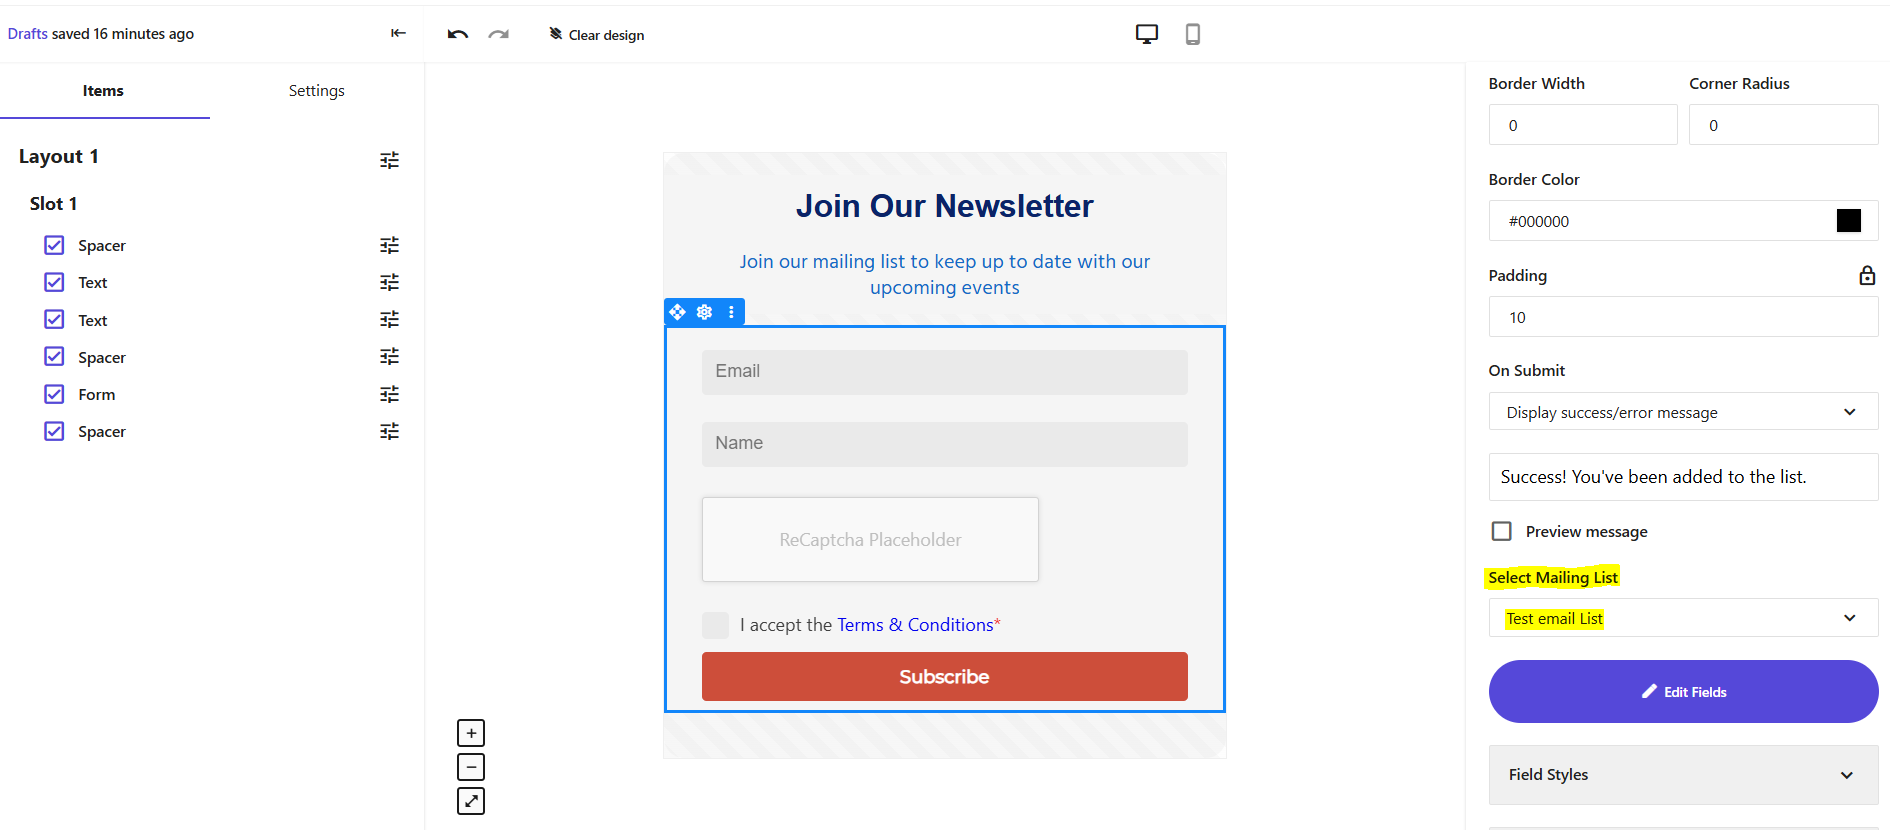
A subscription form is your website’s gateway to building an engaged audience. At its core, it captures visitor details—most commonly email addresses—but you can also gather richer insights like names, preferences or other custom fields.
With Sitecore Send, you don’t need a developer to spin up beautiful, on‑brand forms. Whether you prefer an inline embed, a pop‑up modal, a subtle floating bar, or even a full‑page takeover, Sitecore Send’s visual form builder has you covered. Drag, drop, and configure in minutes—no code required. That means your marketing team can launch and iterate on subscription forms independently, freeing up development resources while still delivering a seamless user experience.
To create a subscription form:
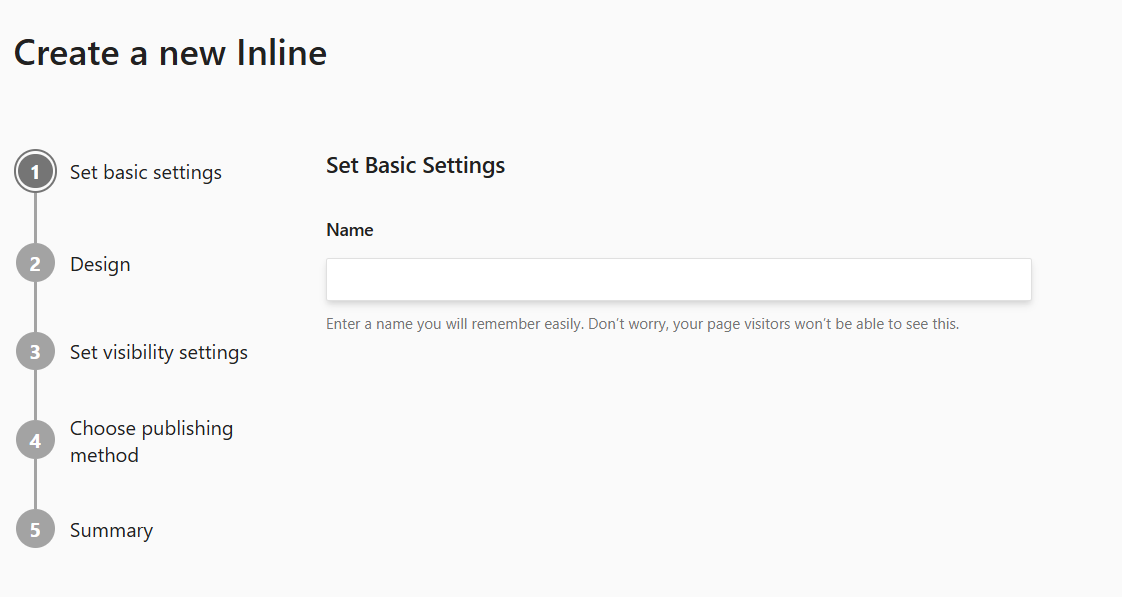
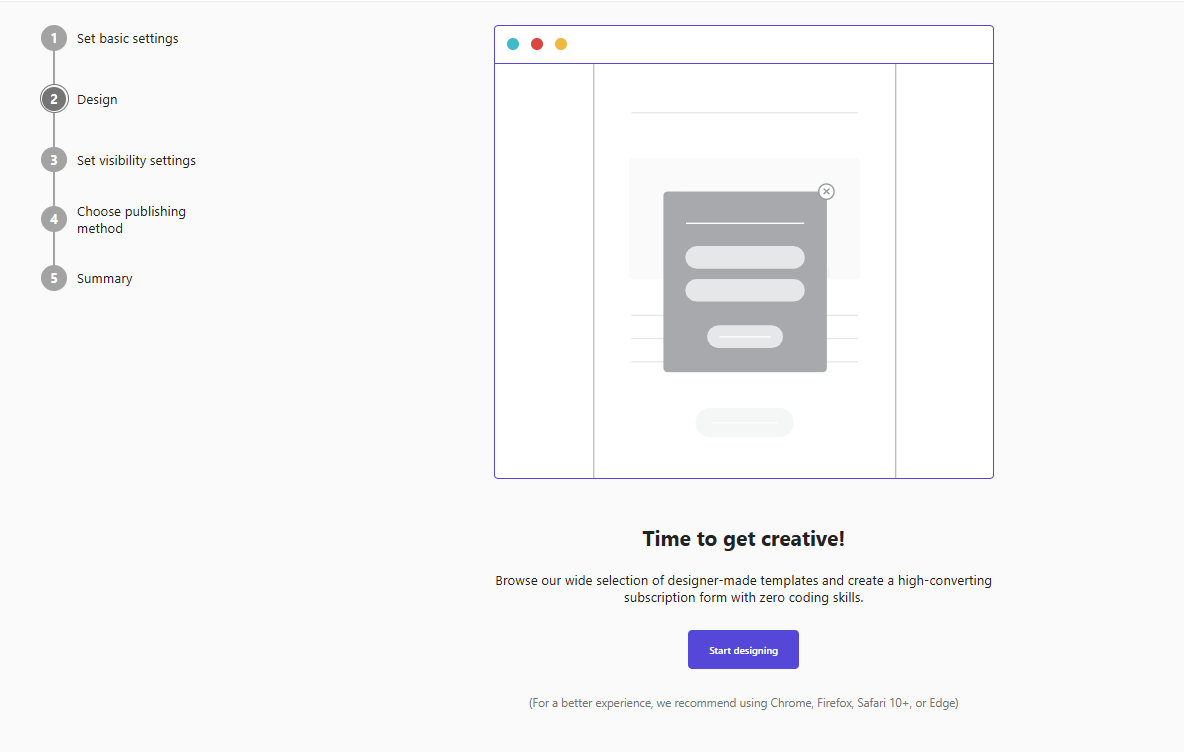
Next step is to design the subscription form
Sitecore Send supports these custom field types:
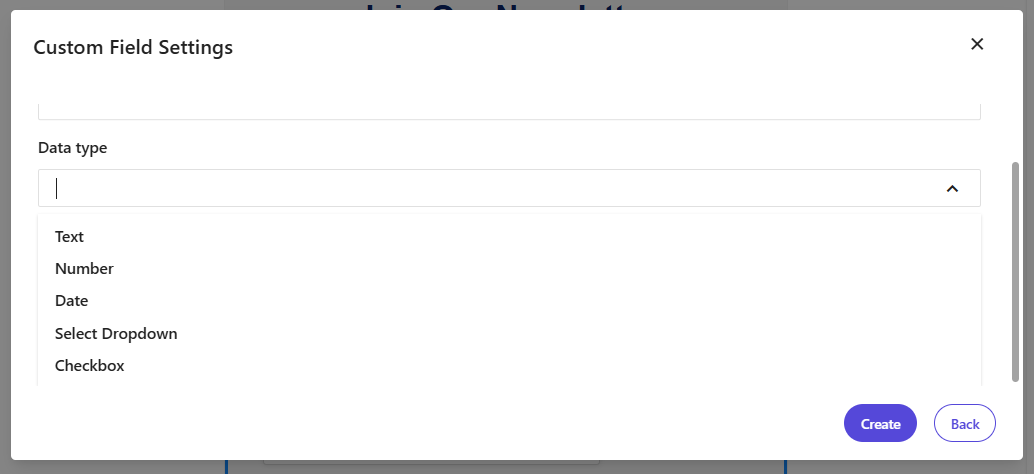
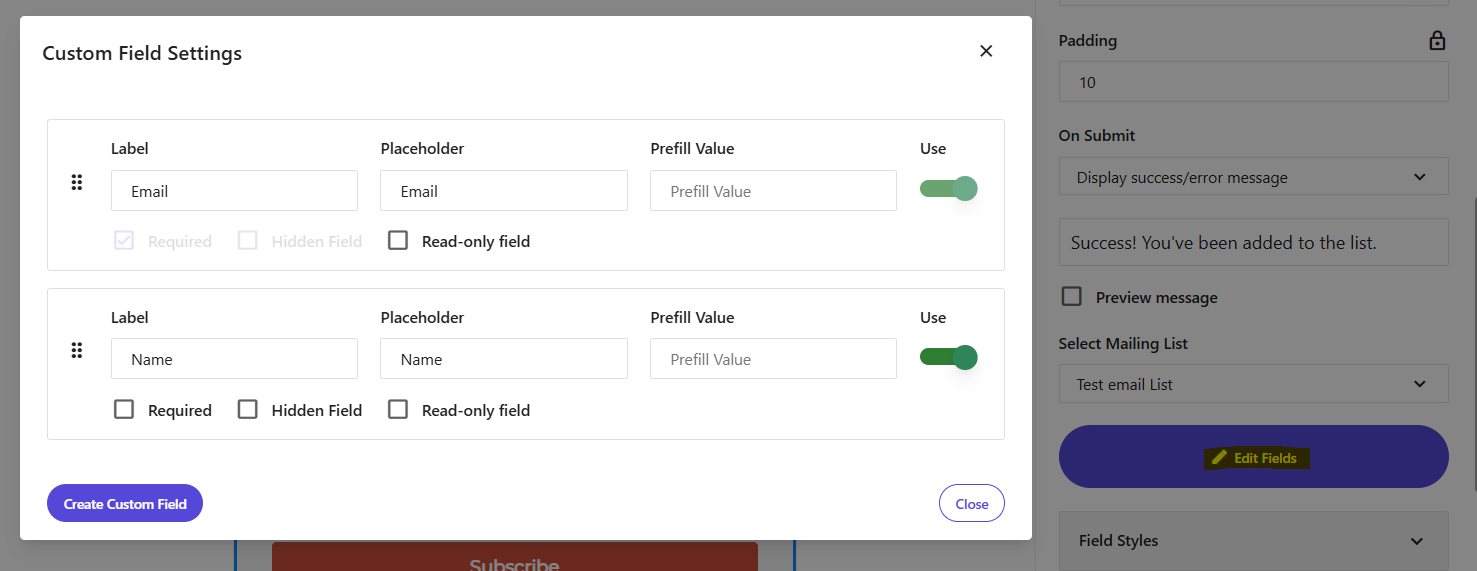
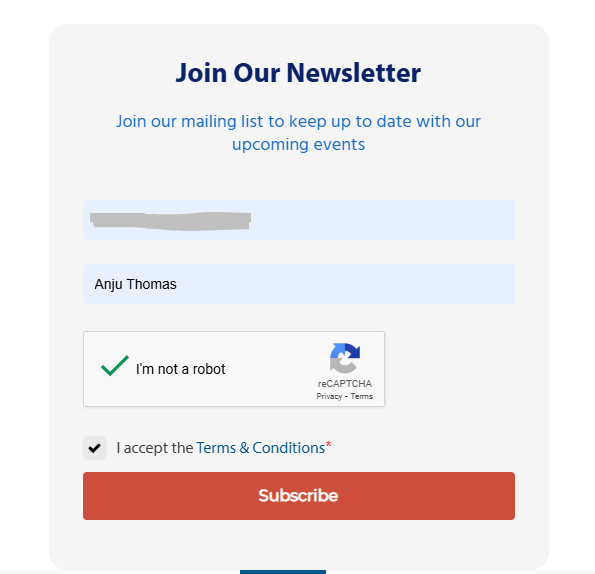
The subscription form here has email, name which are usually prebuilt fields for every form created. It is up to the author to use them or not. Custom fields can be added or edited by clicking the Edit Fields in the right panel.
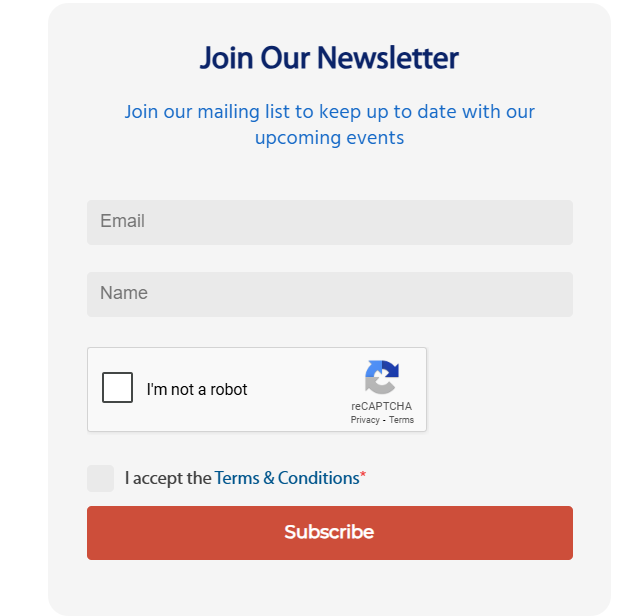
I have enabled the recaptcha as well as the GDPR checkbox for my form
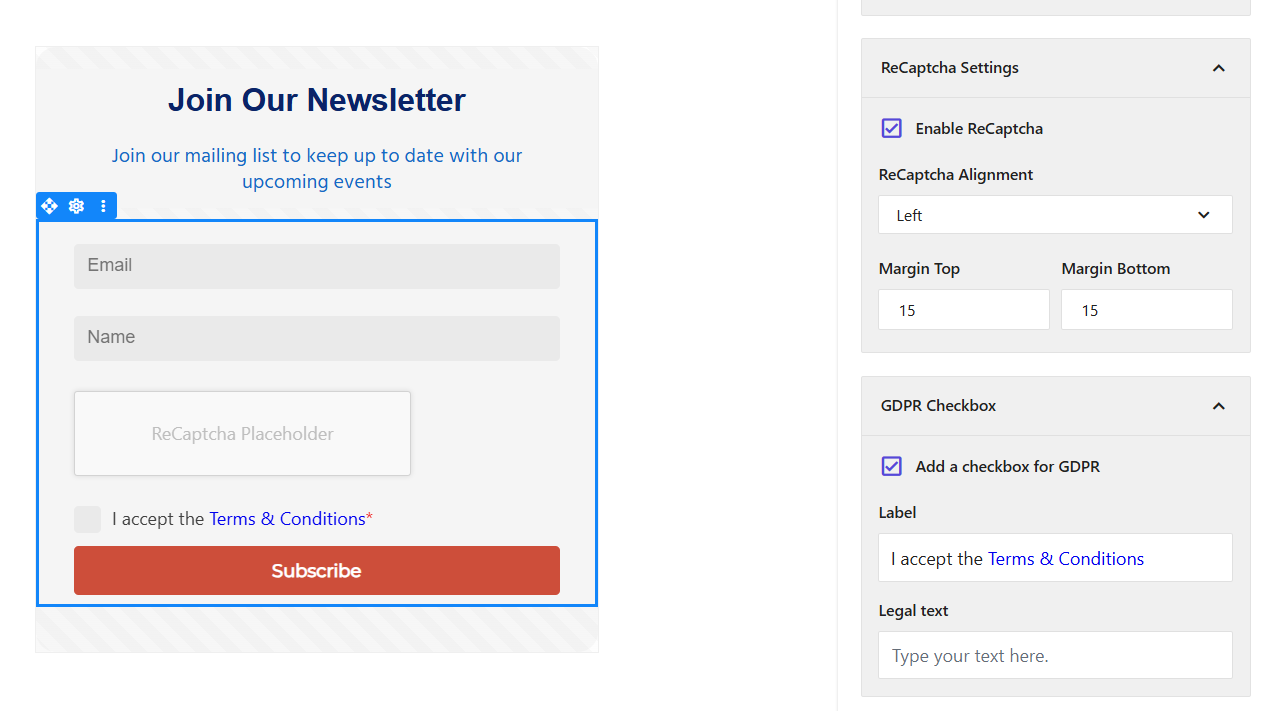
Below is the final form screenshot ready for publishing
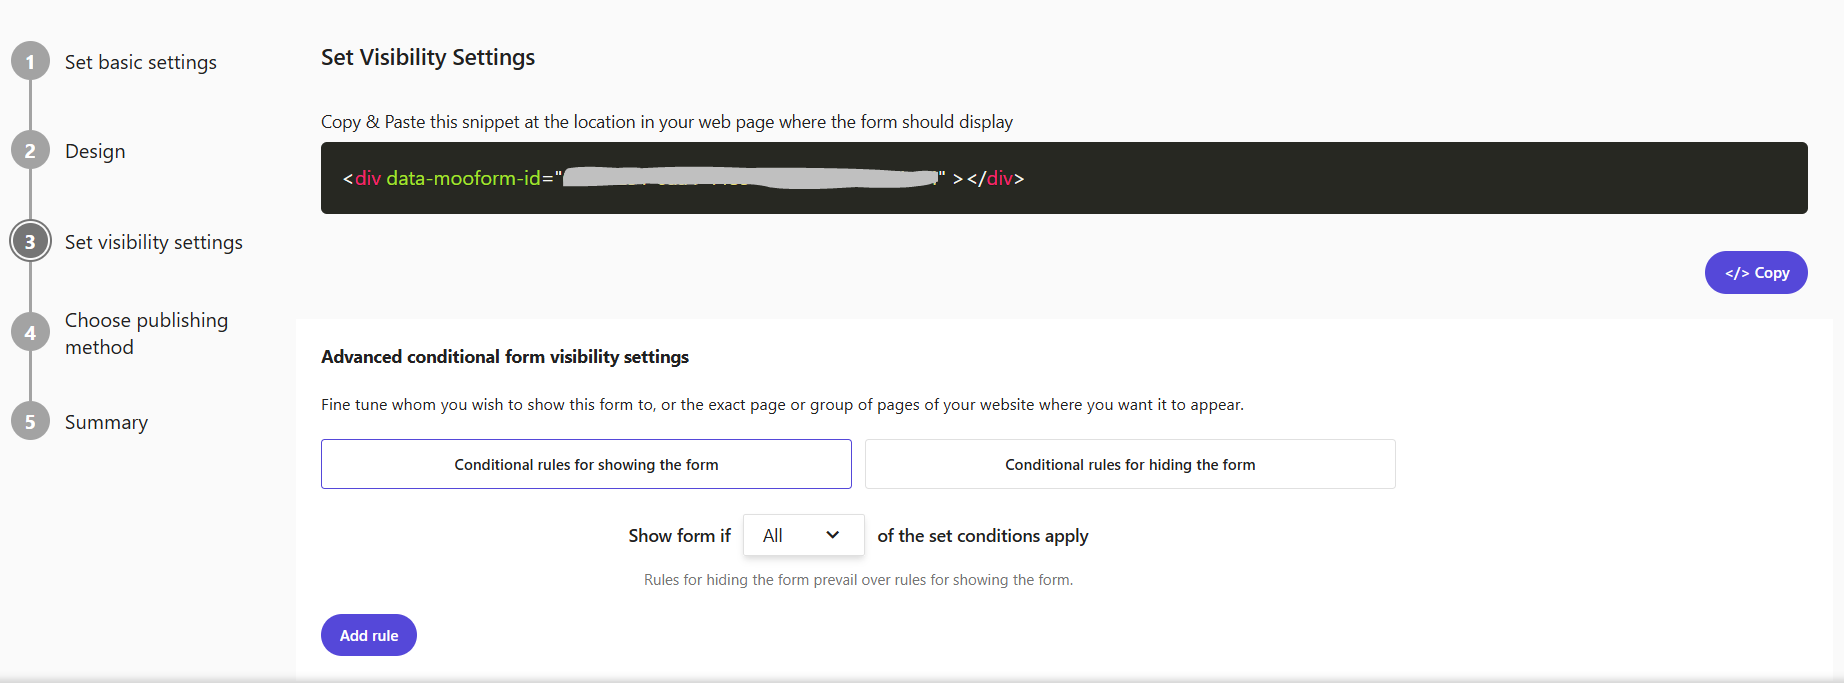
After publishing your form and embedding the generated code snippet into your site’s rich‑text component, the subscription form will instantly appear wherever you placed it on your website.
An email list is the cornerstone of successful email marketing—think of it as your digital audience directory. In its simplest form, it's a collection of email addresses from people who have chosen to receive your organization's newsletters and campaigns. With Sitecore Send, managing these valuable connections becomes effortless. You can send targeted messages to one or multiple lists, track engagement, and grow your audience organically. You have complete control over how you segment, manage, and communicate with your subscribers, making it easier than ever to deliver the right content to the right people at the right time.
To create an email list:

To add new recipients to your new list, click Add a member.
Fill out the default fields for the new member and click Save member
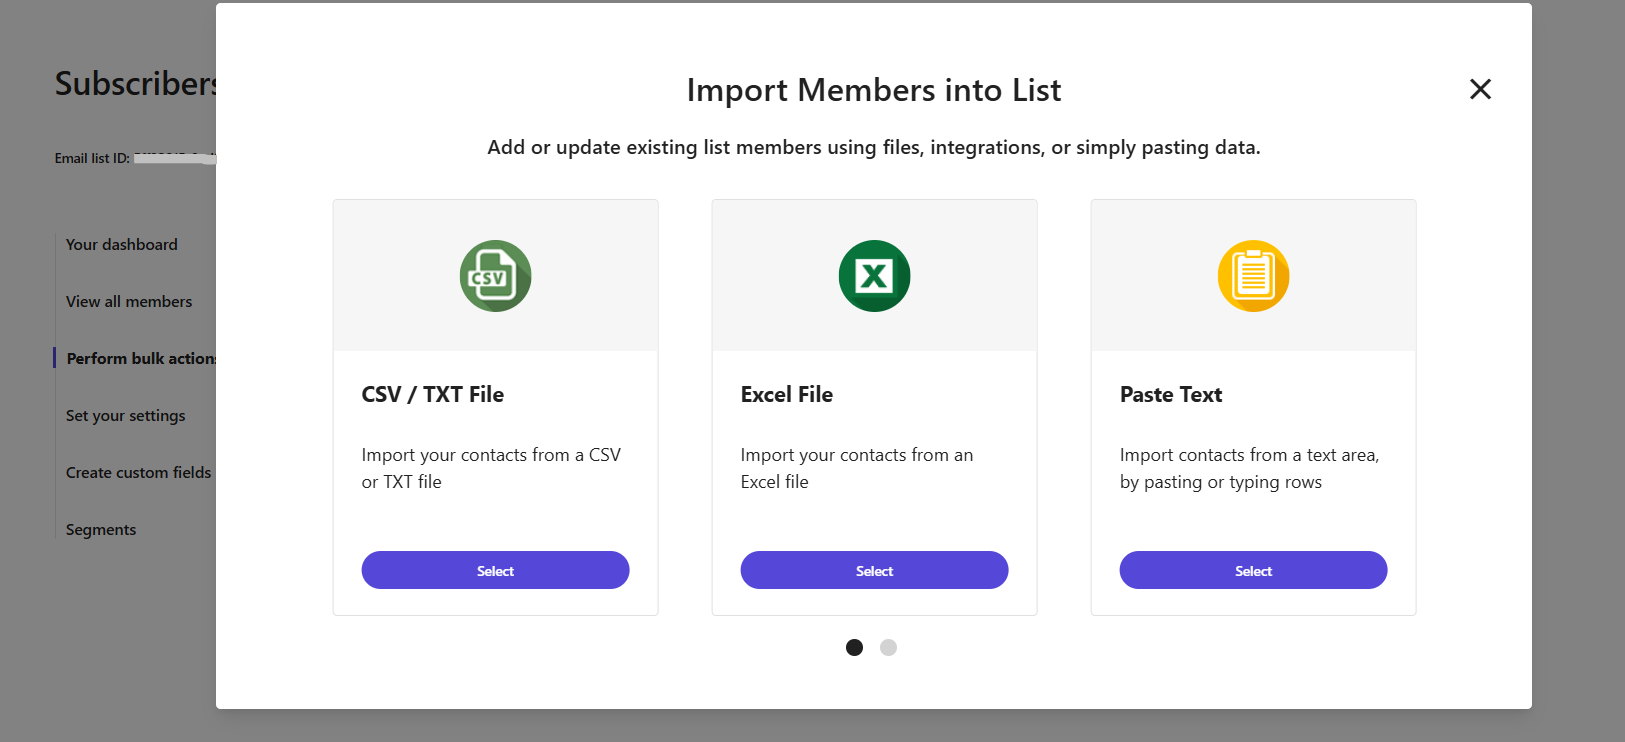
You can easily add new subscribers or update existing ones by uploading CSV files, connecting through integrations, or even pasting data directly into the interface—whichever method works best for your workflow.
Note: There’s no cap on how many contacts you can add to an email list—but very large uploads can slow down your dashboard. If you run into import errors or performance issues, try breaking your list into smaller batches for smoother processing.

After creating your email list, don’t forget to select it in your form’s Mailing List settings so new subscribers are added correctly.
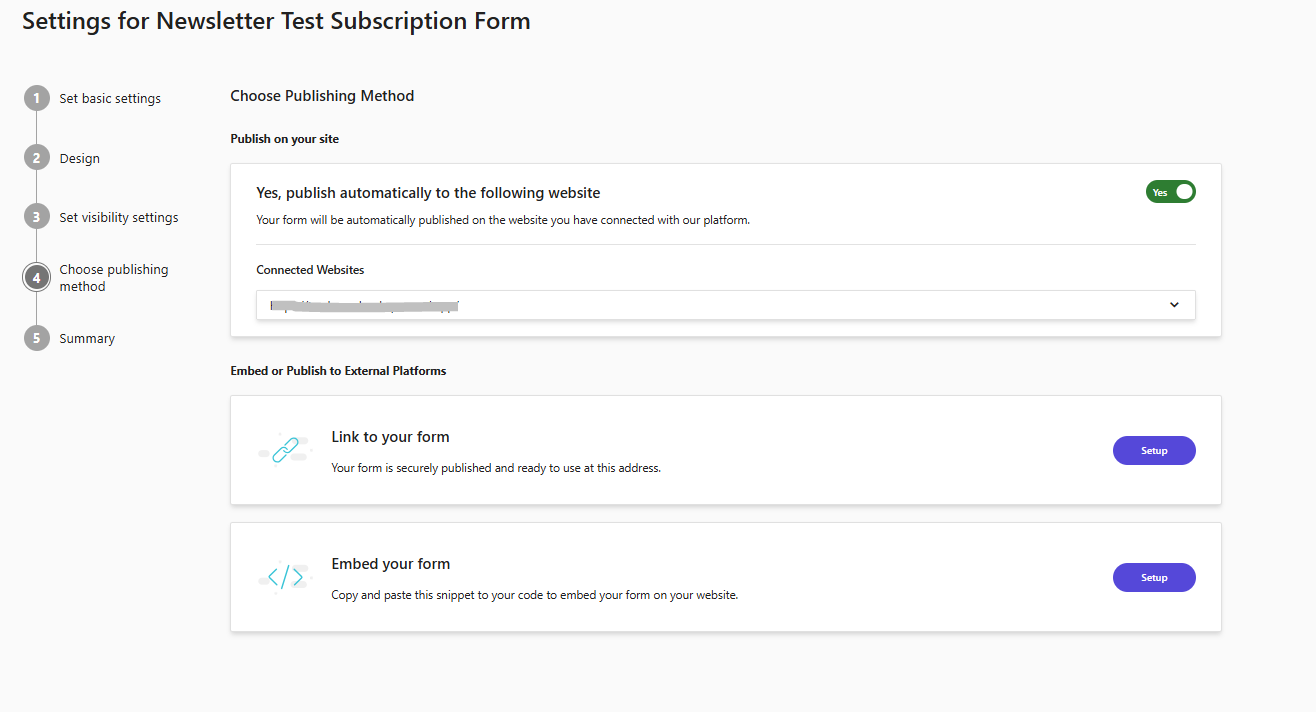
After inserting the form into your Sitecore page, publish the page to make the form live on your site.
Next, test the form by filling the form and submitting it.
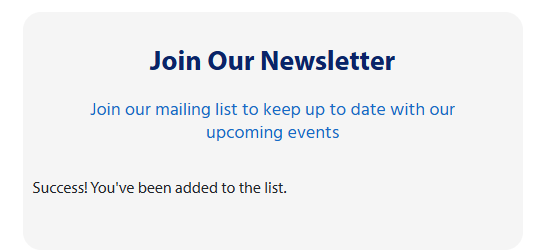
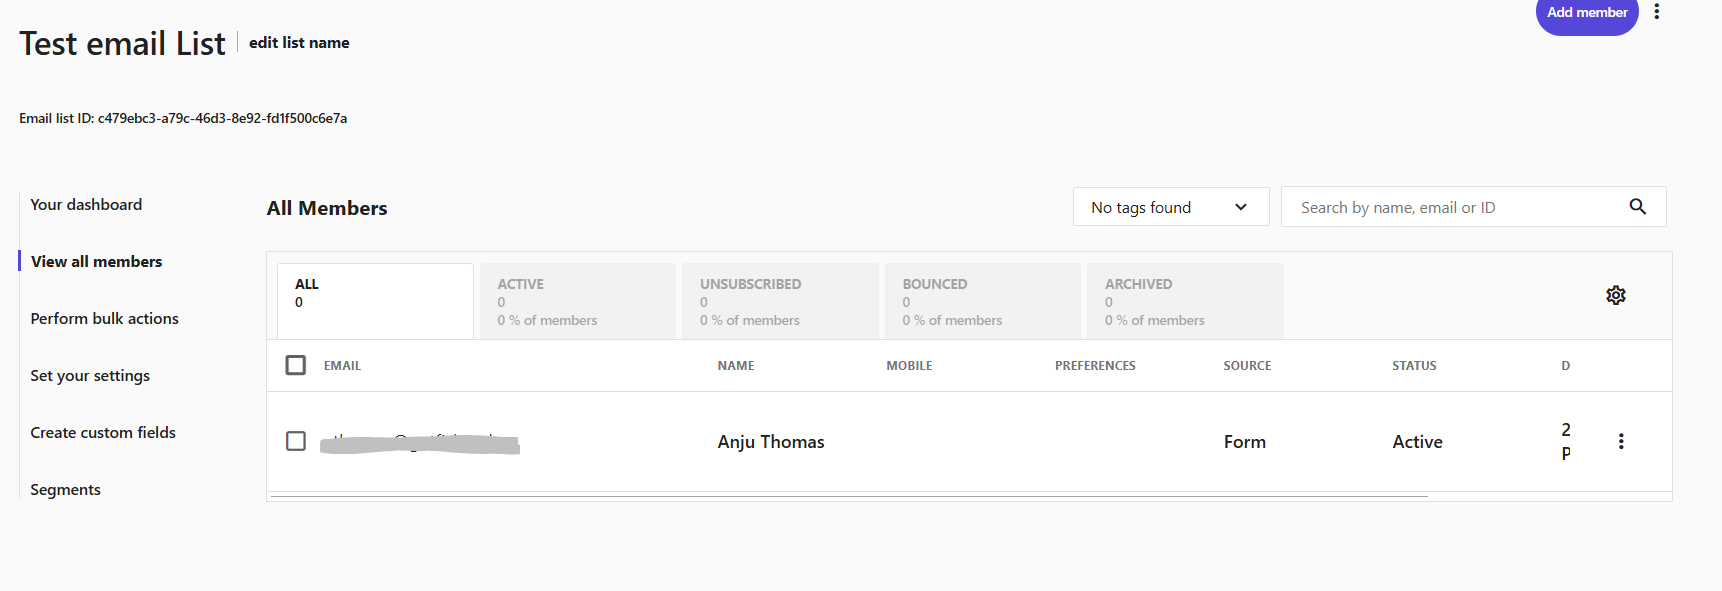
To verify that everything is working as expected, log in to Sitecore Send, navigate to your email list connected with your Subscription form, and check whether the new subscriber has been added. If the data appears in your list, congratulations—your integration is successful!
When you submit a subscription form in Sitecore Send but don’t see the new contact in your email list, it usually comes down to one of these common issues:
Wrong Mailing List Selected
Every form must be tied to at least one mailing list. If your form isn’t pointing at the correct list—or if no list is selected at all—submissions won’t go anywhere.
Form Not Published in Send
Changes to a form in Sitecore Send (including its mailing list assignment) only go live after you hit “Publish.” If you forget that final step, submissions will silently fail.
Snippet Not Deployed/Published Correctly
If you’re using the embed snippet in a rich‑text component, make sure it’s been saved and published in your CMS. A stale or cached page might never fire the form script.
With Sitecore Send, setting up website tracking, creating engaging subscription forms, and managing your email lists becomes a seamless process. Most of this can be achieved with no code, and the minimal integration required is low code—making it accessible even without deep technical expertise. By following the steps outlined in this guide, you’re now equipped to capture valuable subscriber data and launch targeted campaigns that drive results. Thanks for reading!