Reading time: 4 min read
Explain how to make Sitecore SXA's OOTB component: Filter (Checklist) to filter by Discrete Month (January, February, ...) and Year (2021, 2022, ...).
Pre-requisite
Basic understanding of SXA and computed fields.
Overview
While SXA's OOTB components are capable, there are definitely some missing holes in functionalities, filter by discrete Month and Year being one of them (as opposed to Ranged Date Filter). Sometimes you just want to filter by month such as January, February, or year like 2021, 2020 by means of radio buttons or checkboxes. Here I explain how to accomplish this with computed fields and Solr.
Step 1 - Create A Date Field
We need a field that we're going to index from. Doesn't have to be fancy, just create a regular date time Field in your content pages for example.

Step 2 - Create A Computed Field
We need computed Fields for Dates. This code was derived from Dan Cruickshank's blog post on Extending Computed Fields in Sitecore By Adding Parameters.
        using System;
        using System.Xml;
        using Sitecore.ContentSearch;
        using Sitecore.ContentSearch.ComputedFields;
        using Sitecore.Data.Items;
        using Sitecore.Xml;

        namespace xxx.Feature.ContentSearch.ComputedFields
        {
            public class ComputeDateField : IComputedIndexField
            {
                public string FieldName { get; set; }
                public string ReturnType { get; set;}
                public string ToStringFormat { get; set; }

                public const string DateField = "Date";

                public ComputeDateField (XmlNode configNode)
                {
                this.FieldName = XmlUtil.GetAttribute("fieldName", configNode);
                this.ReturnType = XmlUtil.GetAttribute("returnType", configNode);
                this.ToStringFormat = XmlUtil.GetAttribute("toStringFormat", configNode);
                }

                public object ComputeFieldValue(IIndexable indexable)
                {
                Item item = indexable as SitecoreIndexableItem;

                if (item == null) return null;

                var itemField = item.Fields[DateField];
                if (itemField == null) return null;

                var isoDate = itemField.Value;
                if (string.IsNullOrEmpty(isoDate)) return null;

                DateTime dateTime = Sitecore.DateUtil.IsoDateToDateTime(isoDate);

                return dateTime.ToString(ToStringFormat);
                }
            }
        }
Step 3 - Config The Computed Field
Now that we have the computed fields, we have to configure it in Sitecore. My configuration looks like this but it may need to be adjusted based on your system.
   <xmp>
        <?xml version="1.0" encoding="utf-8" />
        <configuration xmlns:patch="http://www.sitecore.net/xmlconfig/" xmlns:role="http://www.sitecore.net/xmlconfig/role/" xmlns:localenv="http://www.sitecore.net/xmlconfig/localenv">
        <sitecore role:require="Standalone or ContentDelivery or ContentManagement">
            <contentsearch>
            <indexconfigurations>
                <defaultsolrindexconfiguration type="Sitecore.ContentSearch.SolrProvider.SolrIndexConfiguration, Sitecore.ContentSearch.SolrProvider">
                <documentoptions type="Sitecore.ContentSearch.SolrProvider.SolrDocumentBuilderOptions, Sitecore.ContentSearch.SolrProvider">
                    <fields hint="raw:AddComputedIndexField">
                    <field fieldname="datetimeyear" tostringformat="yyyy" returntype="string">
                        (your solution).Feature.ContentSearch.ComputedFields.ComputeDateField, (your solution).Feature.ContentSearch
                    </field>
                    <field fieldname="datetimemonth" tostringformat="MMMM" returntype="string">
                        (your solution).Feature.ContentSearch.ComputedFields.ComputeDateField, (your solution).Feature.ContentSearch
                    </field>
                    </fields>
                </documentoptions>
                </defaultsolrindexconfiguration>
                <enablereadaccessindexing>true</enablereadaccessindexing>
            </indexconfigurations>
            </contentsearch>
        </sitecore>
        </configuration>
</xmp>
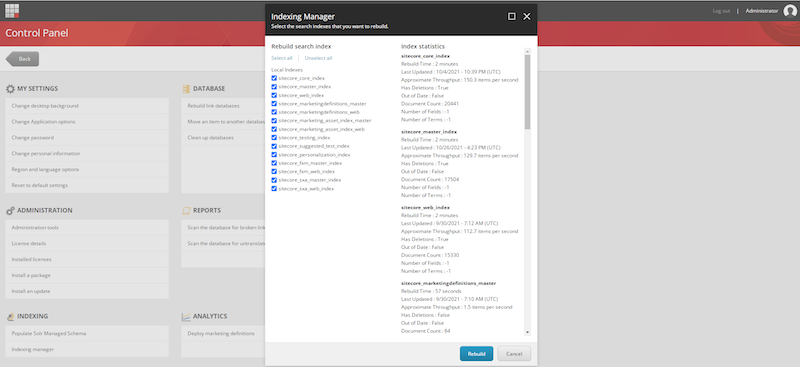
Step 4 - Index Your Content
Now that we have the new computed fields, don't forget to index your content by going to Control Panel -> Indexing manager.
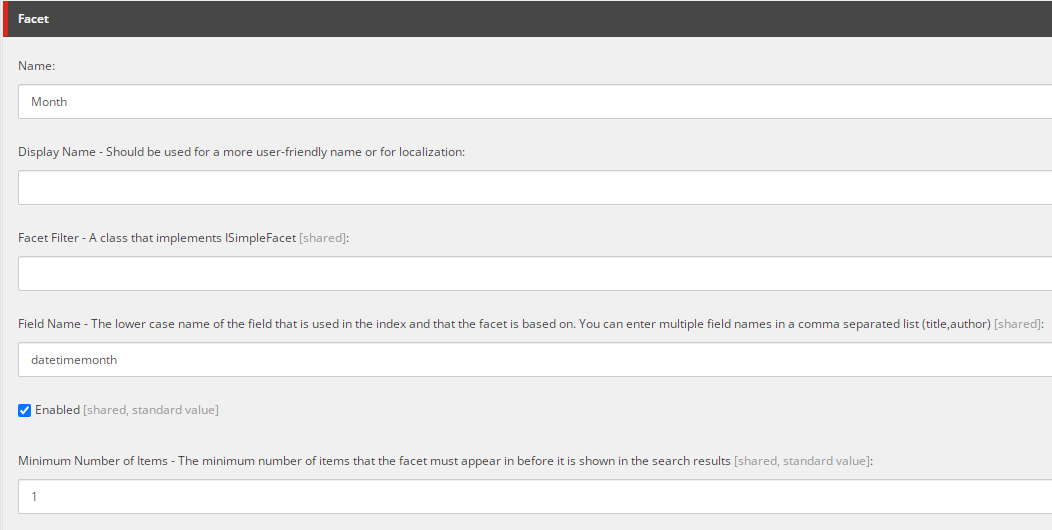
Step 5 - Create Month And Year Facets
Go to your Project's settings' facets (ex./sitecore/content/.../Settings/Facets). Create new Facets called Month and Year and populate its fields.
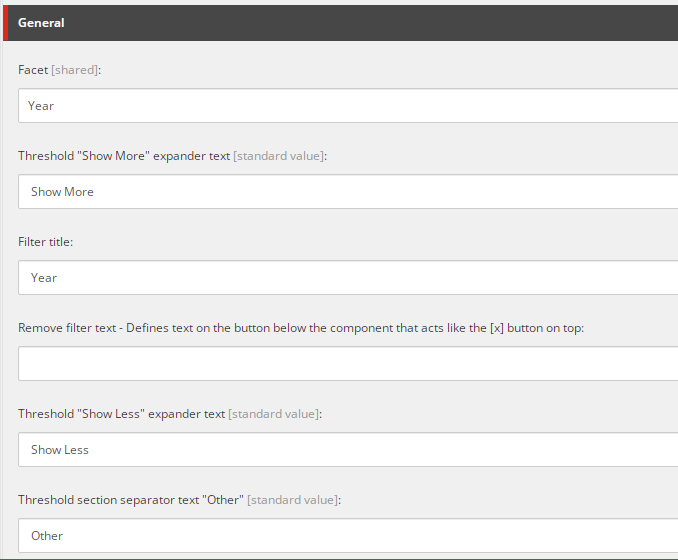
Step 6 - Create DataSource For Checklist Filter
Navigate to your Checklist Filter DataSource in your project (ex. /sitecore/content/.../Data/Search/Checklist Filter) and create new DataSources. Ensure that under General tab, Facet is set to the facets we just created like so:
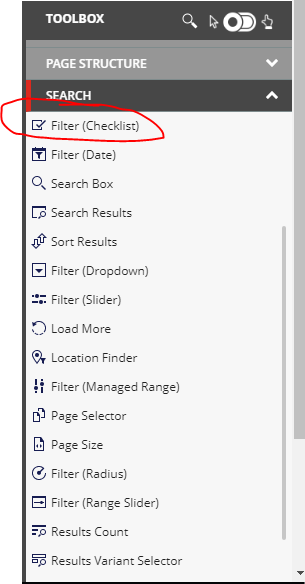
Step 7 - Instantiate OOTB Facet (Checklist) And Connect Data Source
SXA takes care of the rest from here. Drag the Filter (Checklist) onto the page. On drag, you will be asked to select the Data Source, in which you can select the Data Source we created above.
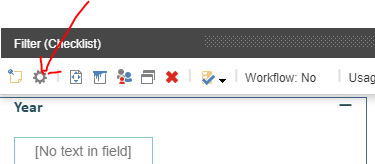
Click on the gear icon on the instantiated component to make sure the correct Facet is selected.

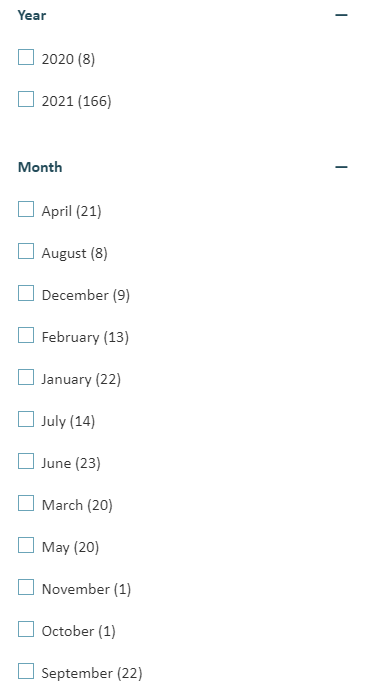
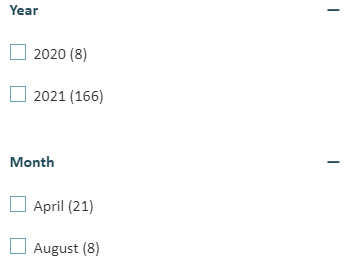
Final Results
If everything went smoothly, you should be able to select discrete year and month. My facets will not look exactly like yours as it is custom styled.