Reading time: 5 min read

So you're curious about what Coveo is truly capable of doing.
Maybe you're a developer trying to get exposure to the capabilities. You've watched the presentations, maybe talked to sales folks, the whole nine yards, but you haven't played with it on your on.
Well, the great thing is not only is there a straight forward way of getting a trial, there's a very simple set of steps to get you in the door.
First things first, this is one way of setting up a trial account, and technically the old way as Coveo has released a new way of signing up for a trial org and we will cover that in a subsequent post.
Today we're going to cover how to setup a trial using their API. It's also a great way to learn how the Coveo API works and the tools we're going to use you can use for all of their API calls.
Step 1: What You Need
When it comes to working with API's, the simplest way of doing it, short of writing code (which we will cover as well), is using Postman. What pray tell, is Postman? Glad you asked.
Postman
Postman, found here: https://www.postman.com/ is a platform BUILT for API development, but it can do a lot more than that. You can use Postman for debugging your own website, working out the kinks of an API you've built, or form posts, or Javascript async calls. Really the options are unlimited. So head on over, sign-up and download. Don't worry, there is a free tier.
Postman itself also has extensions for Chrome that allow you to capture GET/POST etc calls and import directly into Postman. Today though, we're going to set it up to manage our Coveo Trial Organization.
Step 2: Getting Your Coveo Auth Token
The auth token is how all calls with Coveo will be made possible. Without it, you will only get denied responses.
Head on over to https://platform.cloud.coveo.com and log in, there by creating yourself an account. They offer a number of ways of logging in. It doesn't matter which you choose as the end result will deliver what we need. It doesn't matter if you have never signed in before and it doesn't matter if there are no organizations present. In fact, once you've logged in for the first time it will tell you, you have no organizations for this email. THAT'S OK! We're going to fix that in the next few steps.
Next, crack open your Inspect mode / developer tools window in your browser and have a look for Application > Cookies > https://platform.cloud.coveo.com/.
Once there, you're looking for the access_token value. Copy and paste it into a text editor of your choice for now.

Step 3: Creating Your Trial Organization
The base API call for setting up your organization is below and while it's all you need, it's not the step by step. That comes after.
POST https://platform.cloud.coveo.com/rest/organizations?name=<MY NEW ORGANIZATION NAME>

Content-Type: application/json
Accept: application/json
Authorization: Bearer <MY_OAUTH2_TOKEN>
Let's Setup Postman
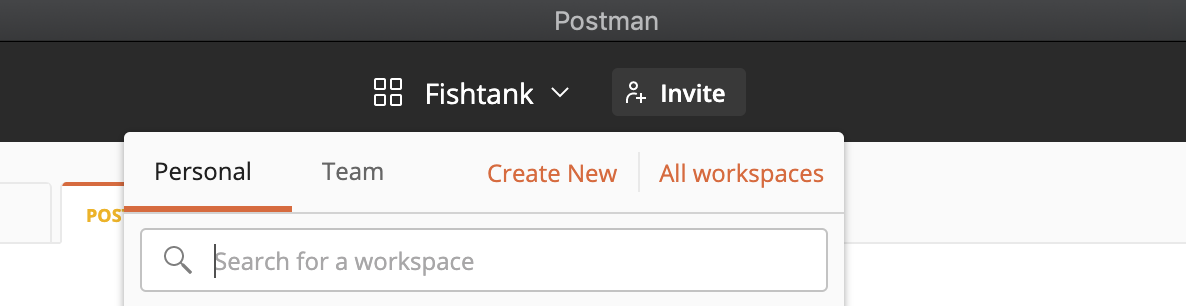
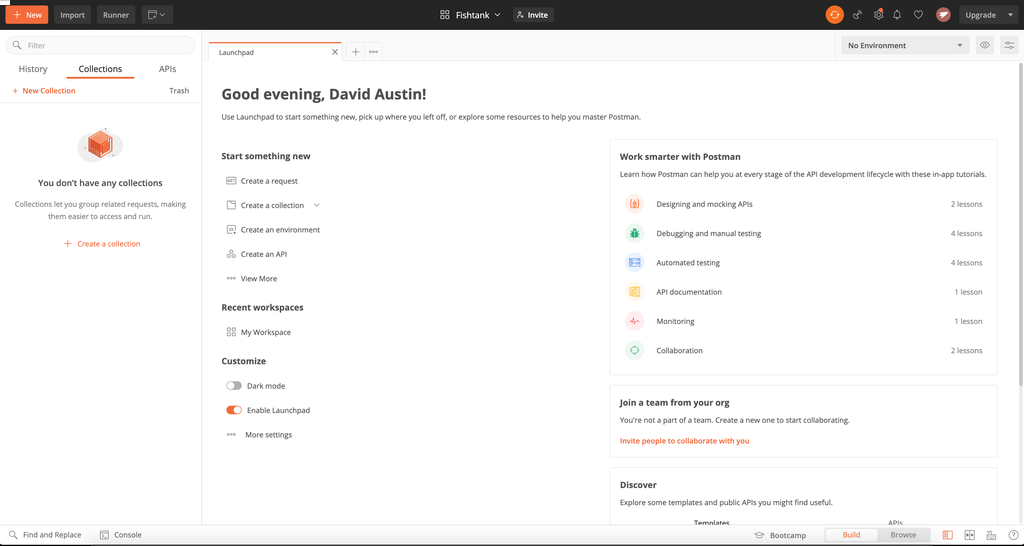
- Load up Postman and first thing first, in the top of the app you'll see a dropdown that let's us create a new Workspace.
- Next, under
Start something new, selectCreate a collection. - Name your collection in the field provided and click
Create - Once you have a collection created, click on it (on the left side of the screen). It will tell you the collection is empty. Click,
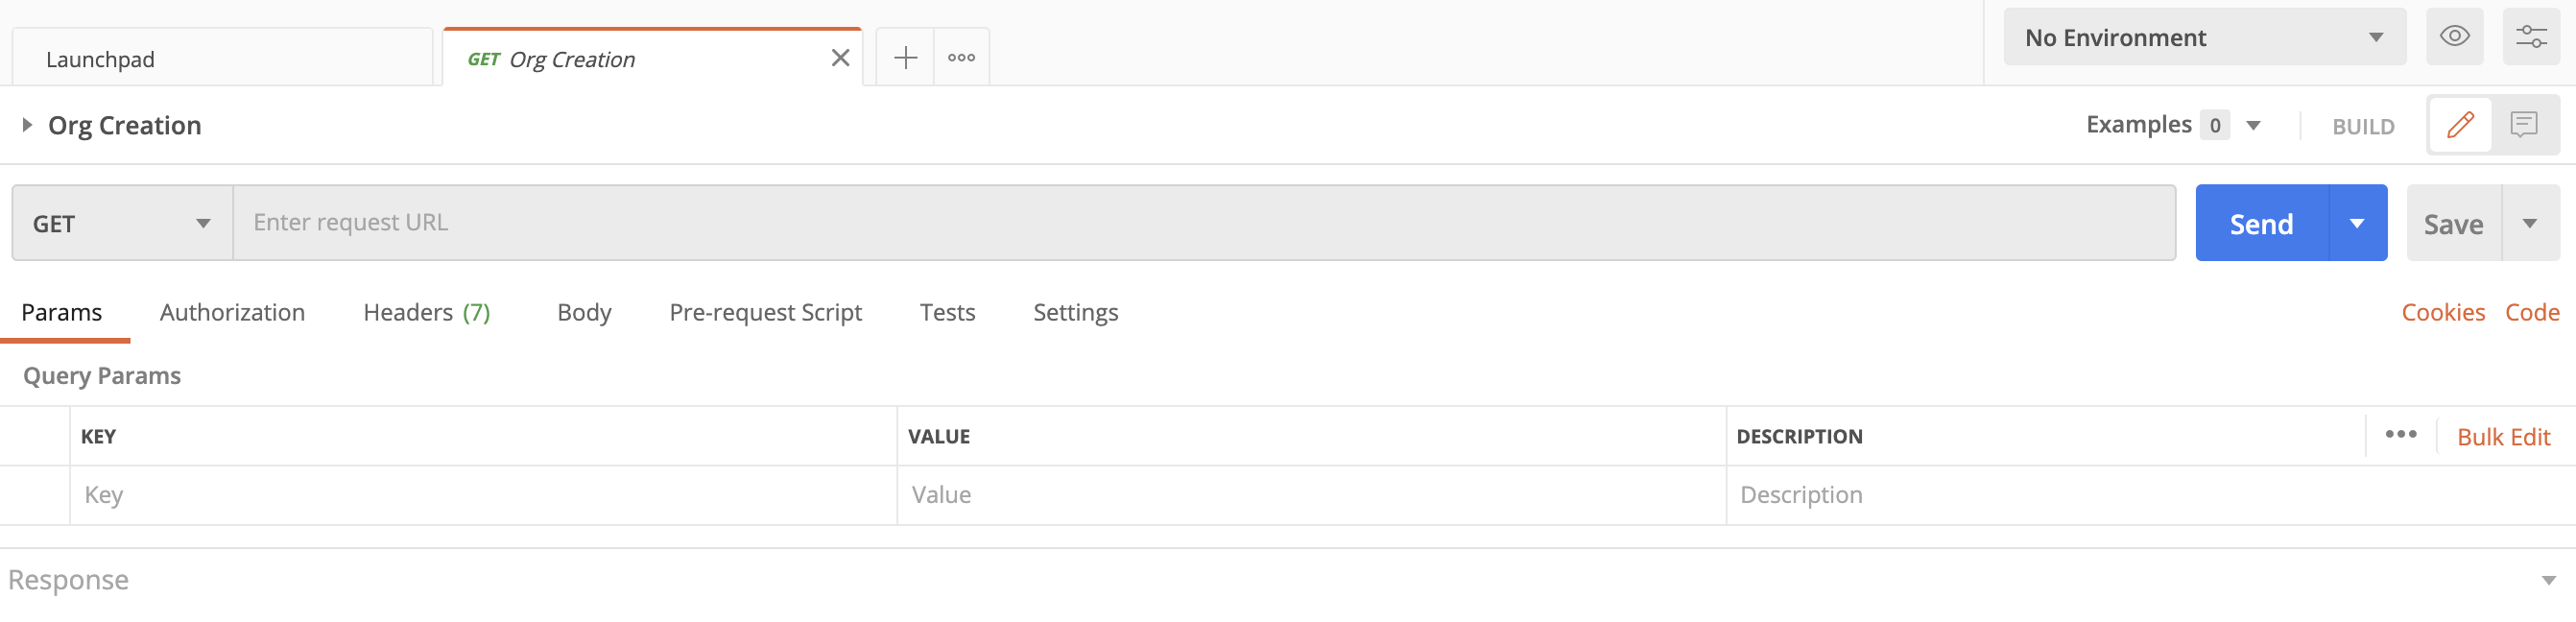
Add Requests. - In the pop-up shown, give the request the name Org Creation. Once created, click on it and then click on
Open in Builder
You should now see something like the following:
Let's Create The Request
- Click on
GETand change toPOST - Select the "Enter request url" field, enter
https://platform.cloud.coveo.com/rest/organizations?name=and at the end of the url, give your organization a name - Click on the
Headerstab below, this is where you will enter in the headers you see able. - For keys, you'll be entering in
Content-Type,Accept, andAuthorization(no quotes) - For values, you'll enter in
application/jsonforContent-Typeand the same forAccept. ForAuthorization, you'll enter in the wordBearerfollowed by a space and then paste in that access token you copied earlier.
Once everything has been entered correctly, click the Send button. And if everything you entered in was correct, you should see a json object in the response window below with your new Organization Id that resembles the following. That is your Org Id.
    {
        "id": "fishtankfu0iejw"
    }
CONGRATS!
Step 4: Back To The Coveo Platform!
Head back over to your browser where you had logged into the Coveo Platform. If you've left it alone, it still says you have no organization available. Refresh. Trust me.
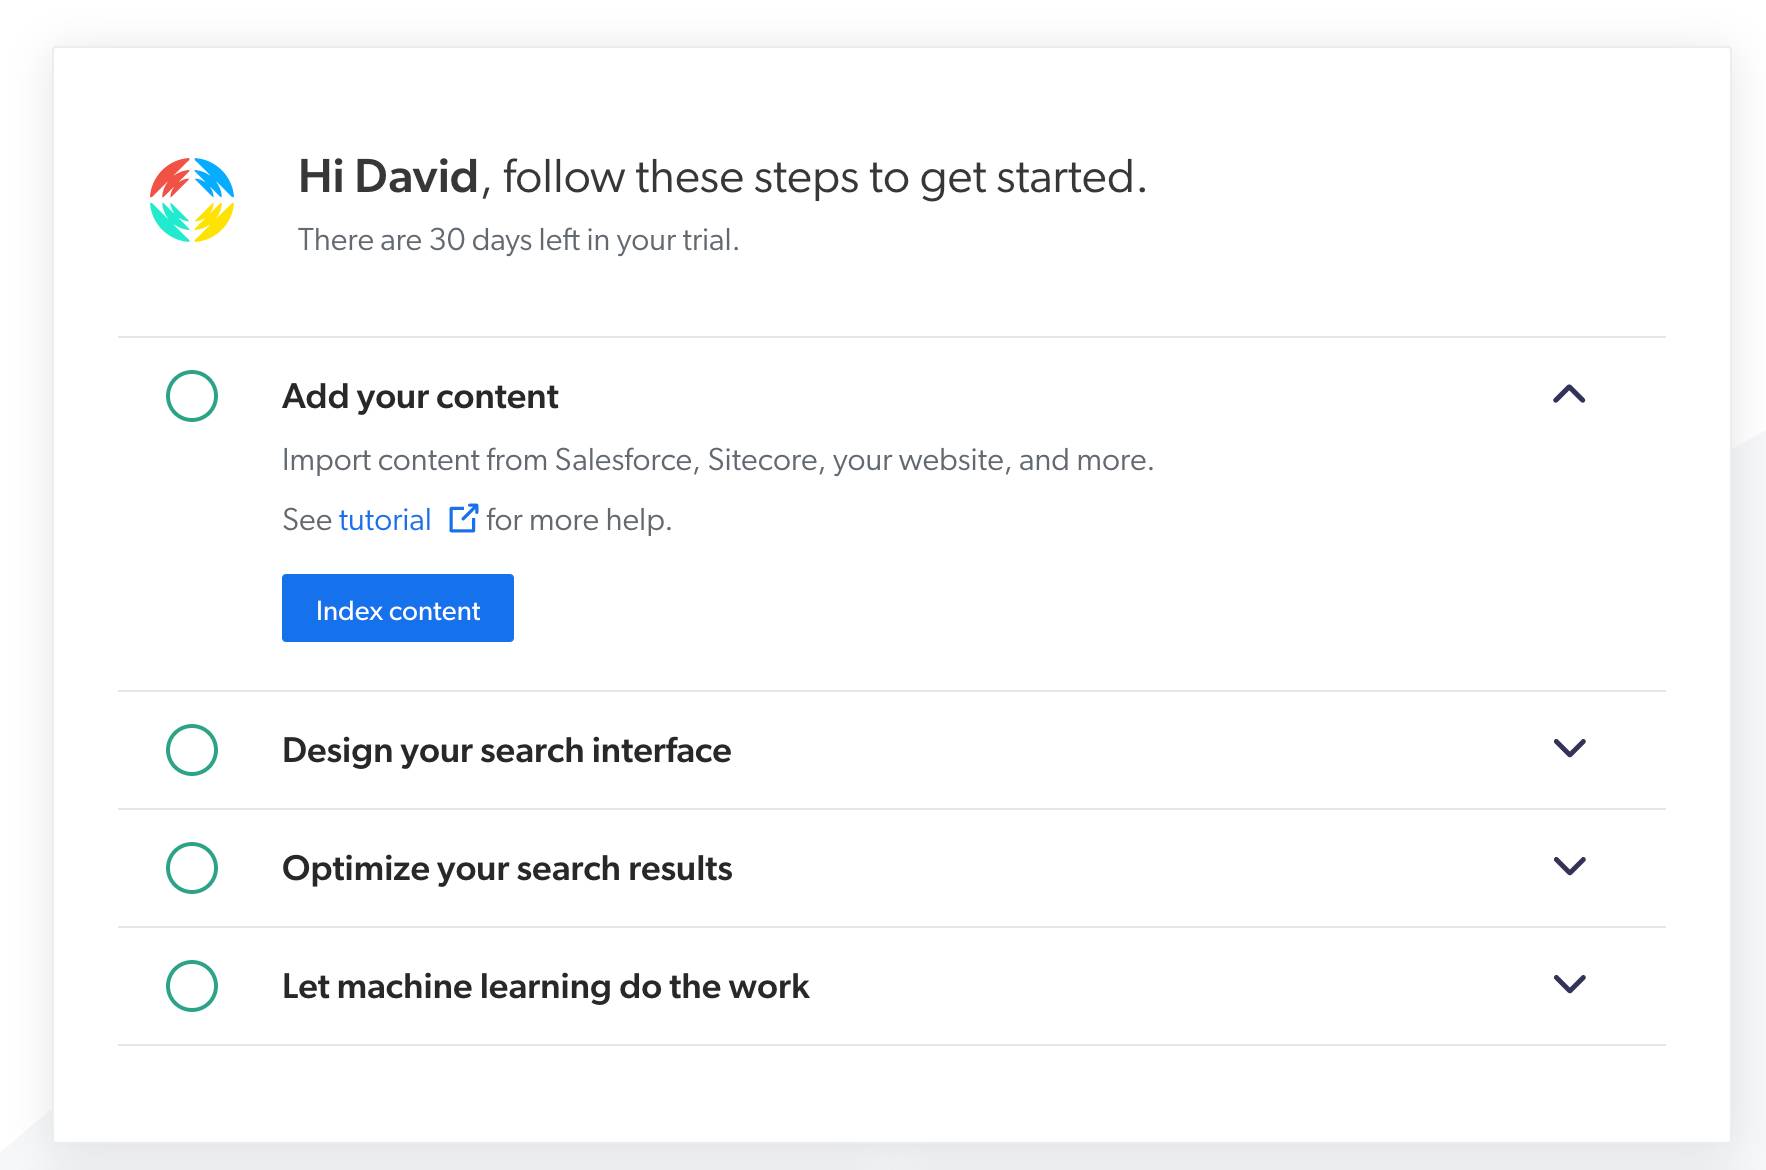
What you should see now is the full platform, complete, with your new Org.
Til Next Time
In future posts we'll look at what we can do with our trial organization both in the platform and via the API. If you're curious what all the options you have with their API, you can browse their Swagger documentation here: https://platform.cloud.coveo.com/docs
