Reading time: 4 min read
How to Install SXA Theme in Sitecore Docker MVC SXA 10.3
A practical guide to understand the process of installing SXA Theme in Sitecore Docker MVC SXA 10.3 effectively.
Start typing to search...
A practical guide to understand the process of installing SXA Theme in Sitecore Docker MVC SXA 10.3 effectively.
Sitecore’s documentation on SXA Theme installation no longer holds true for Docker setup. This blog walks you through step by step how to install SXA Theme on Sitecore MVC Docker.
We are still going to follow Sitecore's documentation, but along the way, we’re going to modify some of the steps to make it work on Docker.
Navigate to
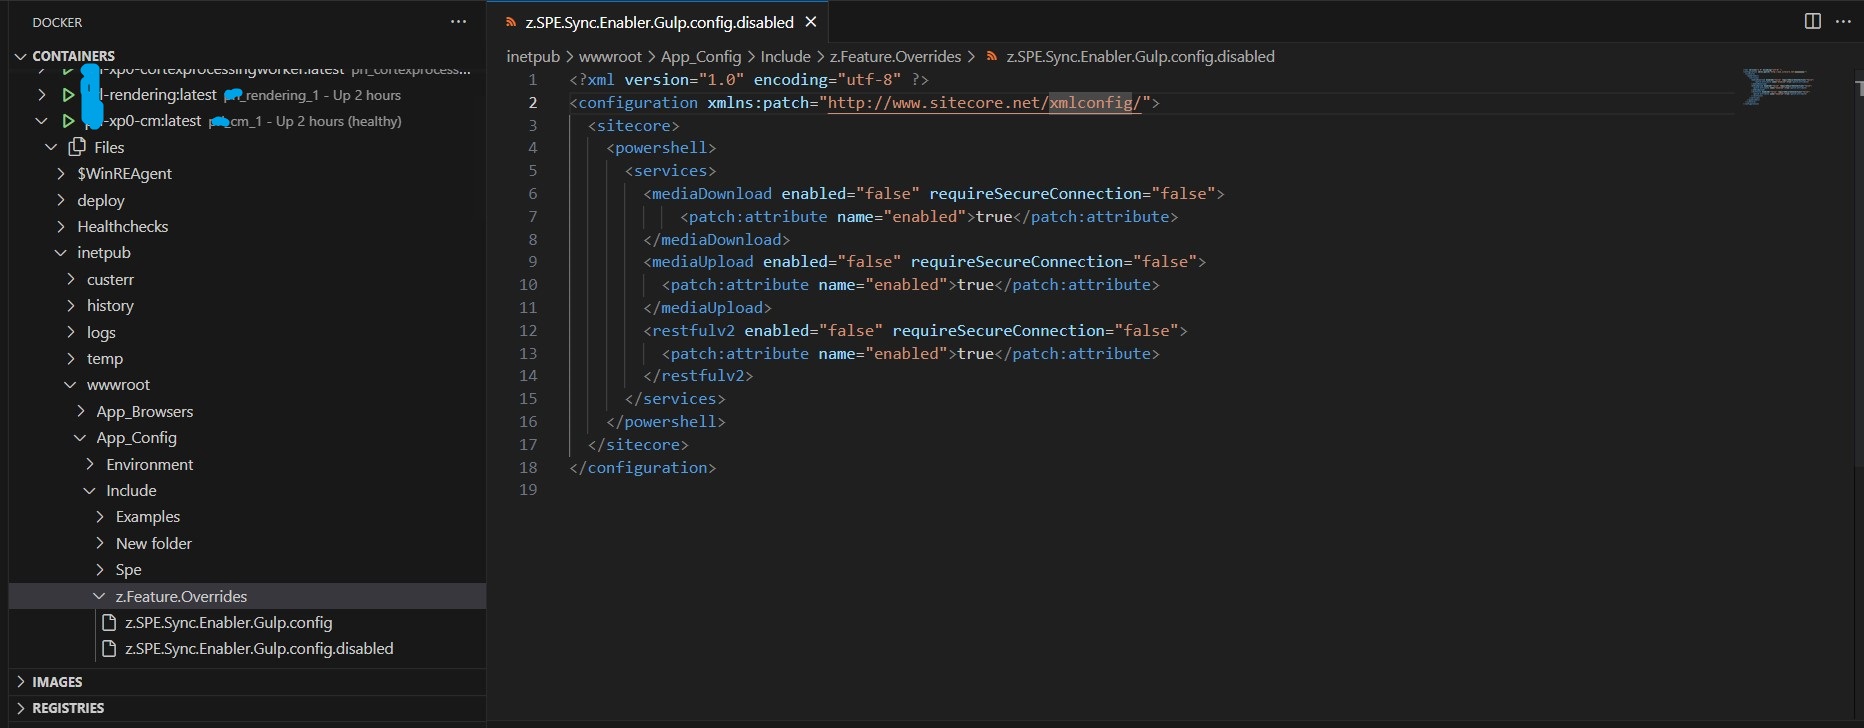
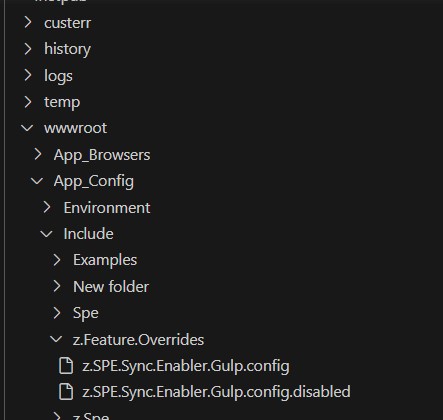
Download z.SPE.Sync.Enabler.Gulp.config.disabled
Place the renamed file inside the deploy folder (inside z.Feature.Overrides), like in the picture below. My full path was C:\

The moment you move the file into the directory, it will be deployed to your container. You can confirm this in your Docker Explorer.
run npm config set @sxa:registry=https://sitecore.myget.org/F/sc-npm-packages/npm/
This installs the necessary tools to run SXA commands.
run npm i -g @sxa/CLI
sxa register <url>run sxa register <url>
For example, the URL for my site would be https://cm.
sxa new <ThemeName>.run sxa new <ThemeName>
In this step, you need to have your site theme set up already in your Sitecore. Follow this video (starting at 4:43) if you have not done so already.
Once your theme folder (/sitecore/media library/Themes) looks something like this, you are good to run the command.
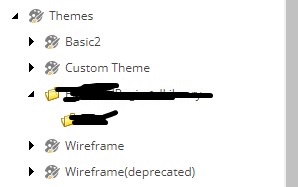
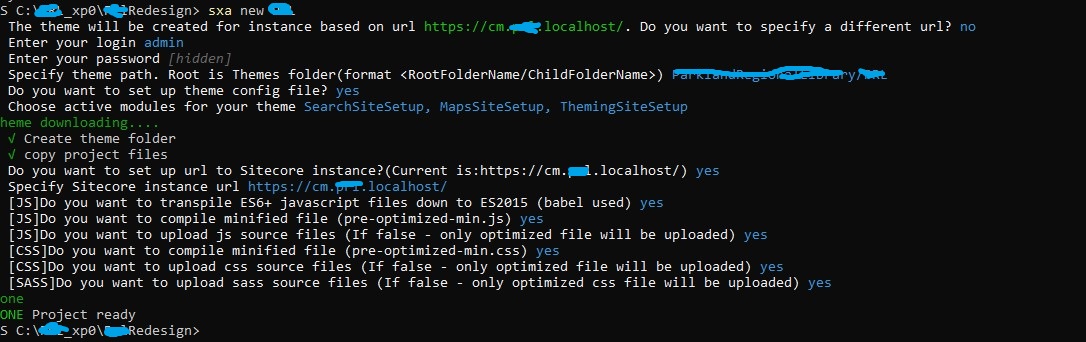
run sxa new <ThemeName>
Read the prompt and answer according to your project needs. Here is a sample output:
You need to install node modules before proceeding:
cd <ThemeName>npm i.This will create node_modules as well as package-lock.json. Don’t forget to include node_modules in your .gitignore before committing if you are working with VC.
Your new theme is now available. Make sure to assign your new theme to your site:
Go to Sitecore/Content/<tenant>/<site>/Settings, and in the Site Configuration settings, in the Compatible themes field, add your new theme to the Selected field. Now you can select the theme as your site's current theme.
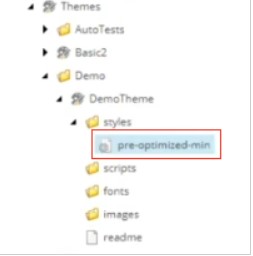
Validate your setup by running “gulp buildAll” followed by “gulp uploadAll”. If your assets (ex., minified CSS or pre-optimized js) show up in your theme folder like below, you are all set.
During sxa cli install, you might come across:
  npm ERR! gyp ERR! find VS **************************************************************
  npm ERR! gyp ERR! find VS You need to install the latest version of Visual Studio
  npm ERR! gyp ERR! find VS including the "Desktop development with C++" workload.
  npm ERR! gyp ERR! find VS For more information consult the documentation at:
  npm ERR! gyp ERR! find VShttps://github.com/nodejs/node-gyp#on-windows
  npm ERR! gyp ERR! find VS **************************************************************
To fix this, go into your visual studio installer, click “modify” on your desired Visual Studio Version, check “Desktop development with C++” in the install panel, and press submit.
How do I change the upload location in Sitecore?
