Reading time: 2 min read
A BACPAC file is a ZIP file with an extension of BACPAC containing the metadata and data from the database. A BACPAC file can be stored in Azure Blob storage or in local storage in an on-premises location and later imported back into Azure SQL Database, Azure SQL Managed Instance, or a SQL Server instance.
When you need to export a database for archiving or for moving to another platform, you can export the database schema and data to a BACPAC file.
How To Create A BACPAC File From SQL Server Using SQL Server Management Studio (SSMS)
Step 1
Connect to the desired SQL Server instance. Then in the ‘Object Explorer’ pane, right-click on the name of the desired database.
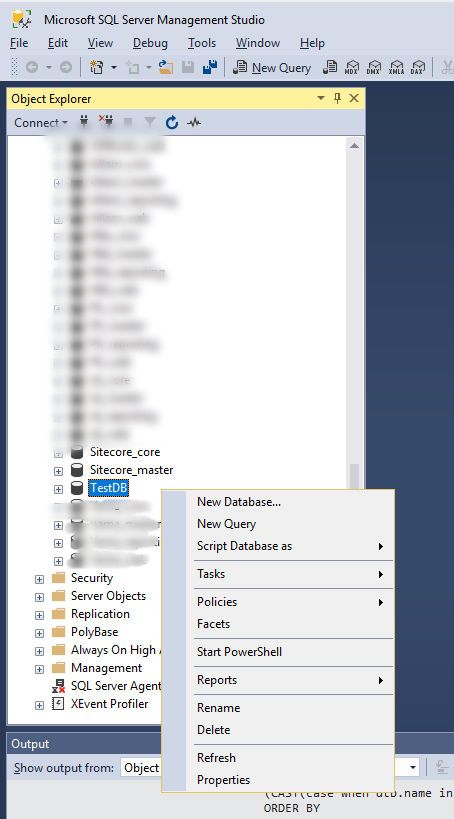
Step 2
In the context menu, select ‘Tasks’ and then ‘Export Data-tier Application’.
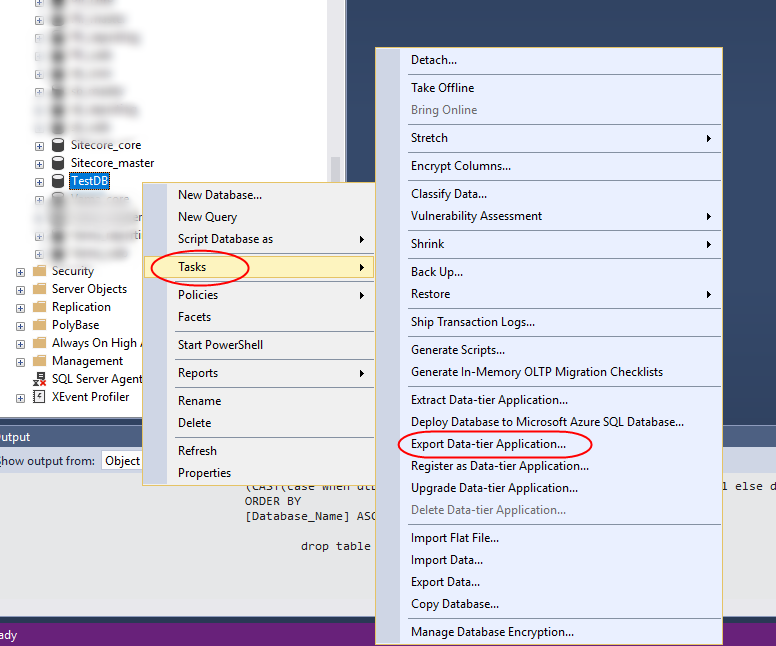
Short description of various methods available in the SSMS for export.
Extract Data-tier Application: Using this option we can extract the database with schema only without any data and the file hence created is called as DACPAC package. If we need schema only, we can choose this option.
Export Data-tier Application: Using this option we can extract schema as well as data in the file which is called as BACPAC file. We have chosen this option as an example in this article.
Upgrade Data-tier Application: we can upgrade the existing database using this option.
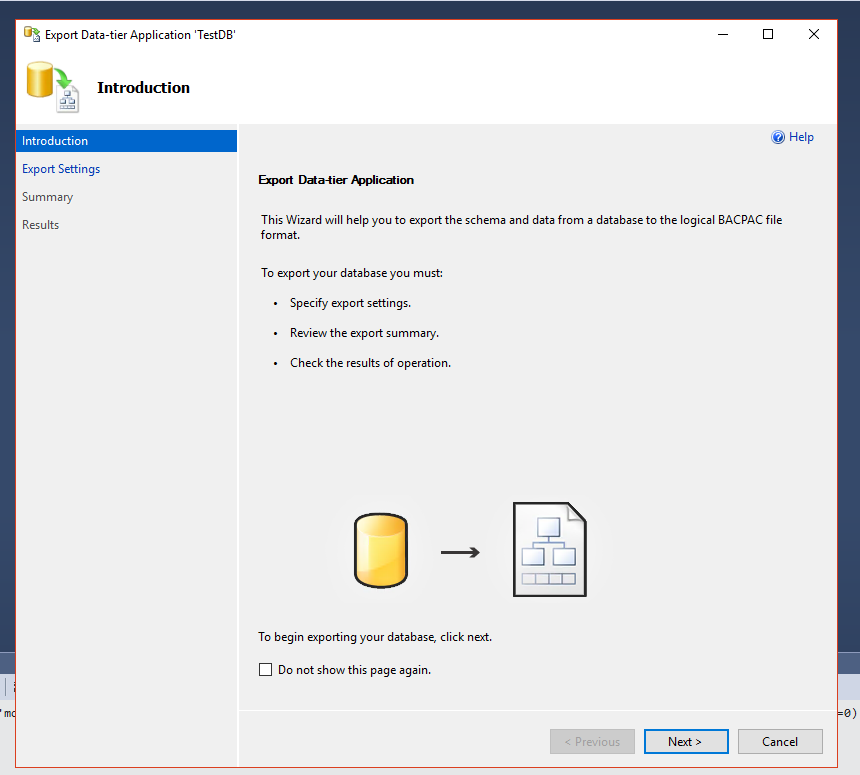
Step 3
Once you click on it, a new window will be opened with the name ‘Export Data-tier Application’. Click on the Next button to proceed further.
Step 4
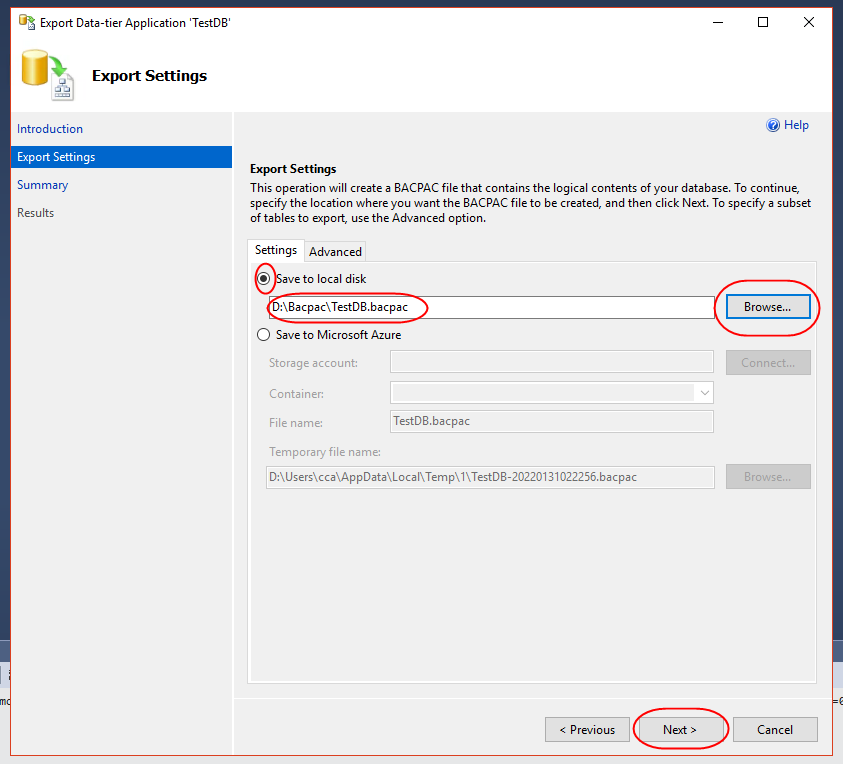
Now we have two options to save the BACPAC file either ‘Save to the local disk’ or to a ‘Save to Microsoft Azure’.
Here, we have selected the Save to local disk option because we want to store it on the local drive. Click on the ‘Browse’ option select the location where you want to store the file and give the file name. Then click on the ‘Next’ button as shown below.
Step 5
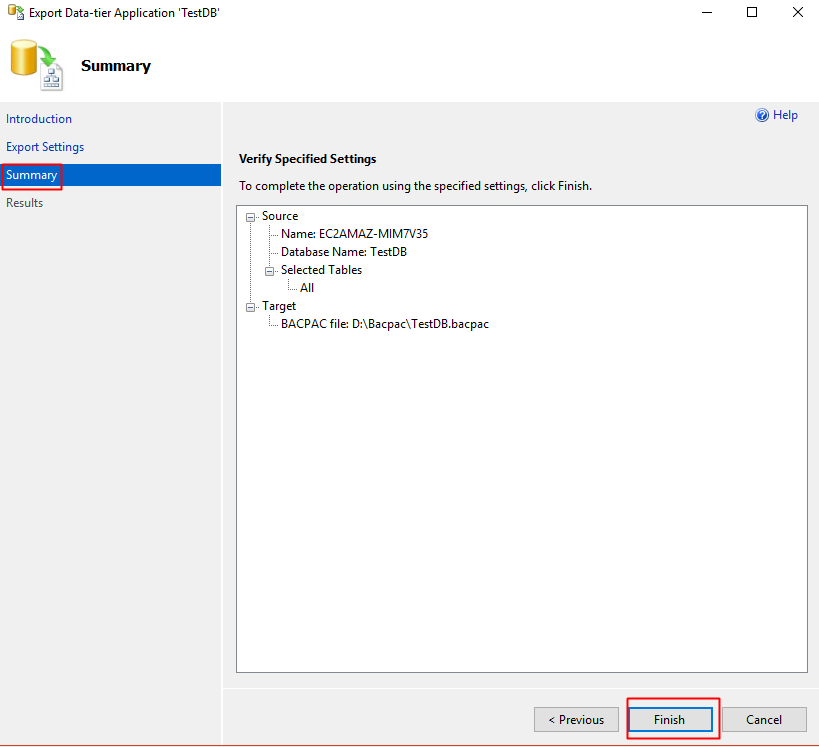
As a result, a 'Summary’ page will appear with all the settings. We now verify and confirm all the settings. We click on the ‘Finish’ button to begin the ‘Export’ process.
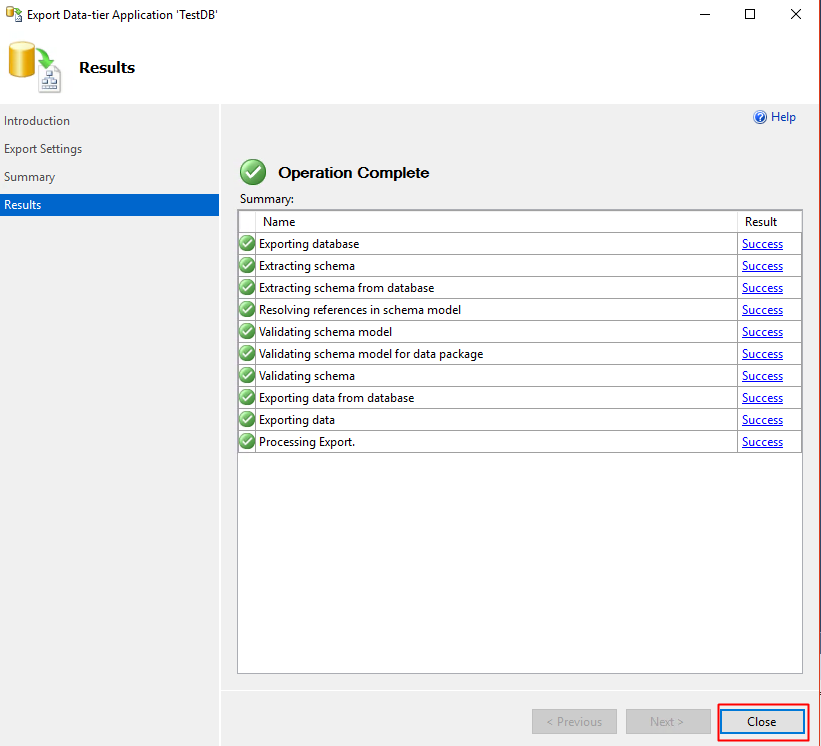
Step 6
A success message appears for each step. Once the export process completes, we click on the ‘Close’ button. We can browse to the directory and verify a BACPAC extension file exists.