Reading time: 4 min read
Creating A Package In Sitecore

Ashwinder Kaur
Quality Assurance Lead
Quality Assurance Lead
Start typing to search...
Quality Assurance Lead
Quality Assurance Lead
If you want to share something you built with your team, I recommend creating a package for everyone to install on their own Sitecore instances.
You can use the Package Designer to create packages with Sitecore so that items can be easily transferred.
For example, this can be done when moving items from one Sitecore website to another.
You can use Package Designer to create or modify packages that could contain dynamically or statically created item, or files. The packages you create with the Package Designer can also contain security accounts.
After you create a package, you may want to test it. This will allow you to find out if the package was created correctly and contains all the items that you specified.
You can use the Installation Wizard to install a package in your Sitecore instance.
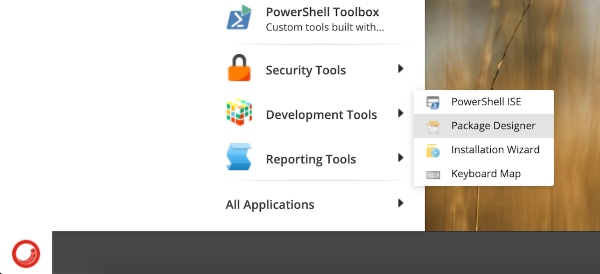
Login to your Sitecore account, click on Desktop, and start up Package Designer from the Development Tools.
Sitecore > Login > Desktop > Development Tools > Package Designer
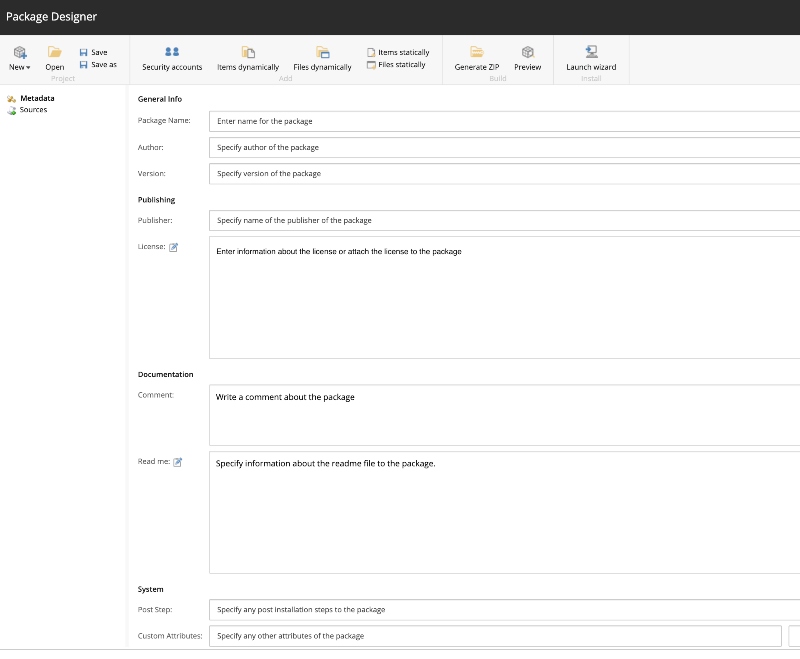
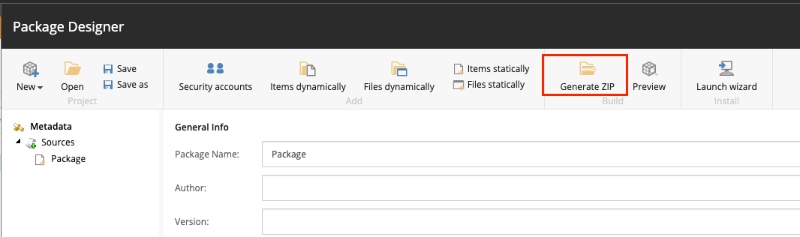
On the ‘Package Designer’ window, fill out the Metadata fields. The Package Name is the only required field.
Enter a name for the package that you are about to create. The package name can contain letters, numbers, underscores, hyphens, figures, spaces and periods. If you enter an invalid symbol, an error message will appear.
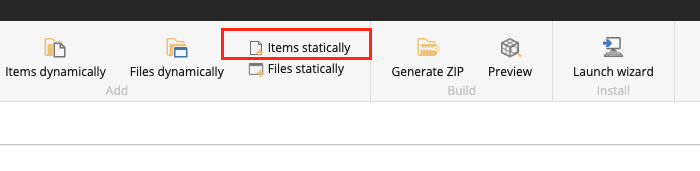
After everything is filled out, click on the ‘Items Statistically’ option at the top for a dialogue box to open up. Make sure the database selected is ‘master’.
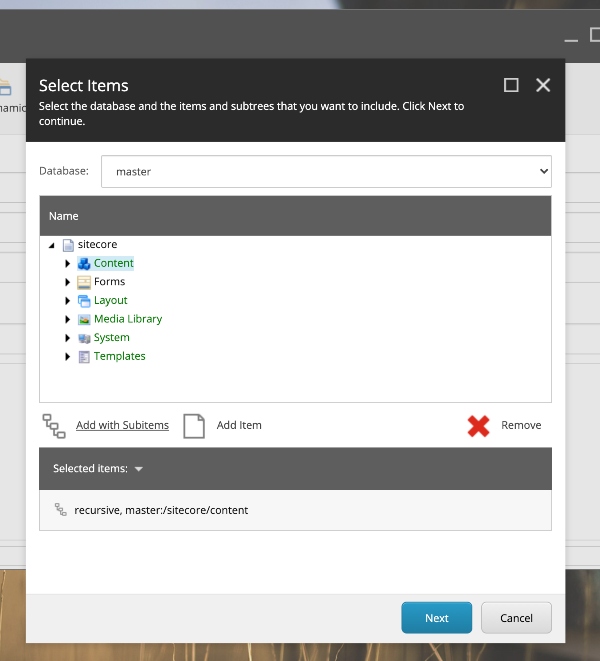
Select the item that you want to export and then click on either ‘Add with Subitems’ (if item has child items) or ‘Add Item’ (if item has no child items).
Continue the same for each item as you will not be able to add all the items at once.
If you would like to move entire website, then select the root item ‘Sitecore’ and select ‘Add with Subitems’.
Click Next, provide a source name, and then click Next once more.
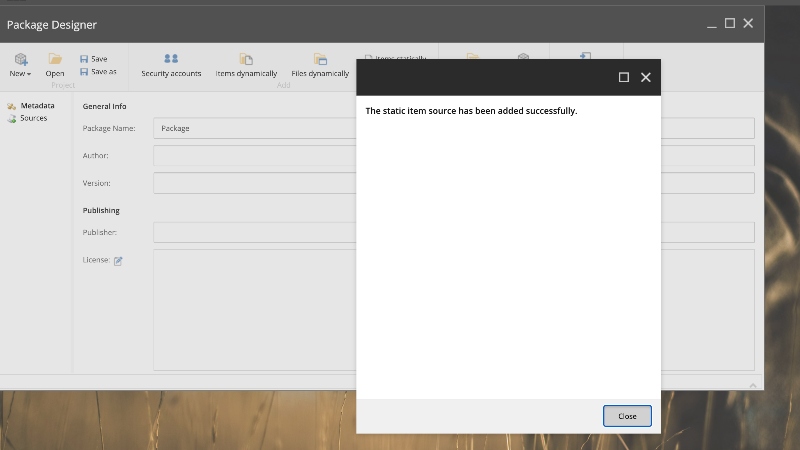
You'll see that the source was added successfully. Click Close to close the dialog window.
On the left, under the Sources, you will see the new source you created.
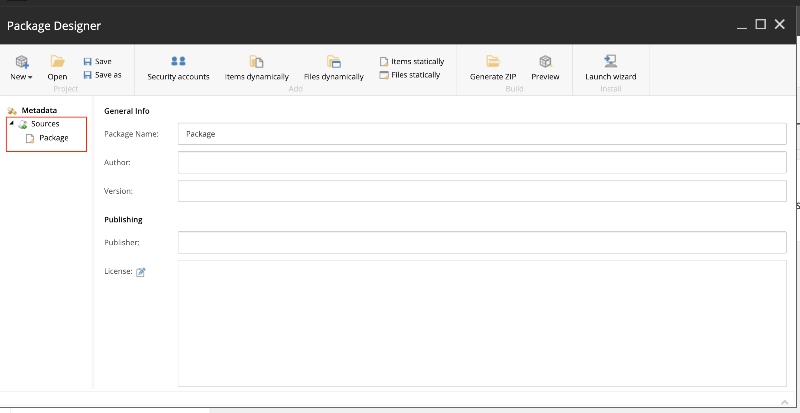
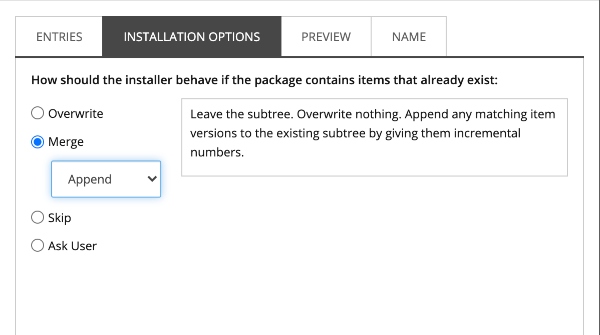
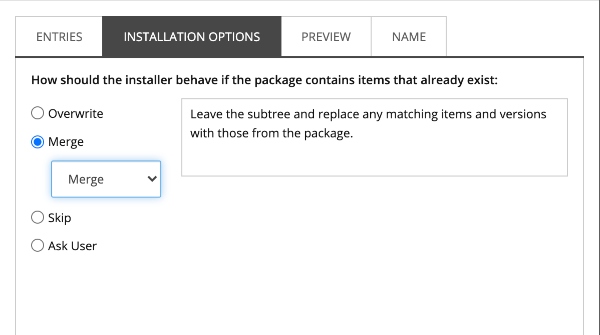
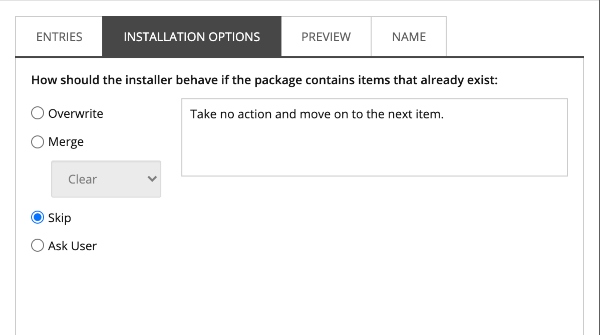
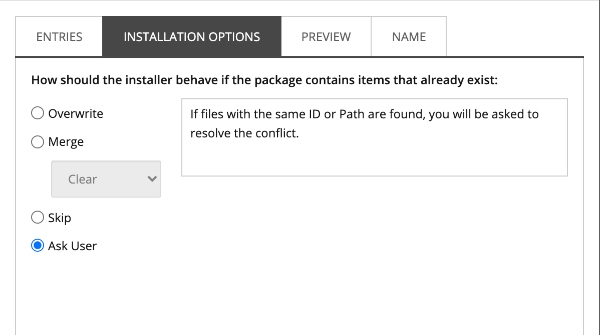
Select the new source and select one of the following Installation Options for the package:
Overwrite:
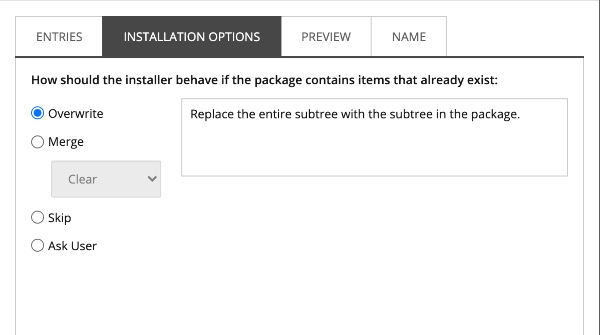
Merge - Clear:
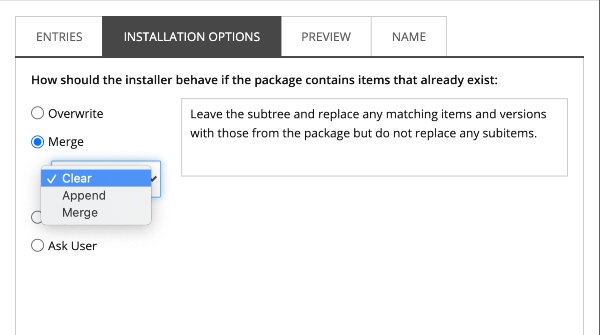
Merge - Append:
Merge - Merge:
Skip:
Ask User:
Once an installation option is selected, select Metadata on the left.
Click on ‘Generate Zip’, provide a name, and click on Next.
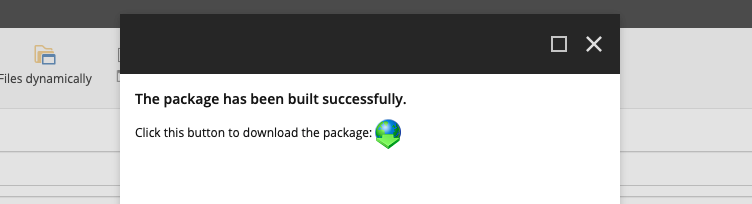
You will see the window that will have a download button.
Click the world button with a green arrow to downloaded the file to your machine. This is the file that you can now share with others or install to a different Sitecore website.
Login to your Sitecore account. Click on Desktop and start up Installation Wizard from the Development Tools.
Sitecore > Login > Desktop > Development Tools > Installation Wizard.

Upload the package that you want to install.
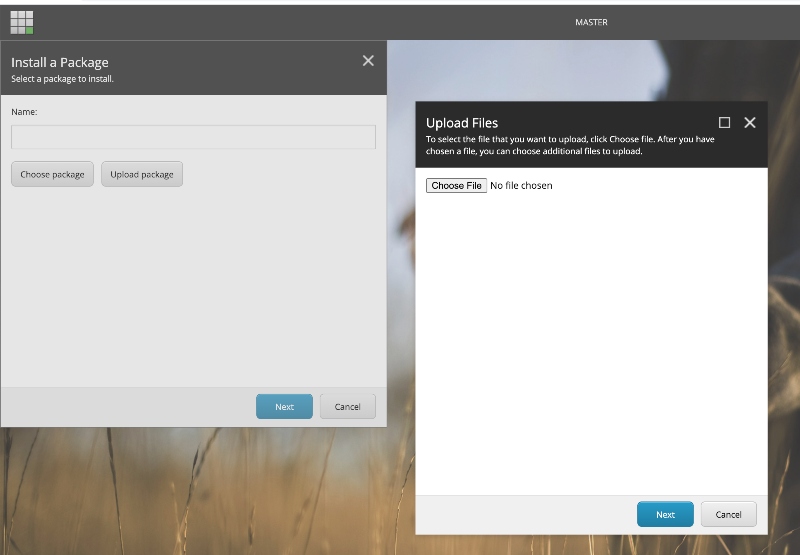
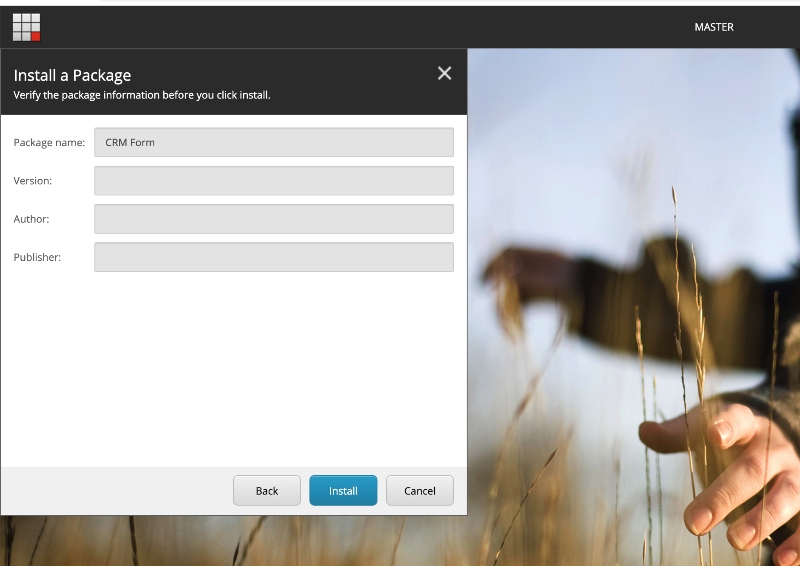
Once the upload is completed, click Next and provide the package name, version, author, publisher etc.
All these fields are optional, so you an continue without filling these in.
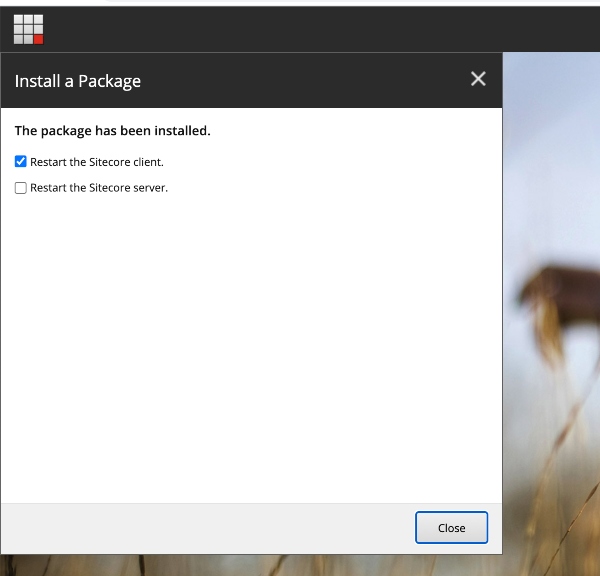
Once the installation is complete, you will be asked to Restart the Sitecore Client or Restart the Sitecore Server. Select accordingly and click Finish.
In Content Editor, publish the changes (either the root or the new items which you imported) to reflect. Your Sitecore package is now imported.
Thanks for taking the time to read this post!
If you would like to know more about migrating content or sharing content with others, send us a message to [email protected].
